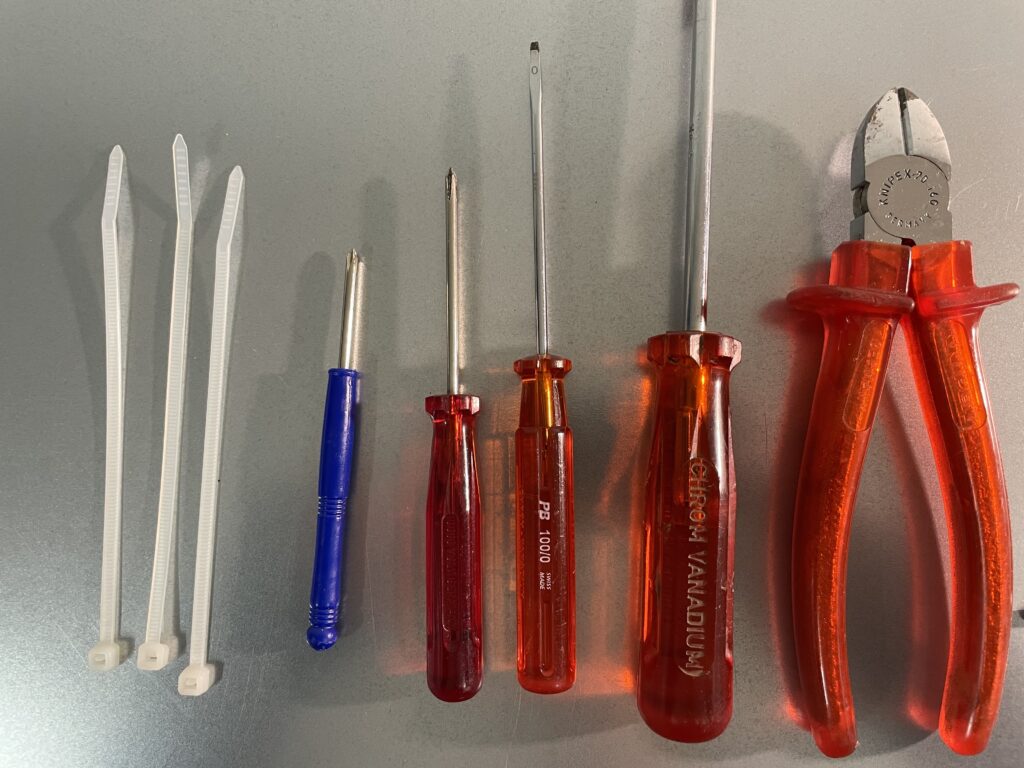
To build a server using the parts described on the main page of this project you will need a few simple tools and about 2 hours of time.
This page describes the necessary steps to assemble your own server.
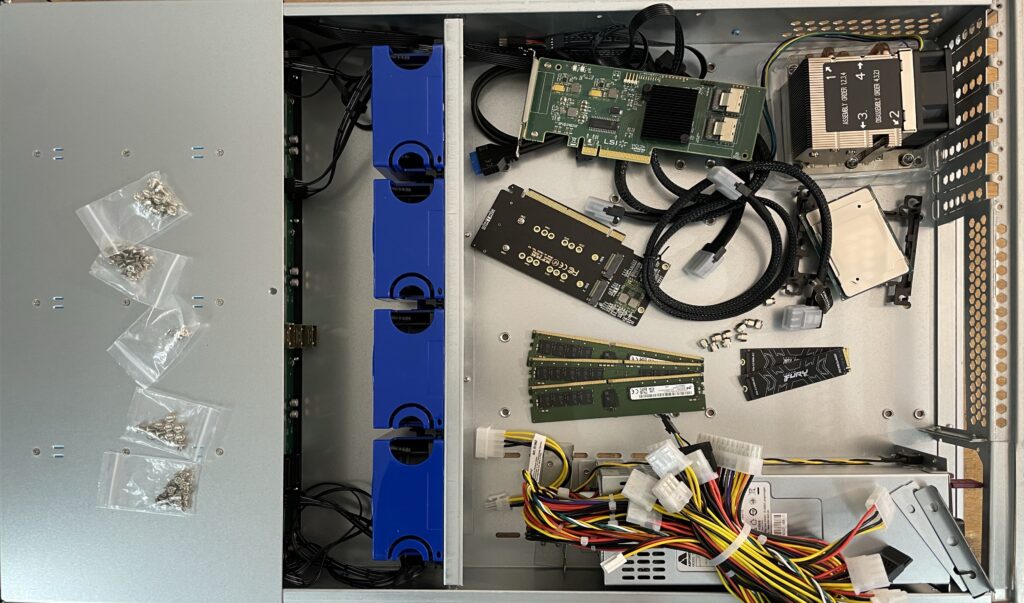
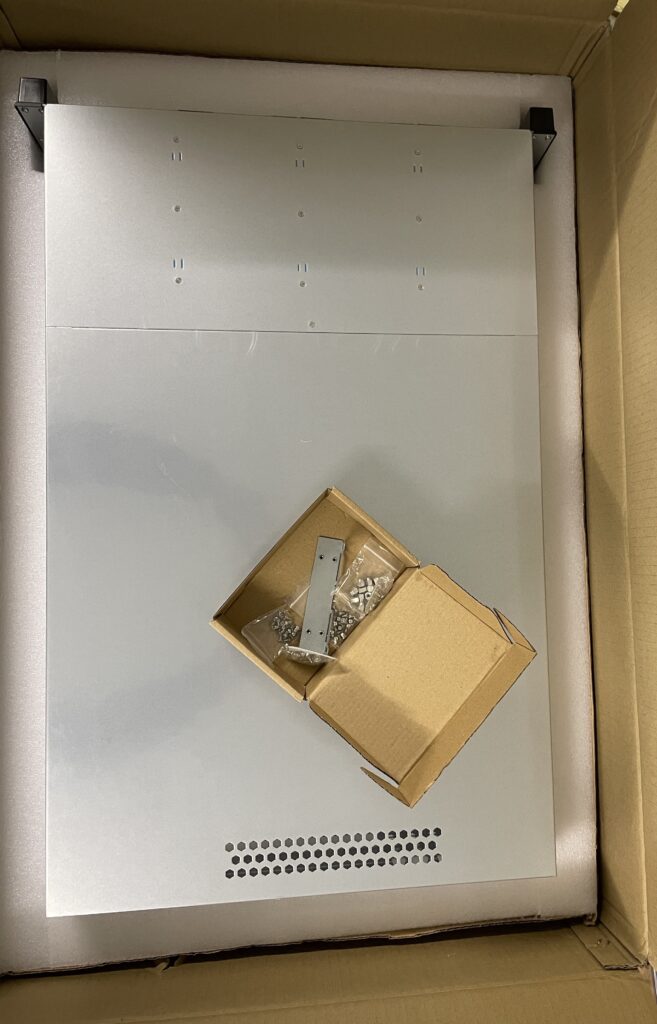
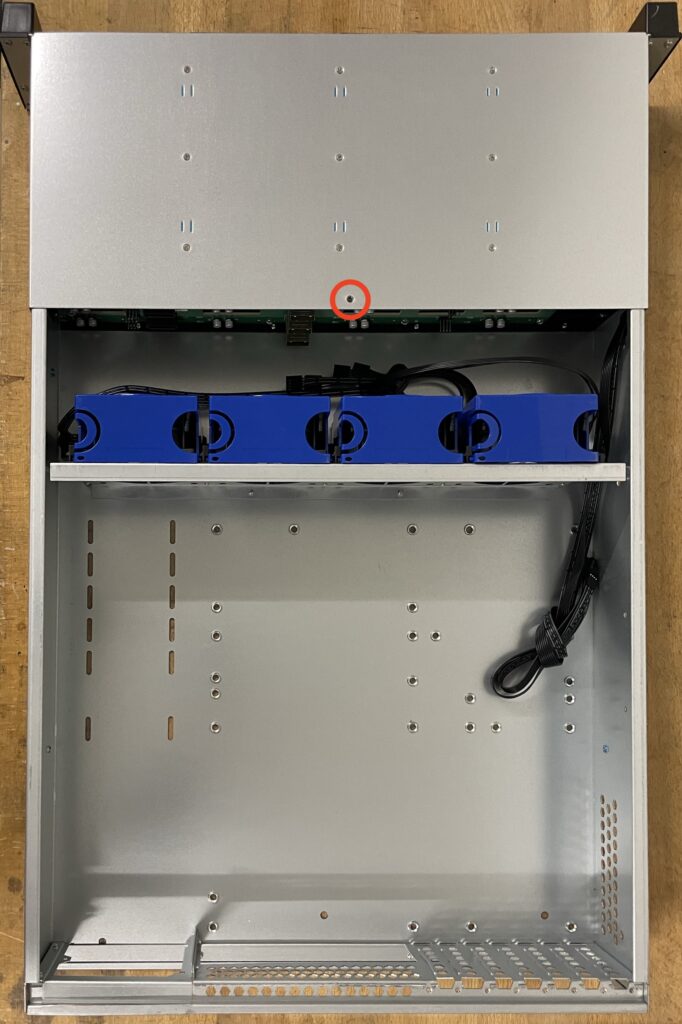
Unbox the case, then remove the screw at the position of the red circle and open the lid.
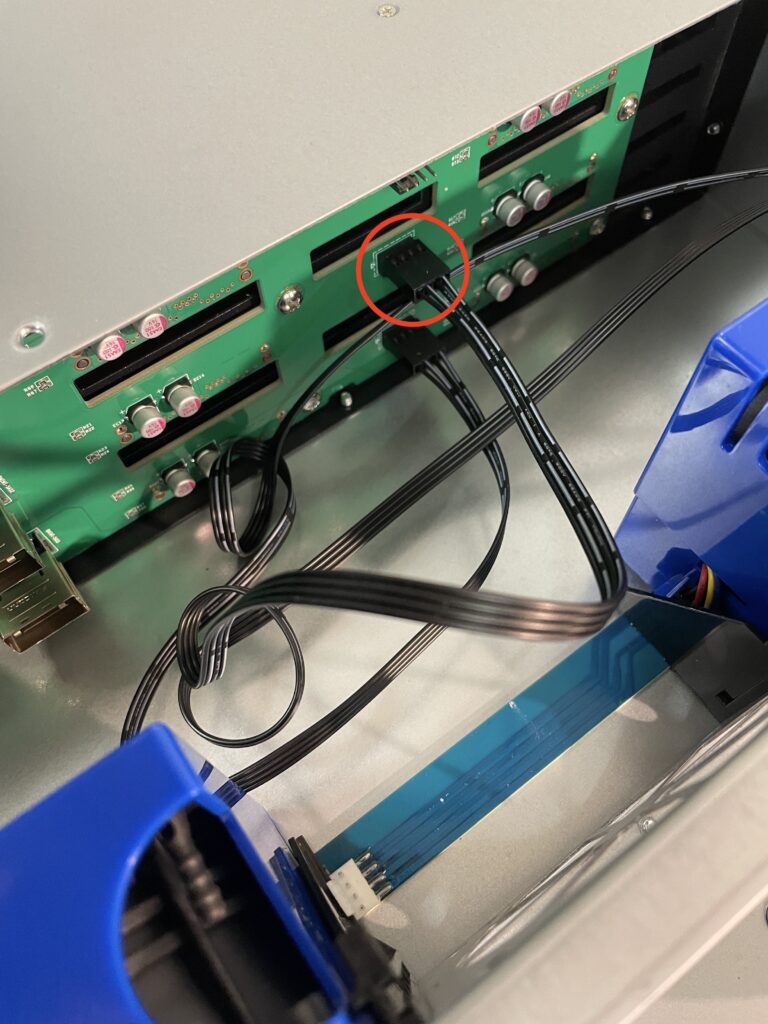
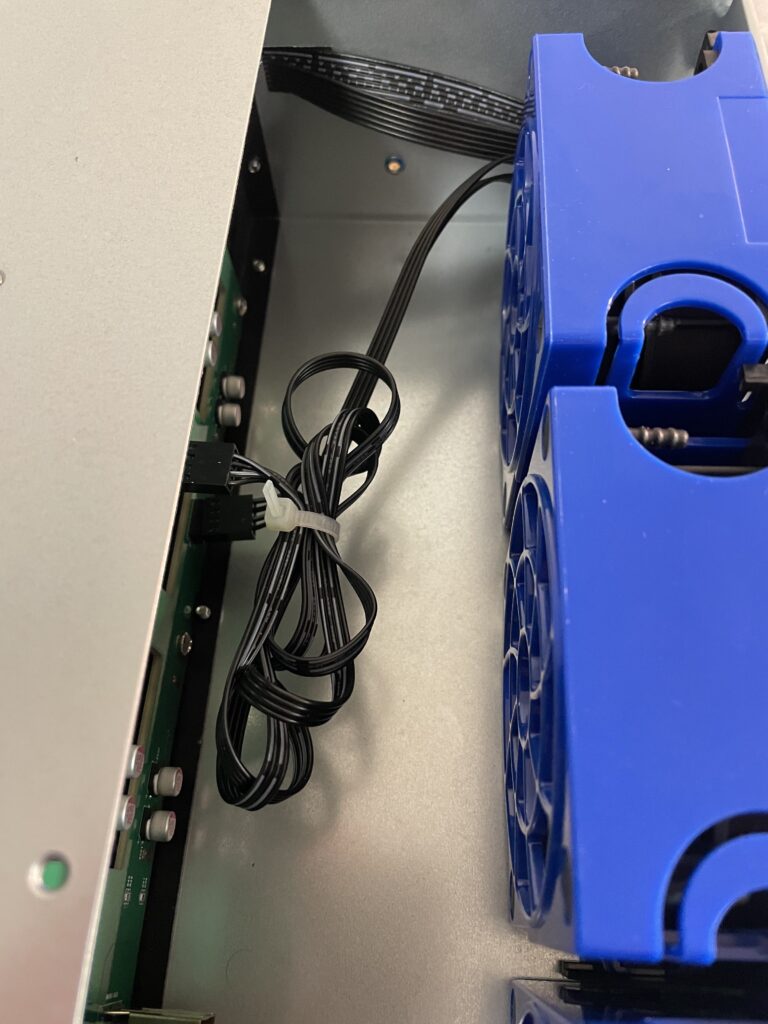
Connect all four fans to the connectors on the backplane. Temporarily removing some fans may help you to access the pins. Use cable binders to tidy up the cables once all fans are connected. Make sure no cable touches or even gets close to the blades of one of the ventilators.
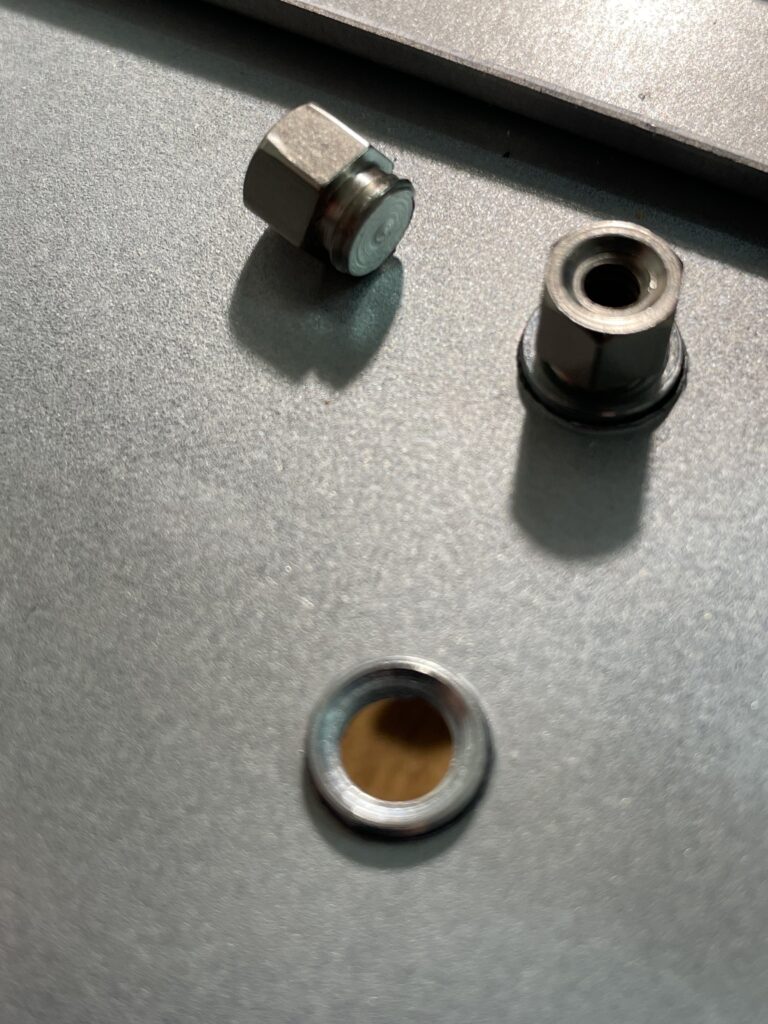
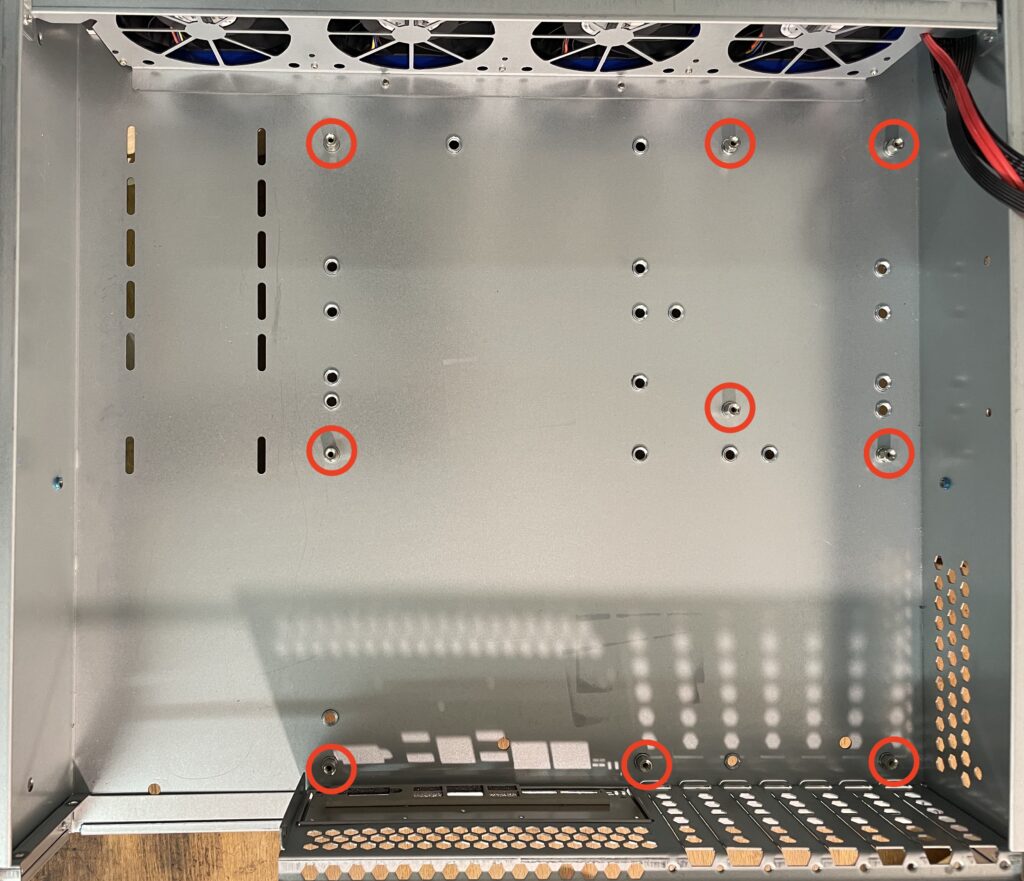
Now get the motherboard holders from the collection of screws and install them in the nine holes at the bottom of the case as indicated by the red circles above.


Now unpack and place the motherboard the case while inserting its connectors carefully into the back plate.
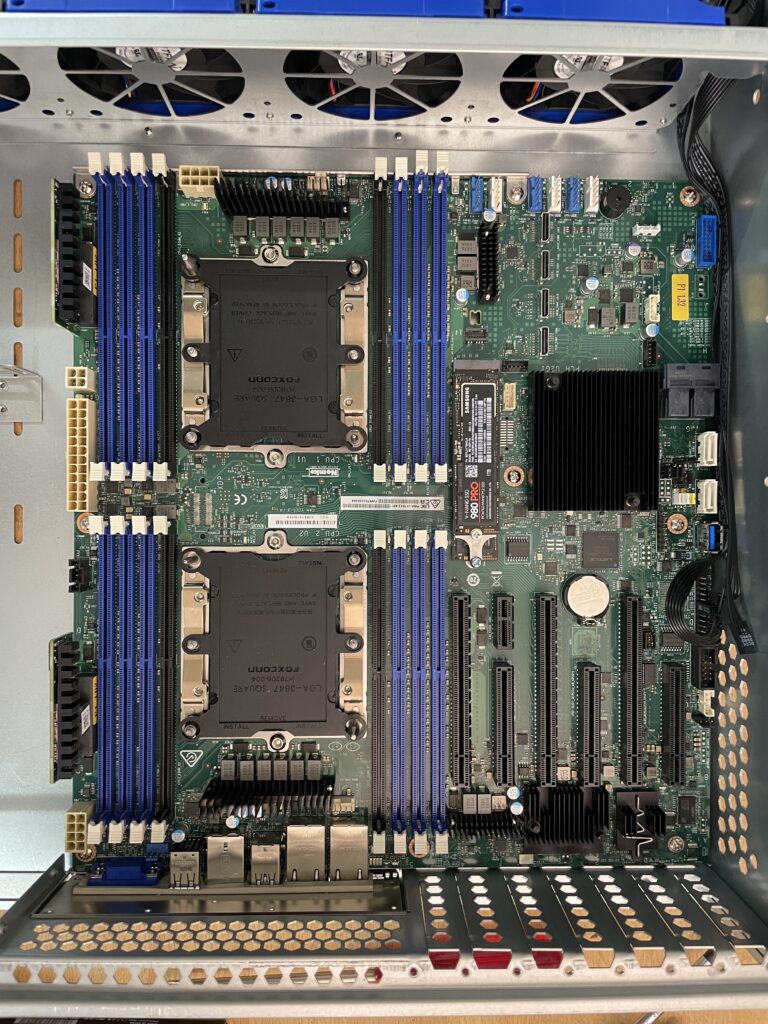
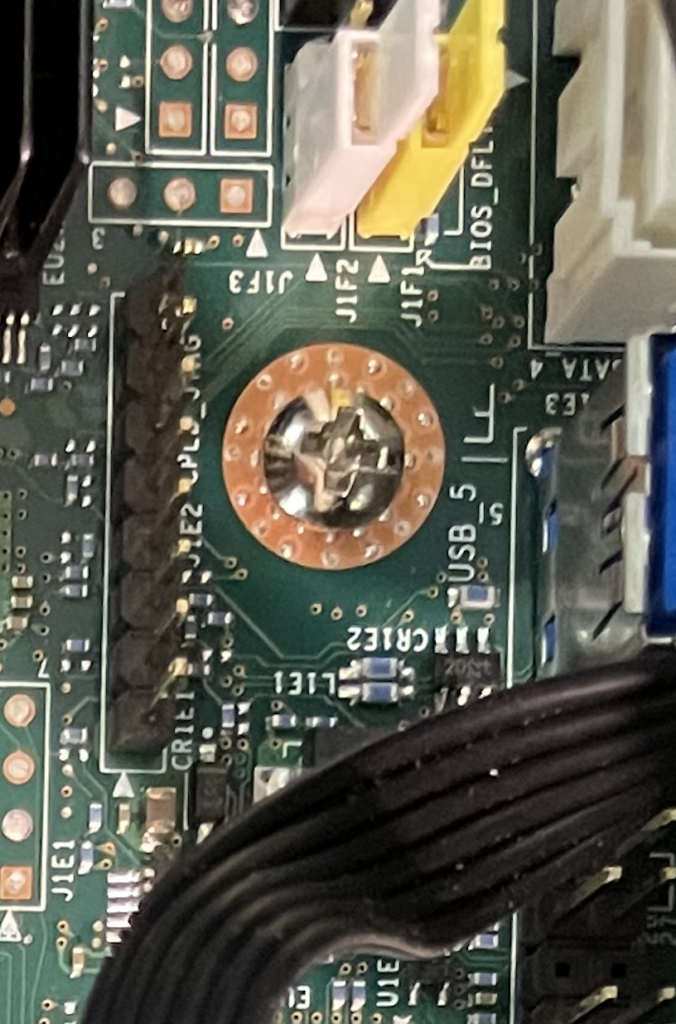
Fasten the motherboard into place using the round headed screws.
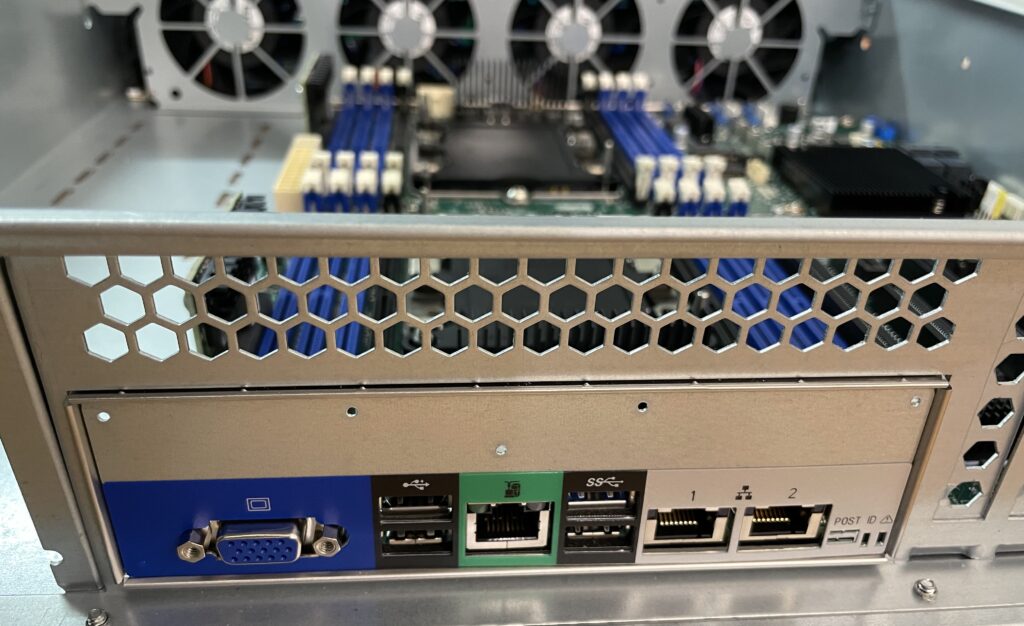
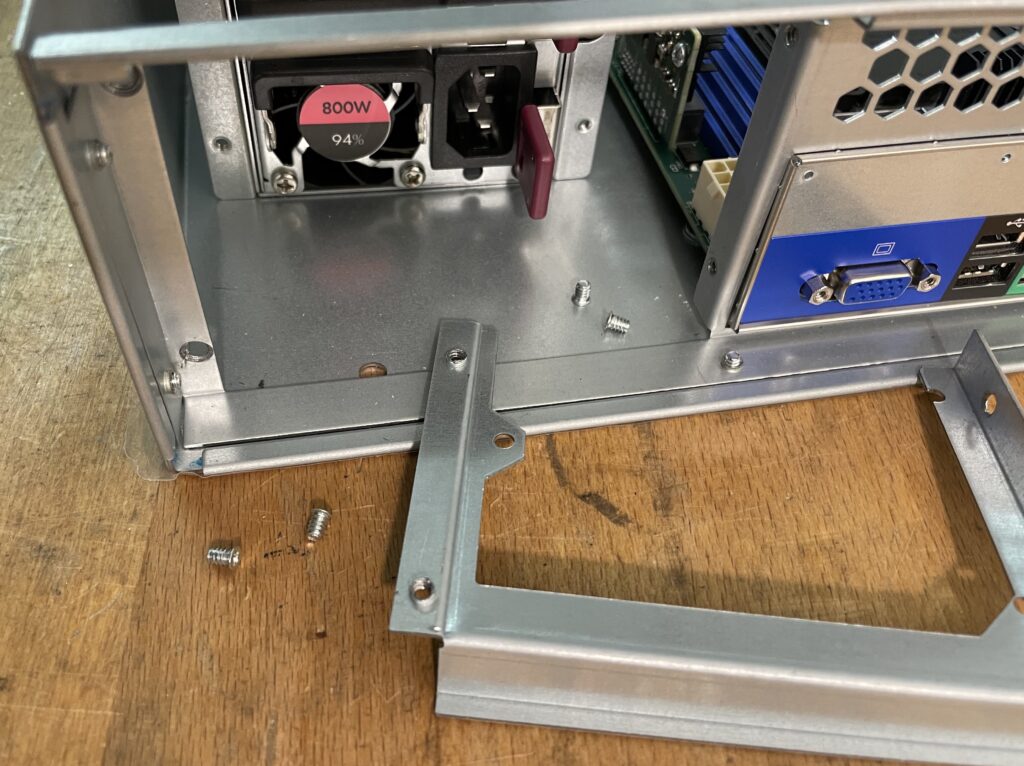
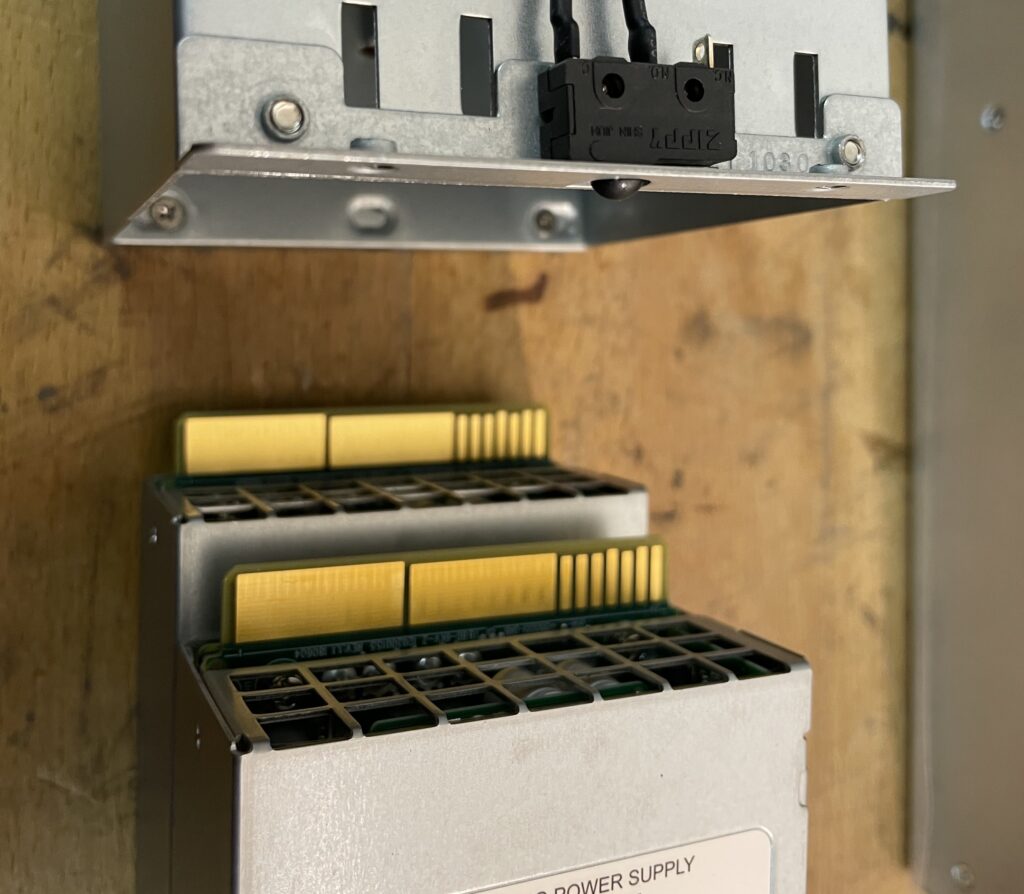
Remove the actual power supplies from the case which makes it much easier to install it.
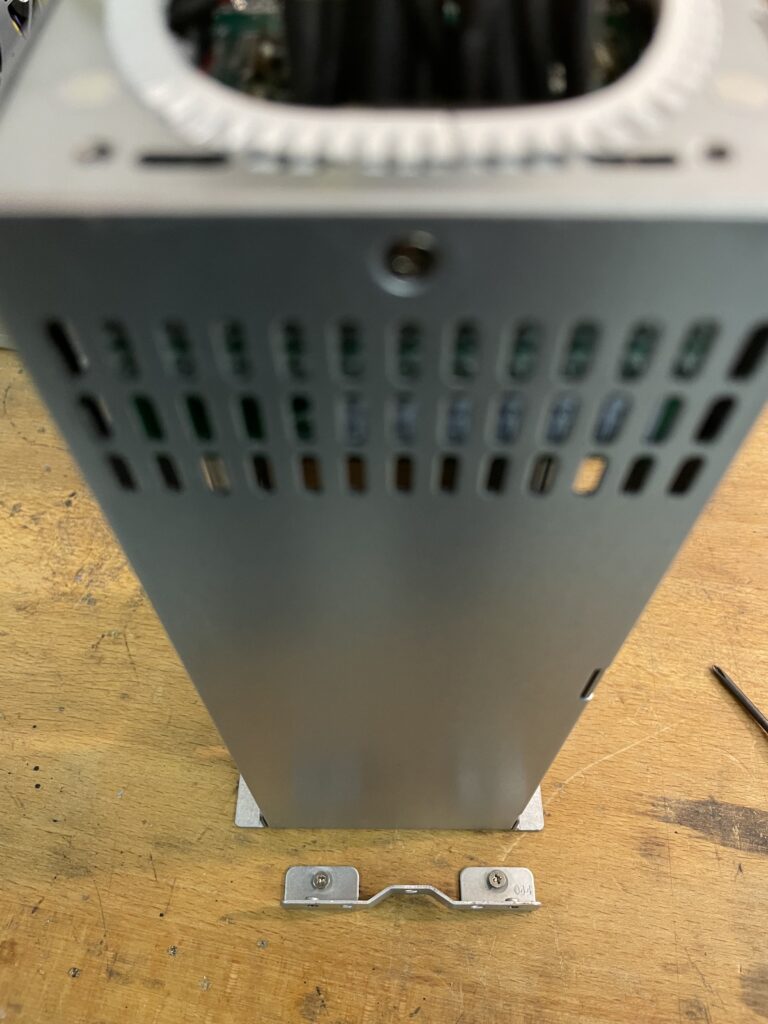
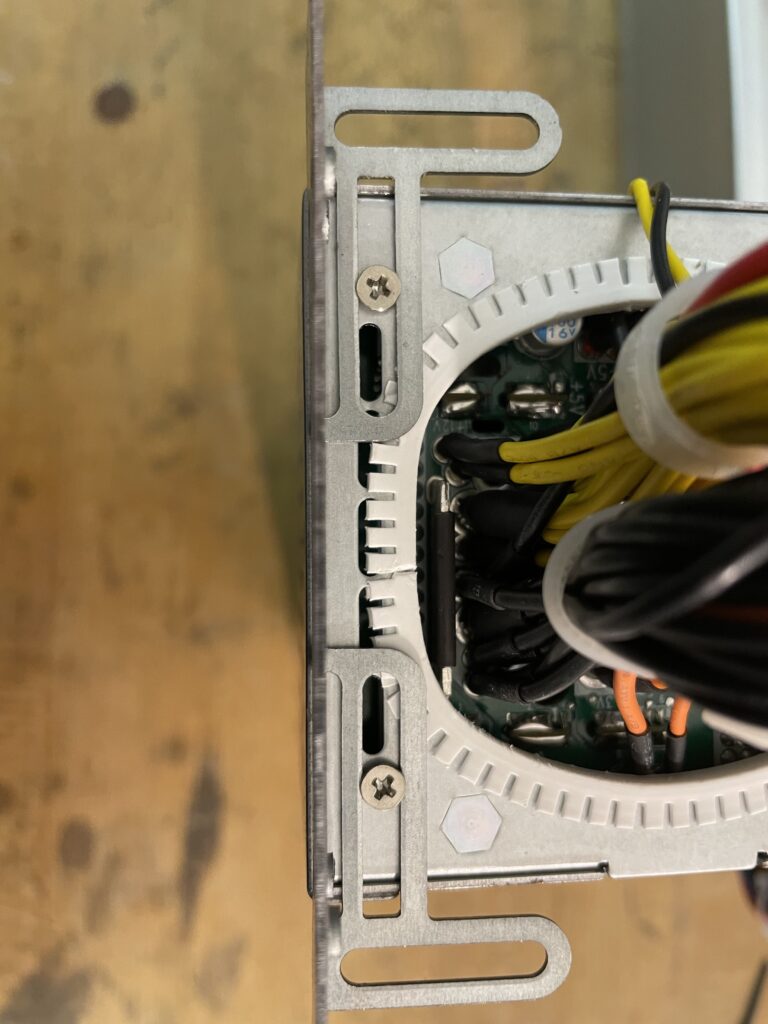
Remove the connector that comes attached to the case of the power supplies and replace it with the one that was delivered with the main case as shown above.
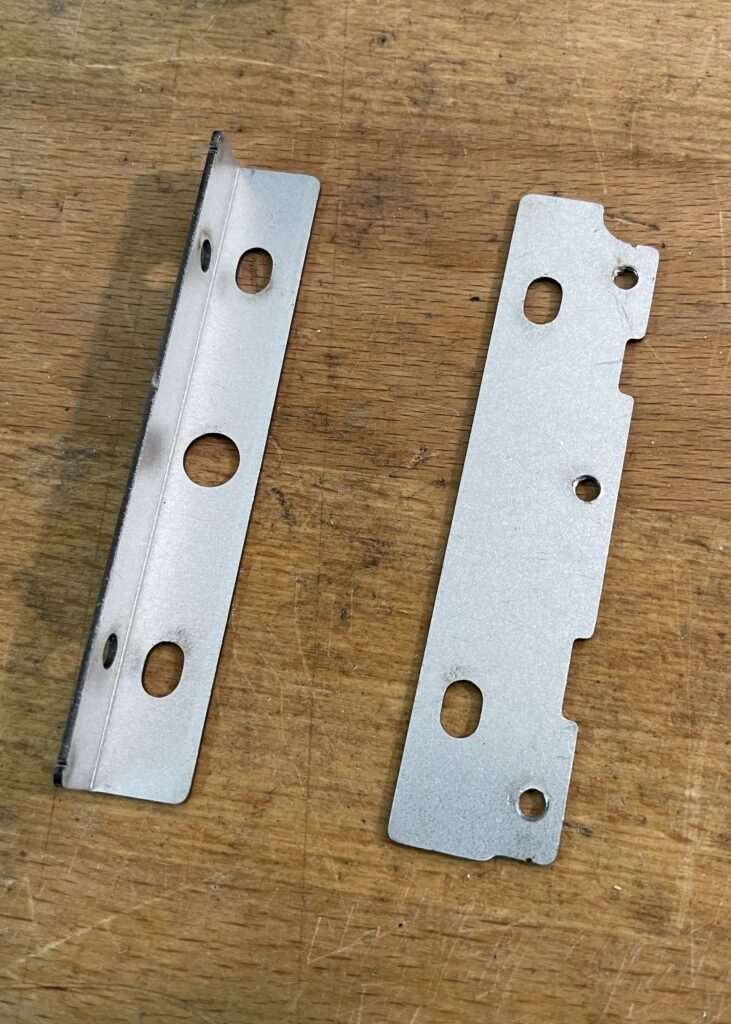
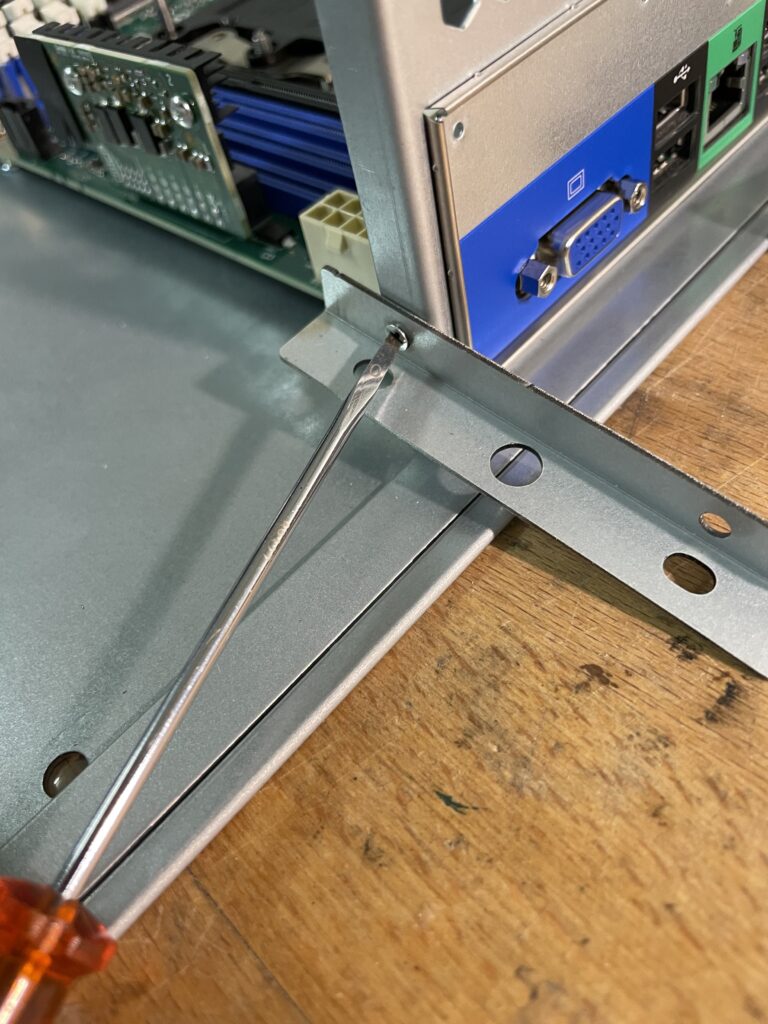
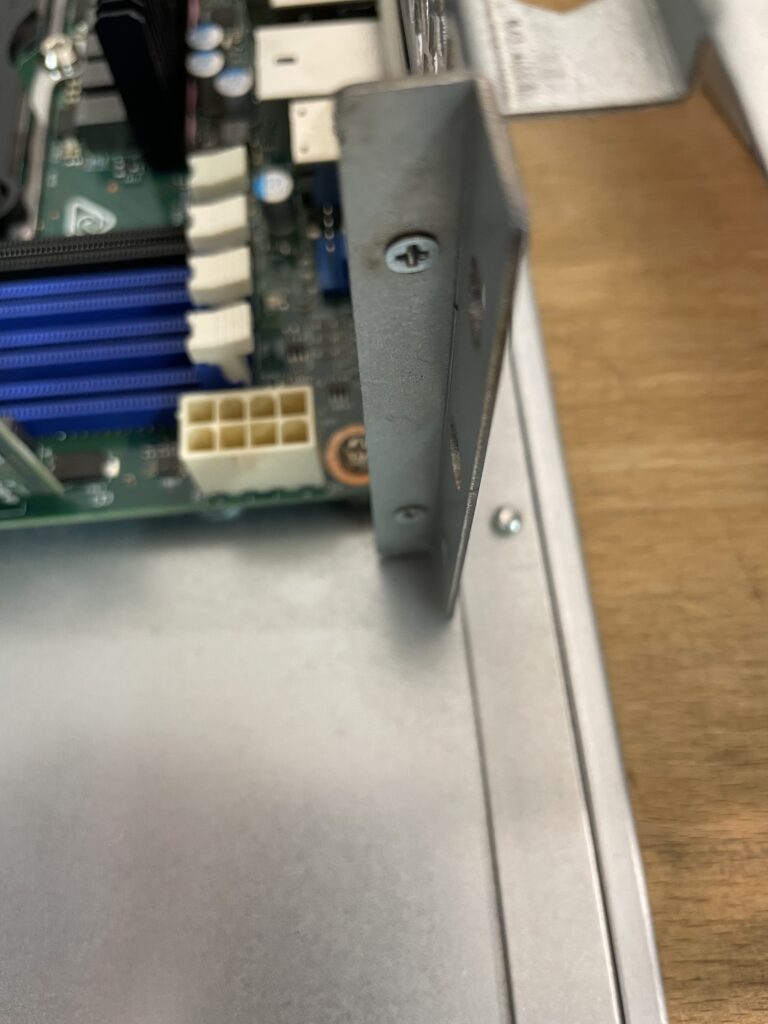
Get the two mounting parts that came with the power supply and install the angled one first. Start with the bottom screw first, this will make it much simpler to access it.
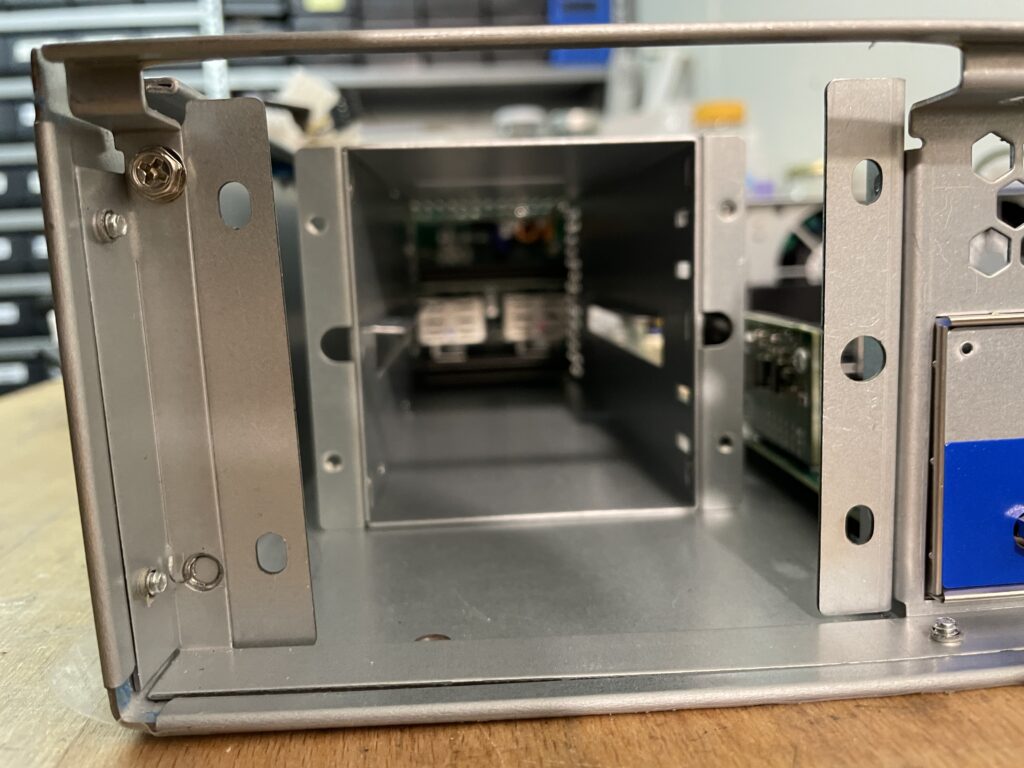
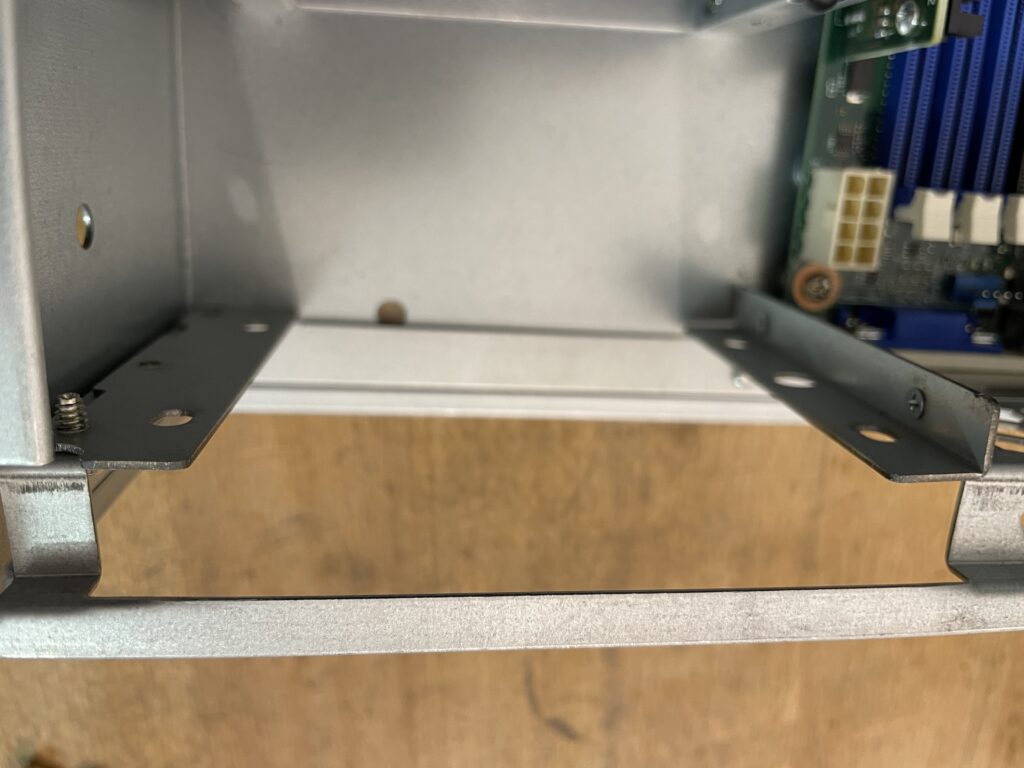
The images above show how the the two mounting parts will look like after they are attached to the main case.
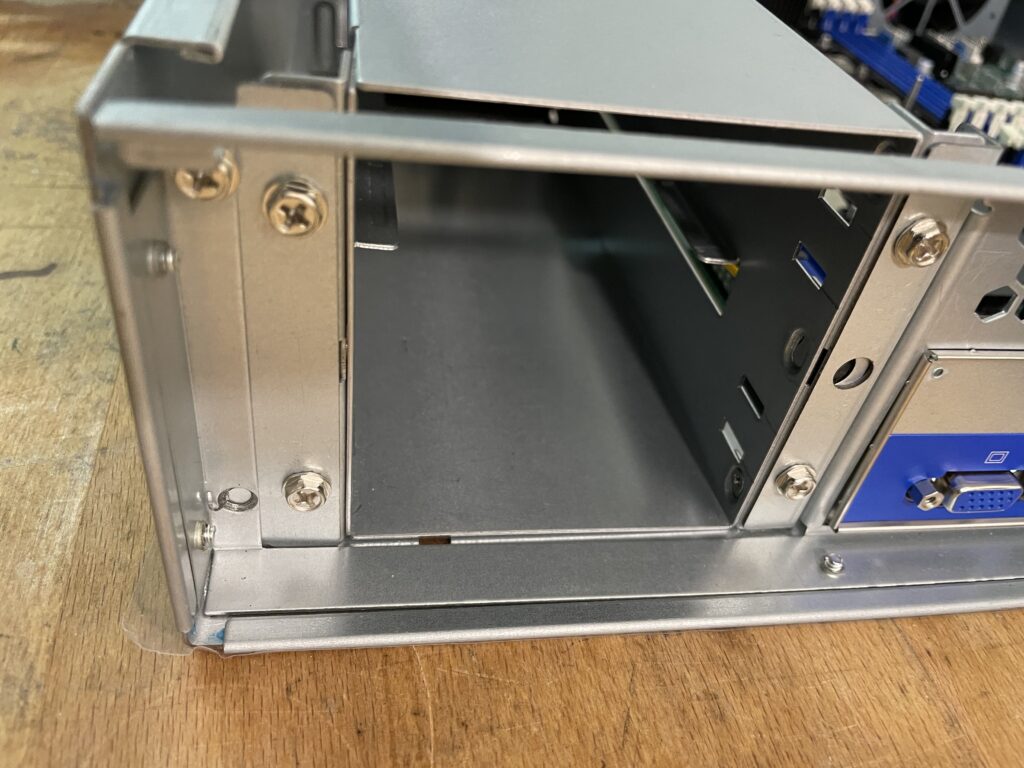
Attach the case of the power supply to the new mounting parts at the back
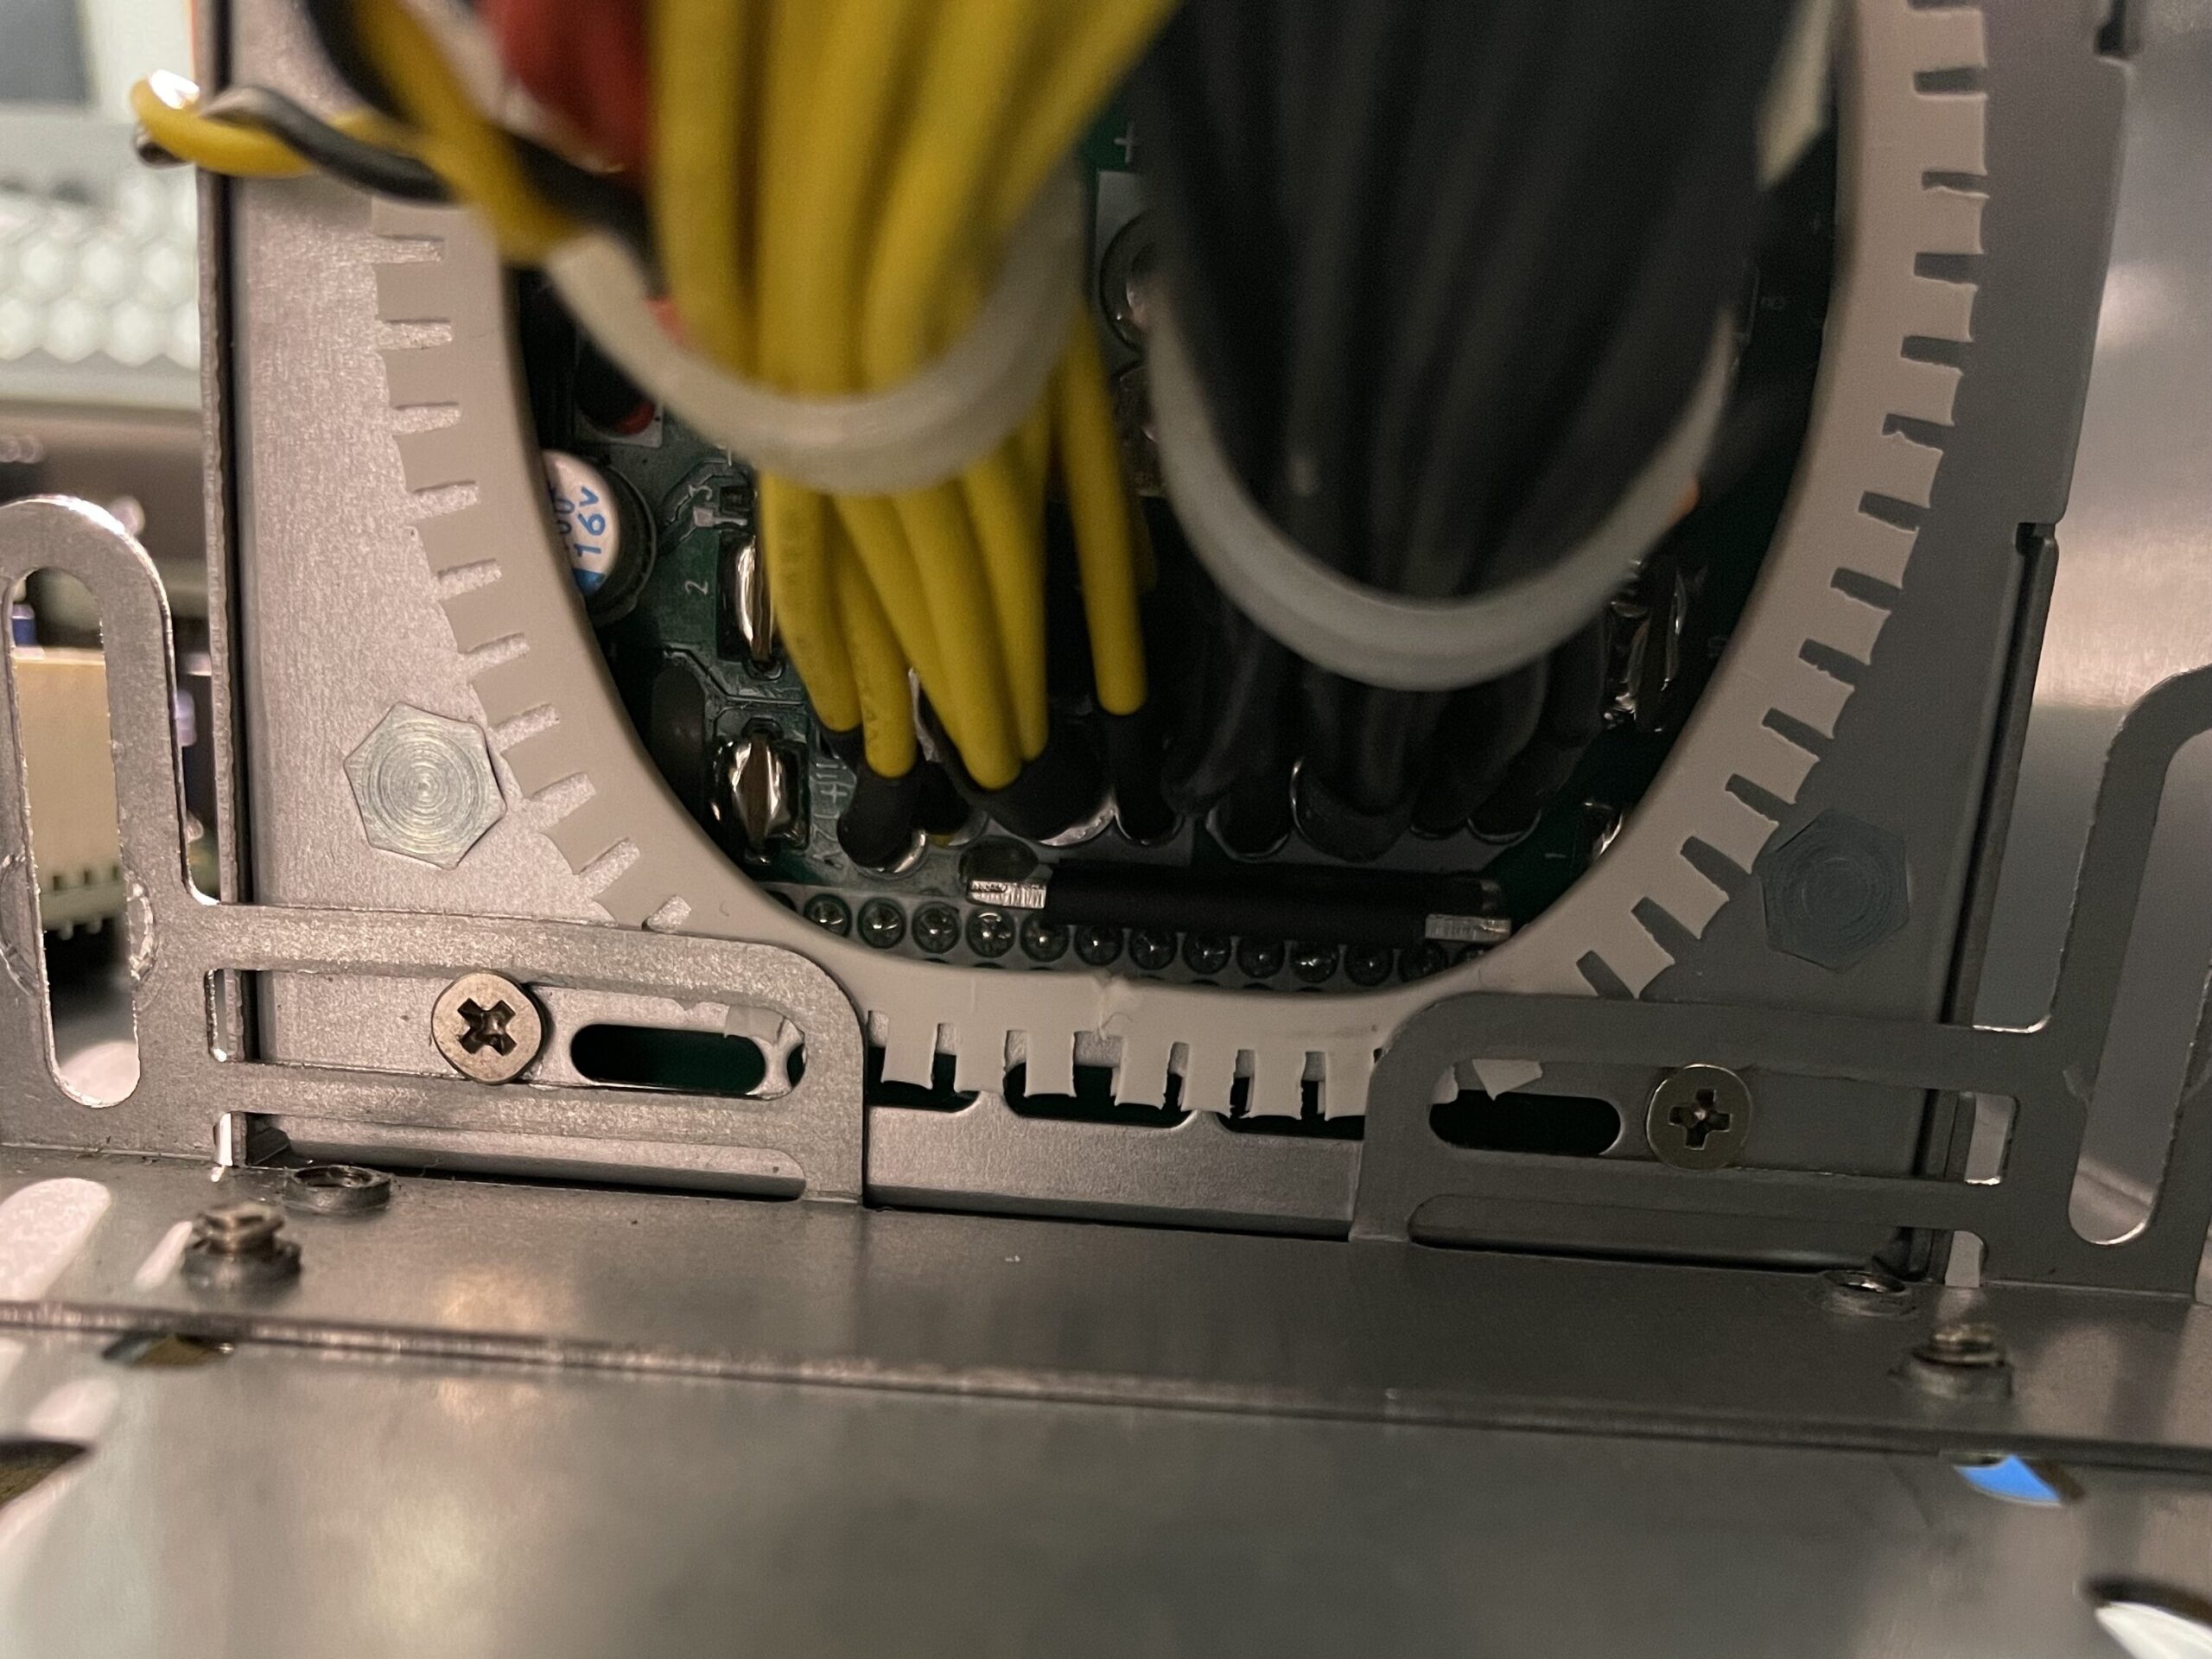
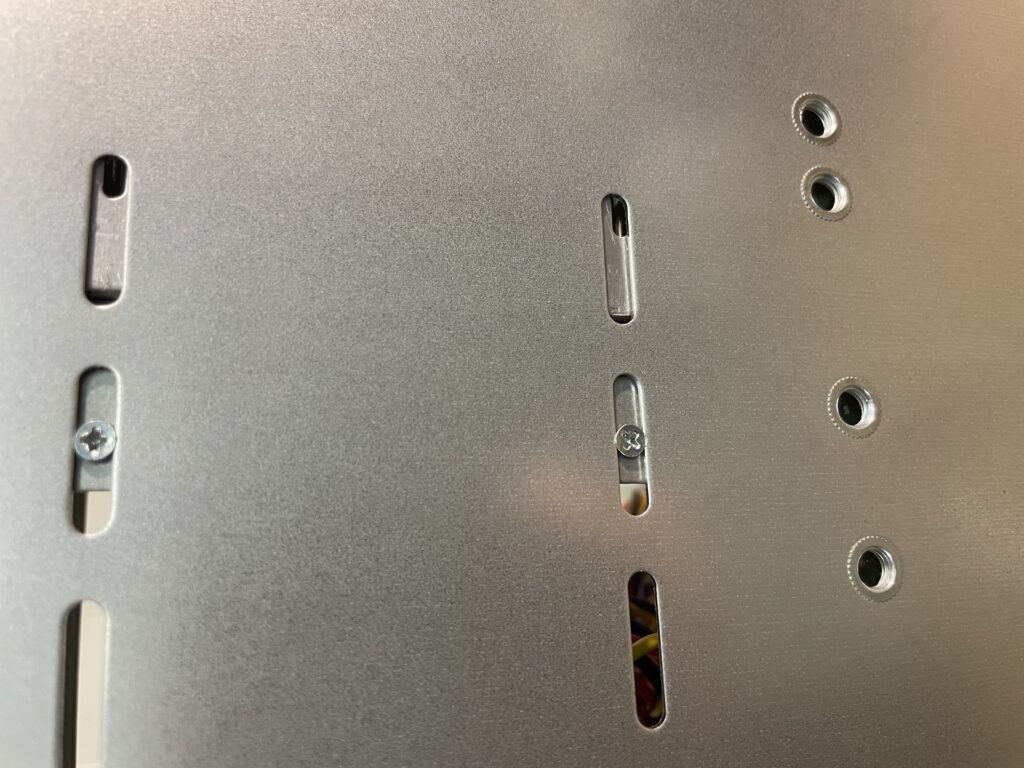
Use two screws to fix the back of the power supply case to the bottom of the main from the bottom.
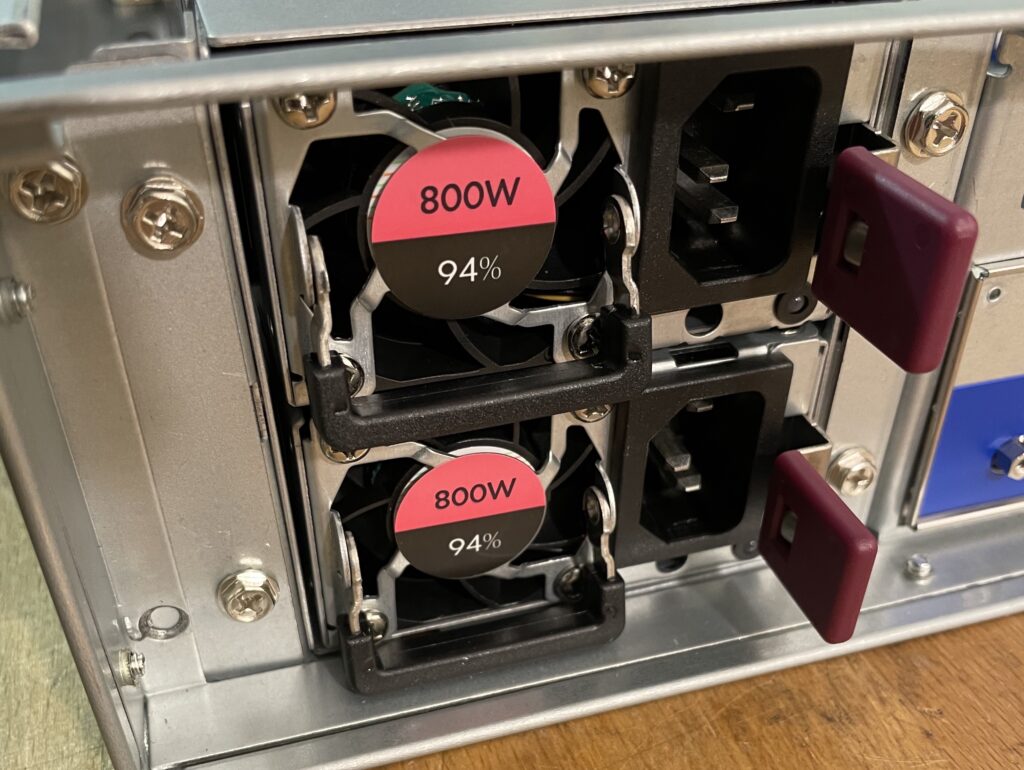
Reinsert the two power supplies into into the power supply case.
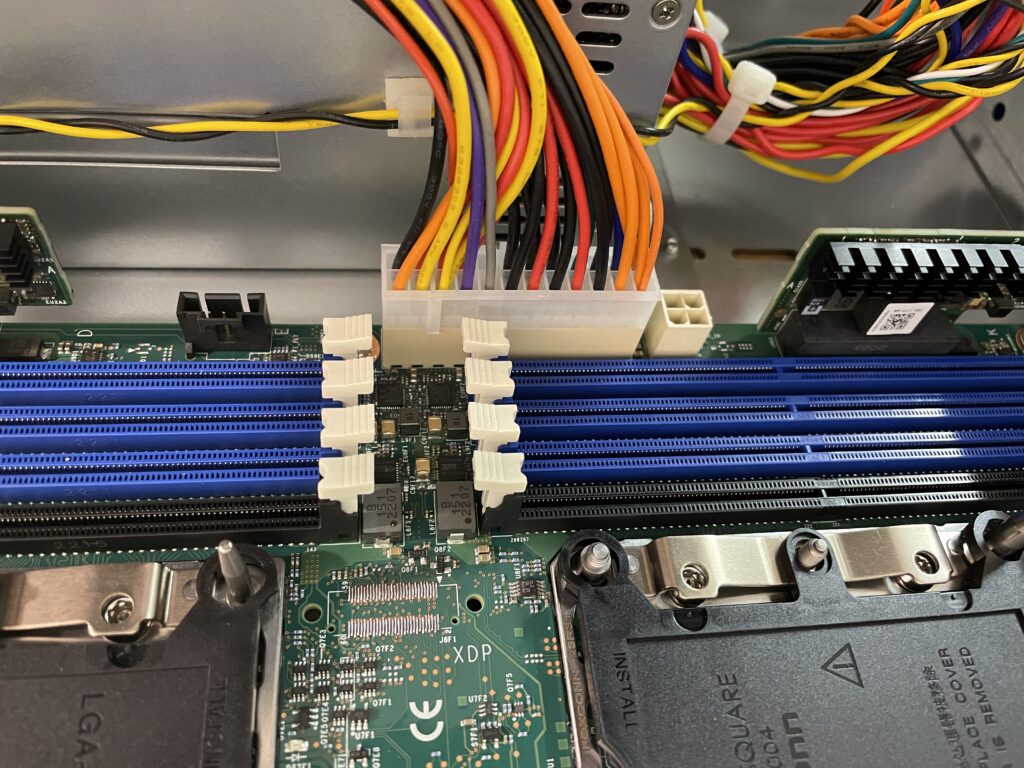
Connect the motherboard main power connector
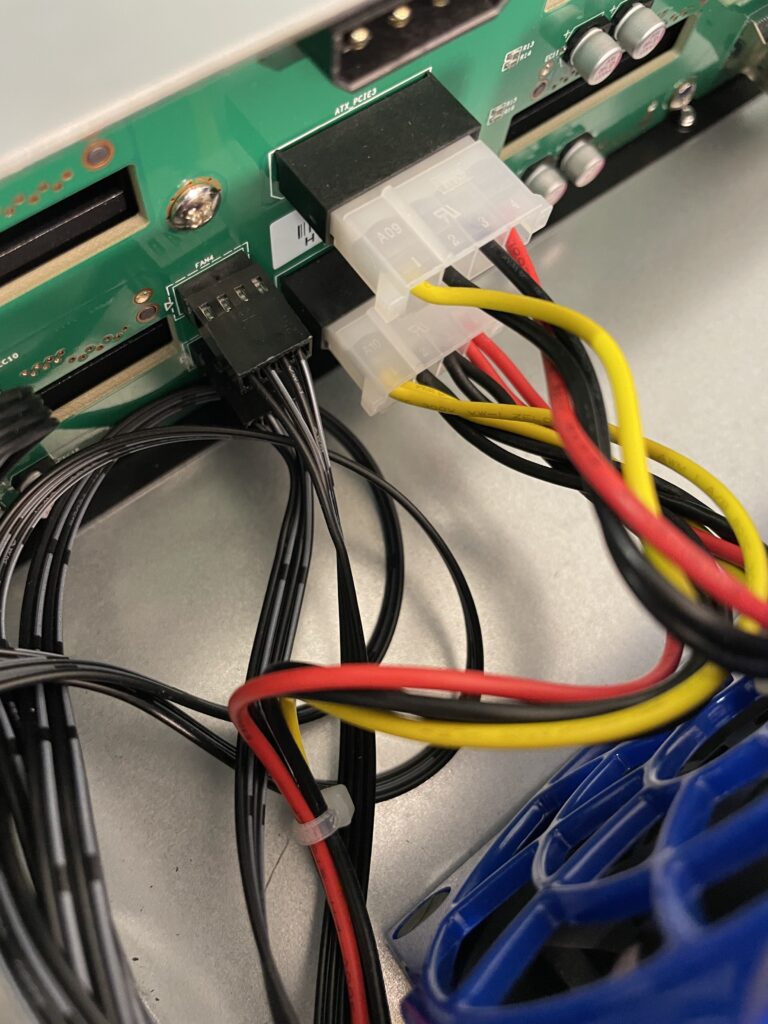
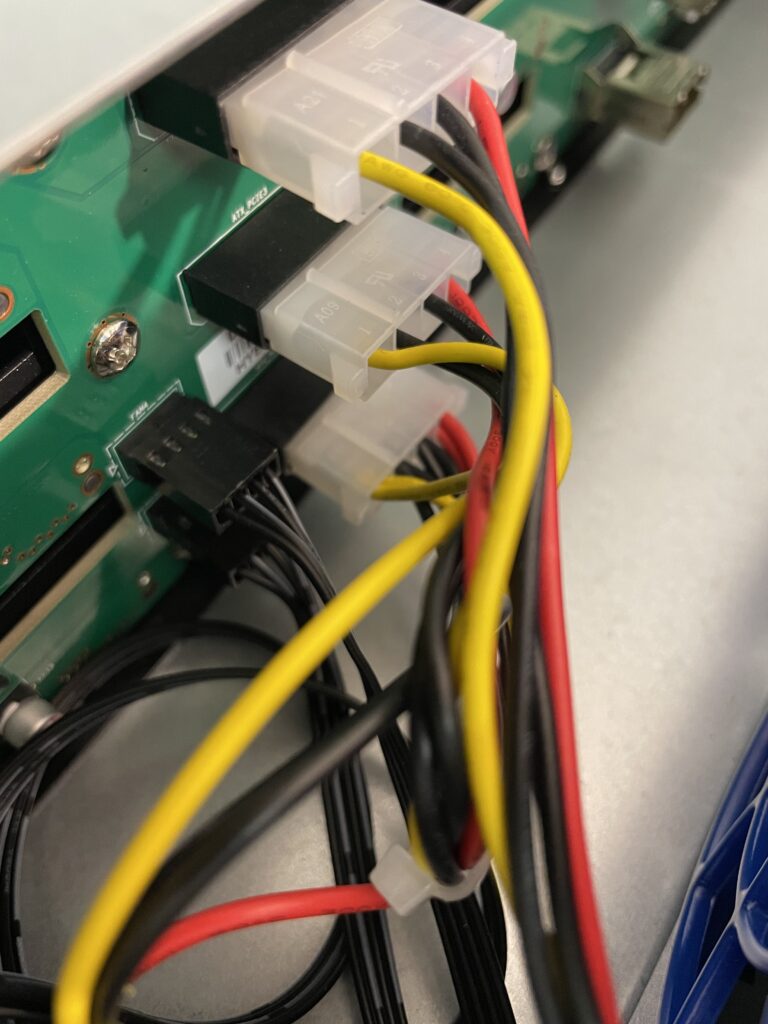
Connect three of the Molex disk drive power connectors. Two of them can come from the same connection to the power supply.
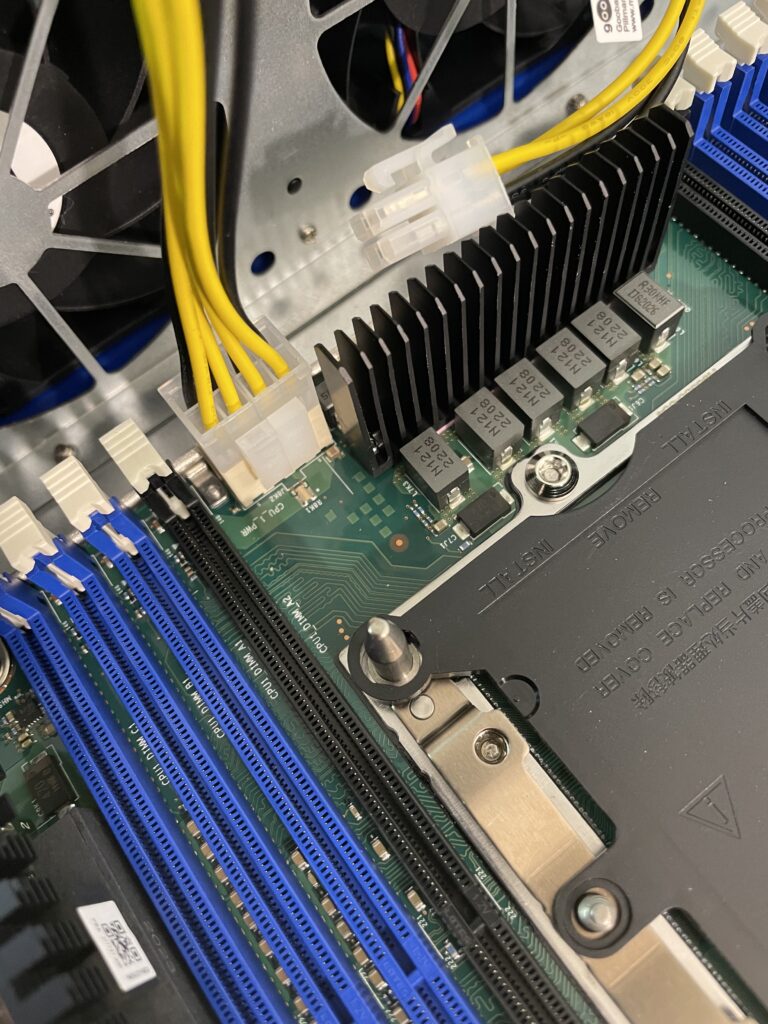
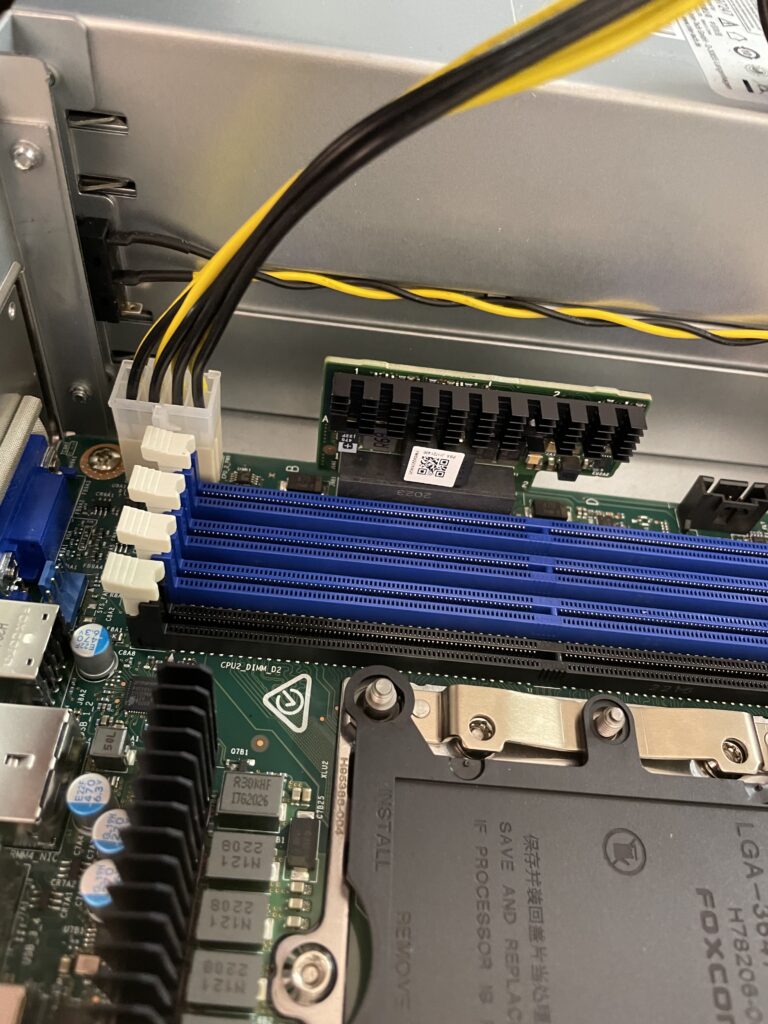
Connect both CPU power connectors even if you do not plan to use more than one CPU. The motherboard will not work properly unless both connectors are attached.
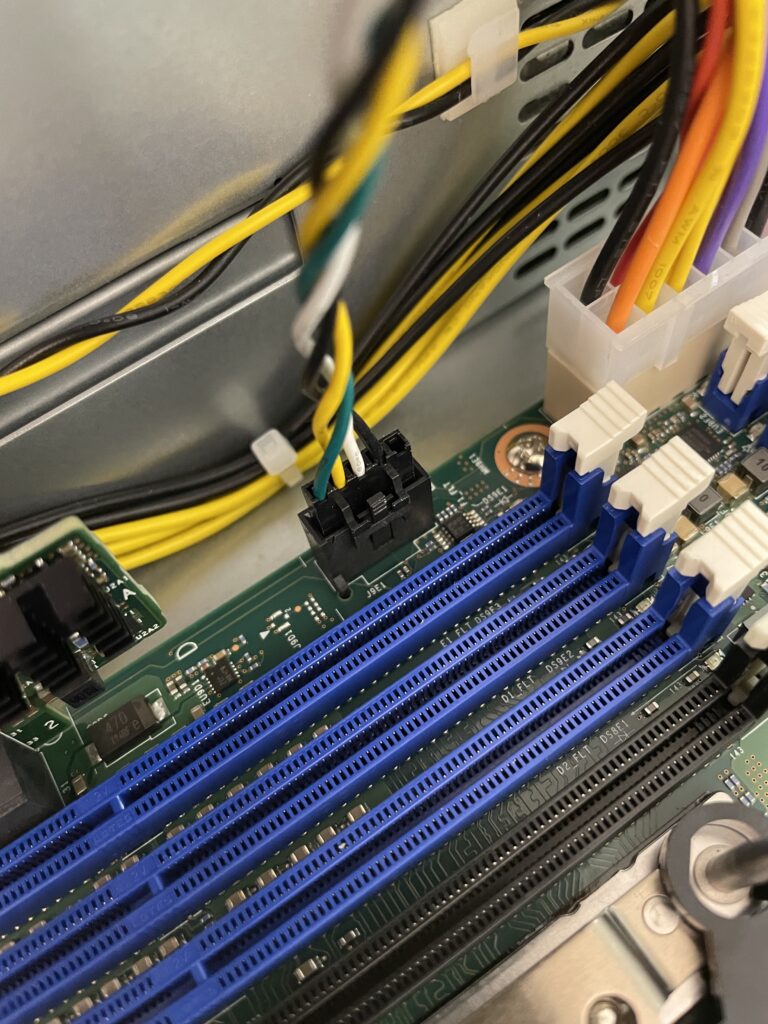
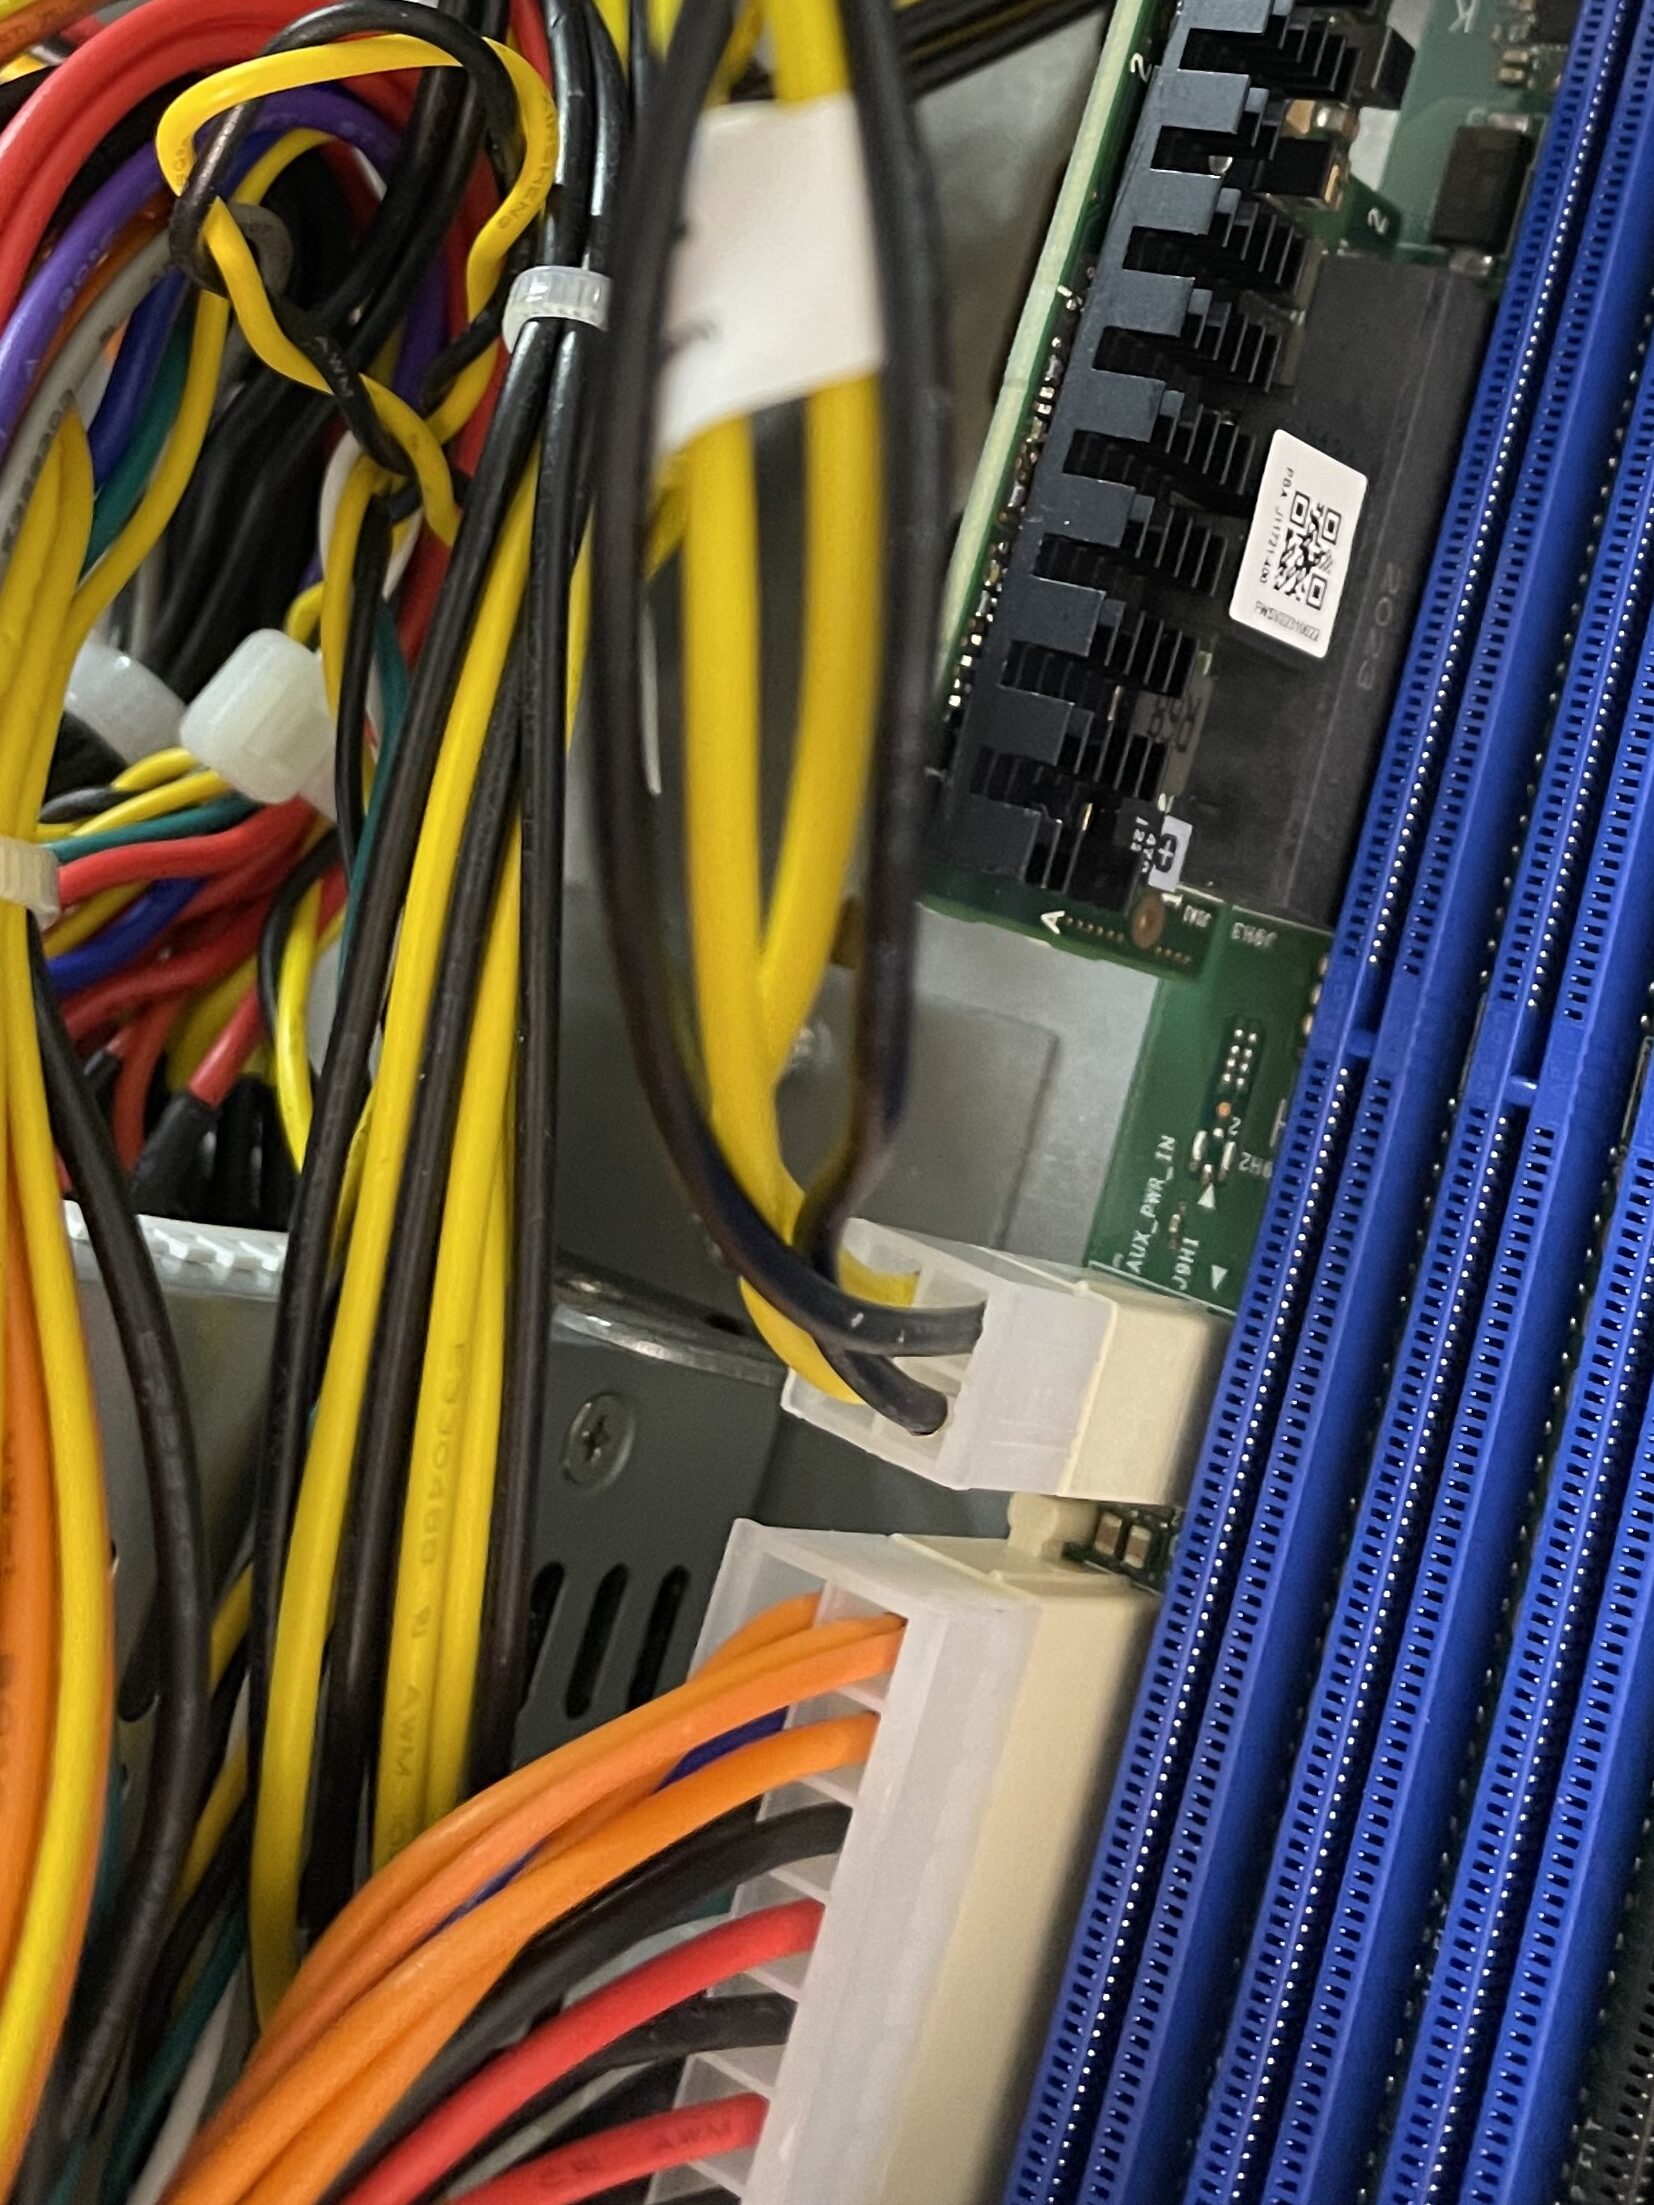
Attach the PMBUS and the auxiliary power connectors.
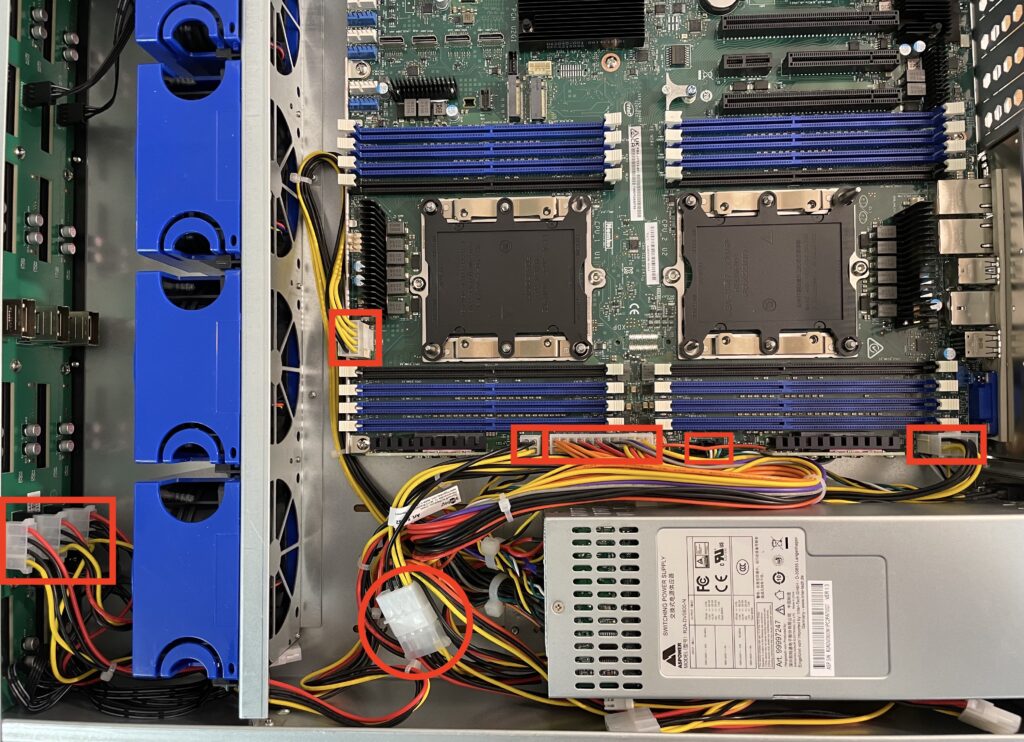
Make sure all the power connectors as marked in the image above are in place. For one of them you will need to use the power adapter cable which is part of the order list. Stow away the unused connectors and cables in the end.
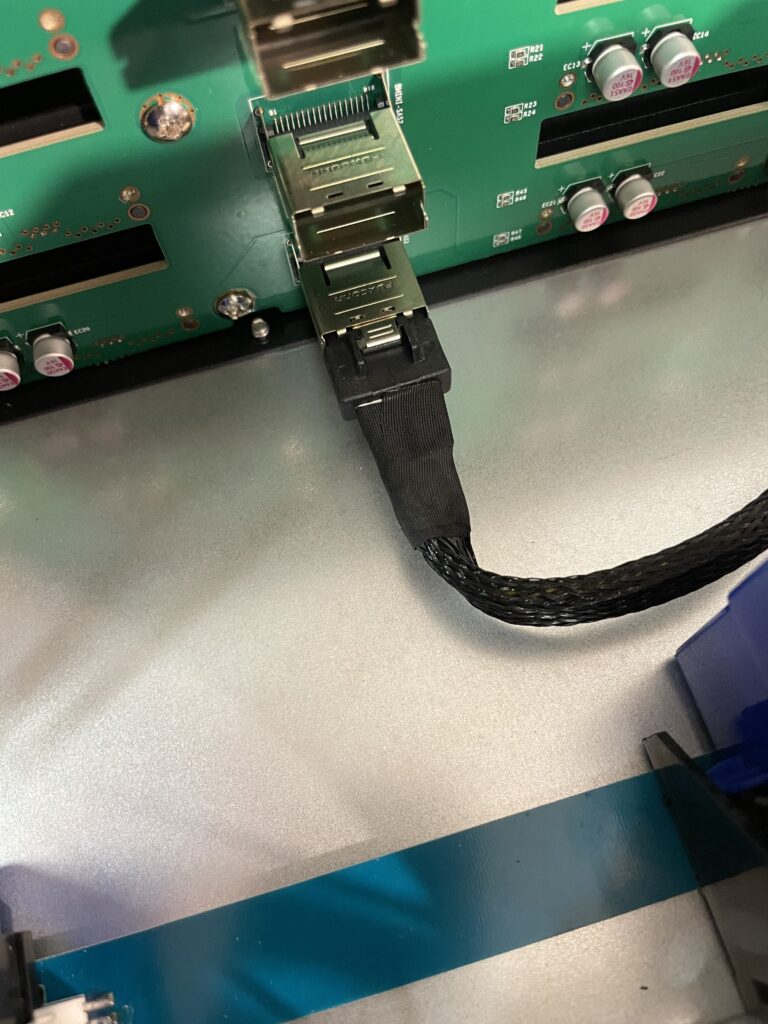
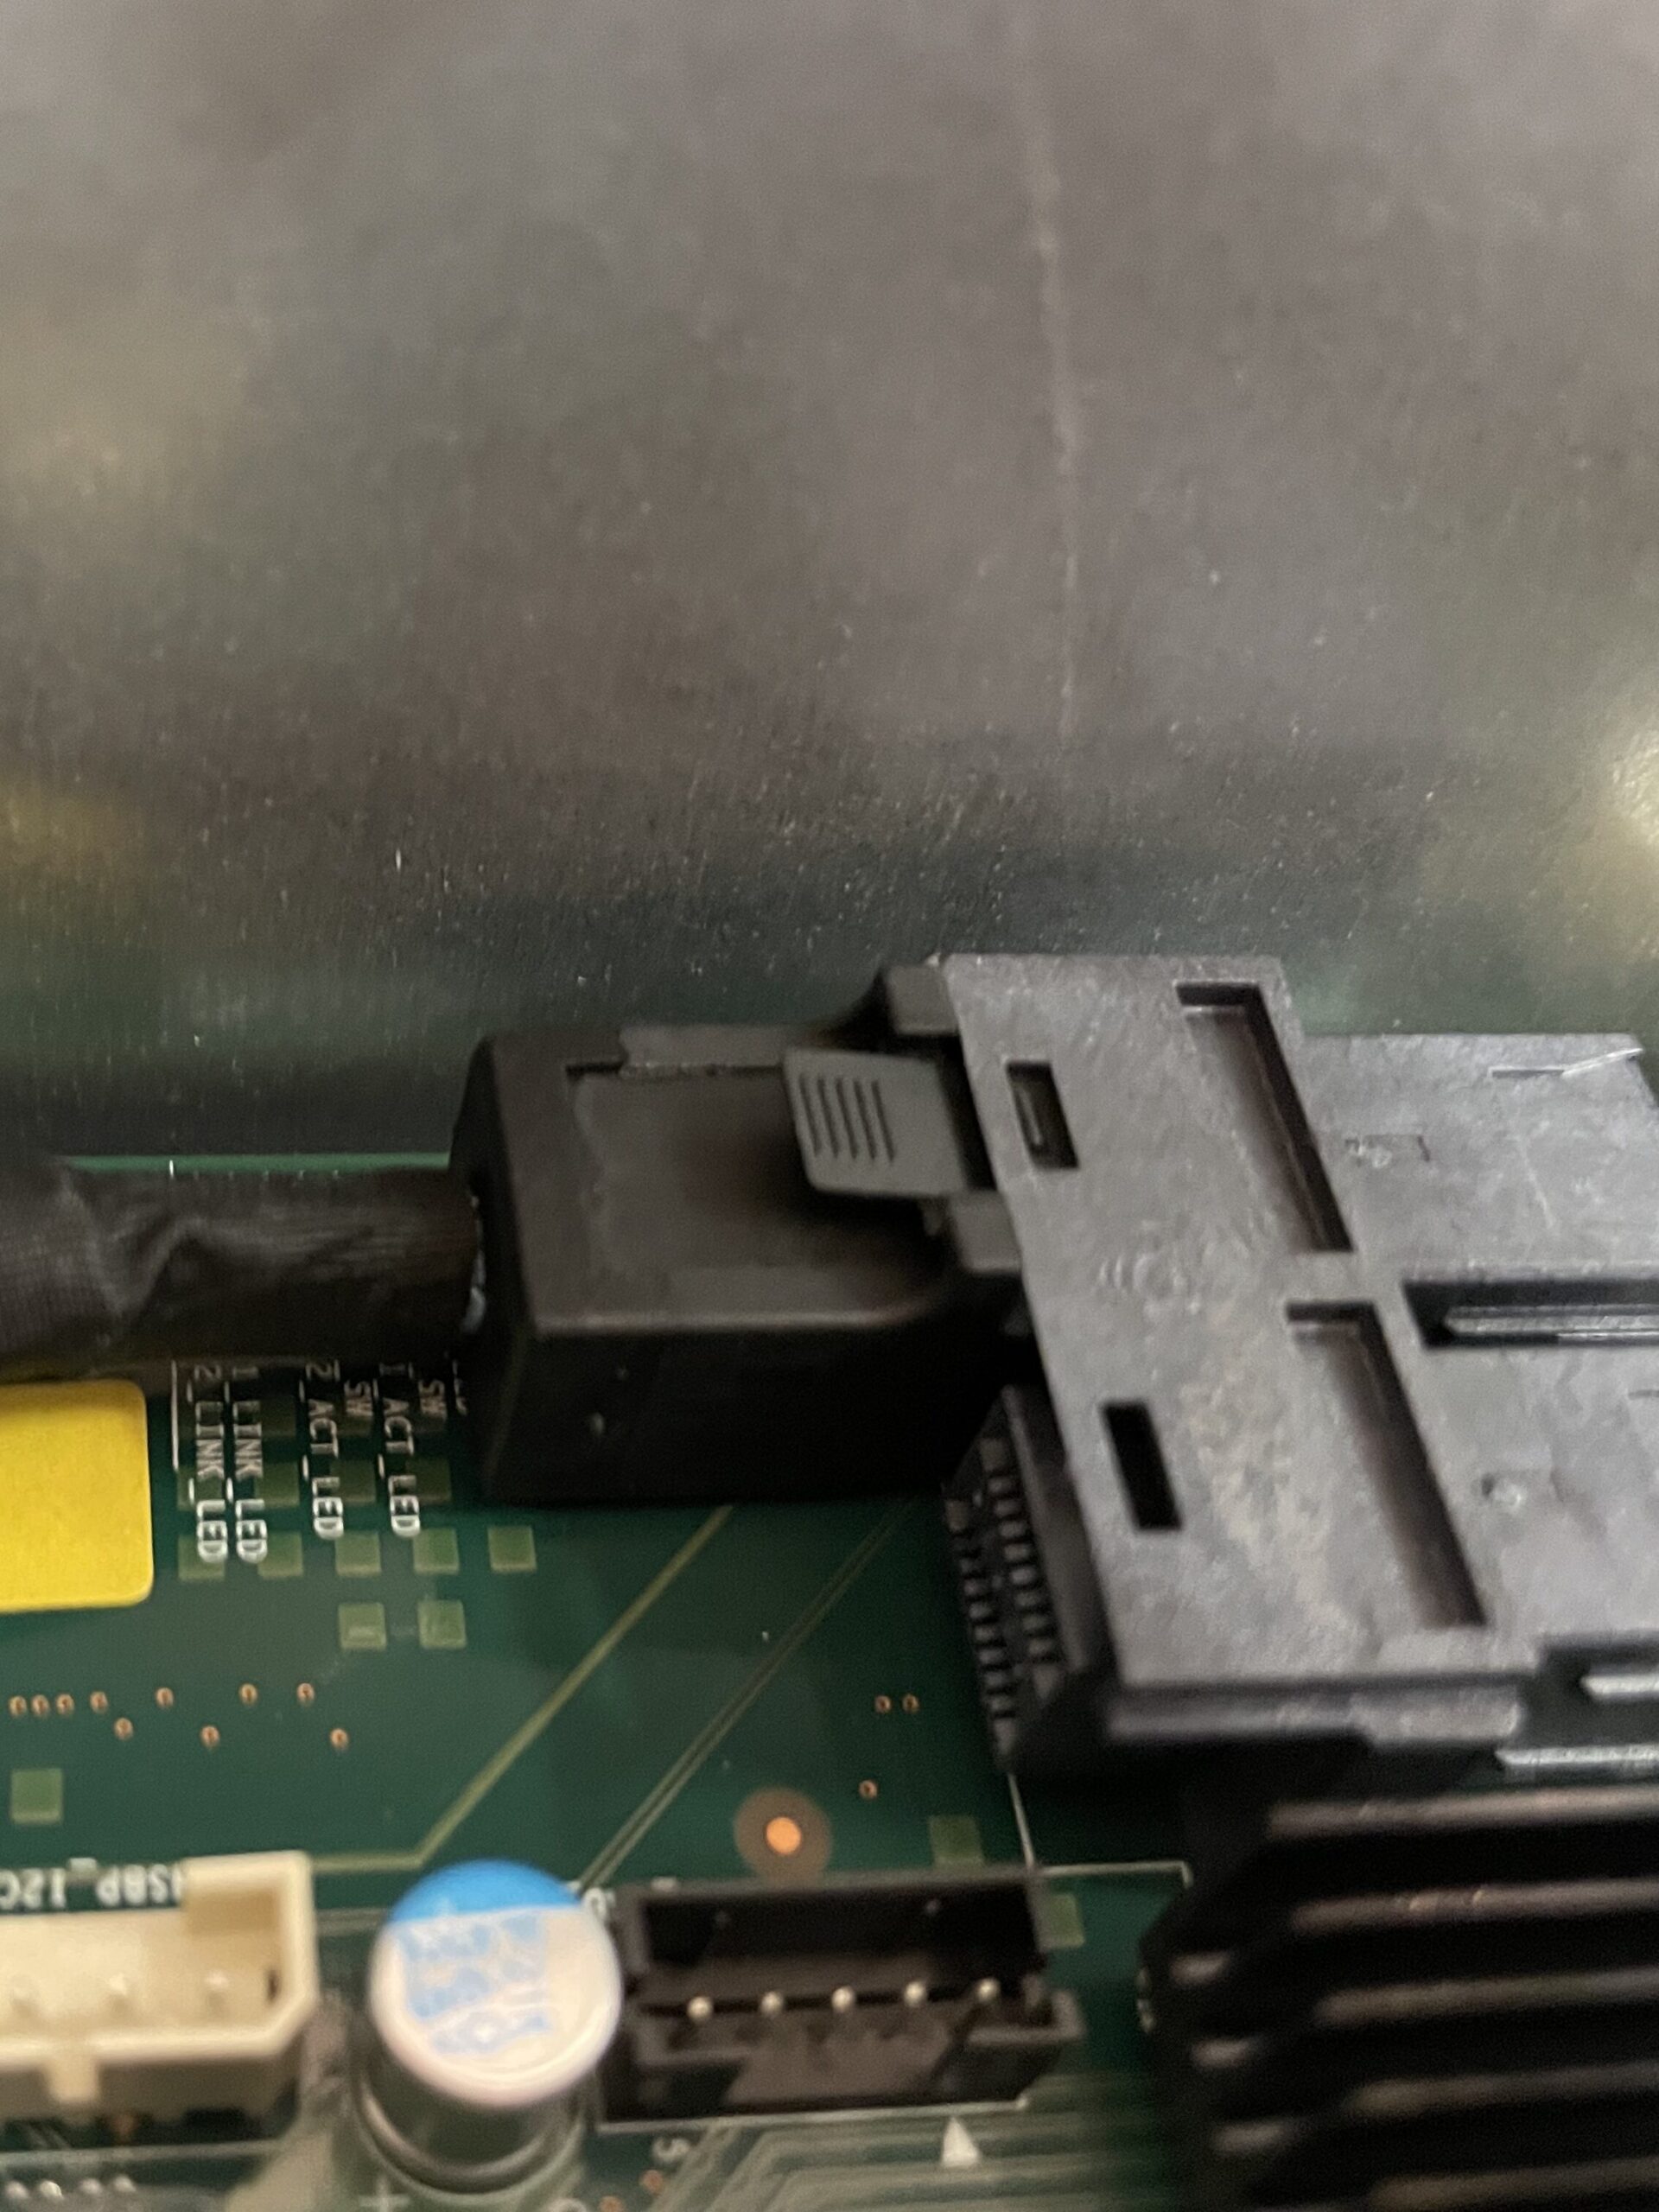
Attach the first of the SATA cables to the disk drive back plane on one end and to one of the SATA connectors on the motherboard on the other end.
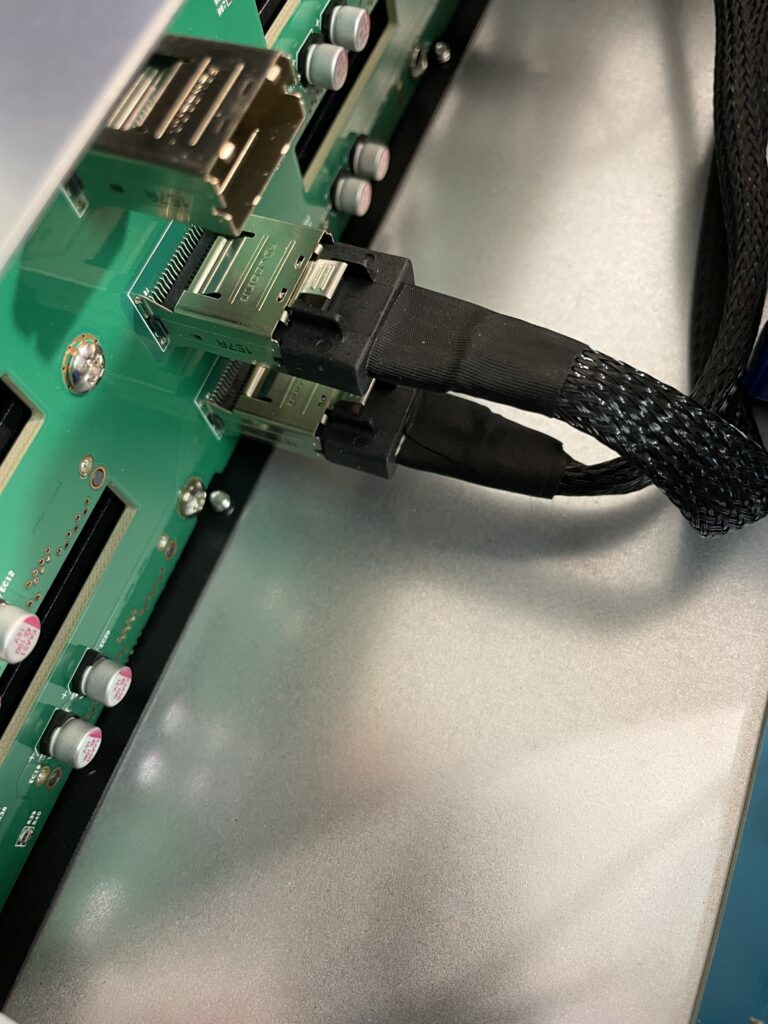
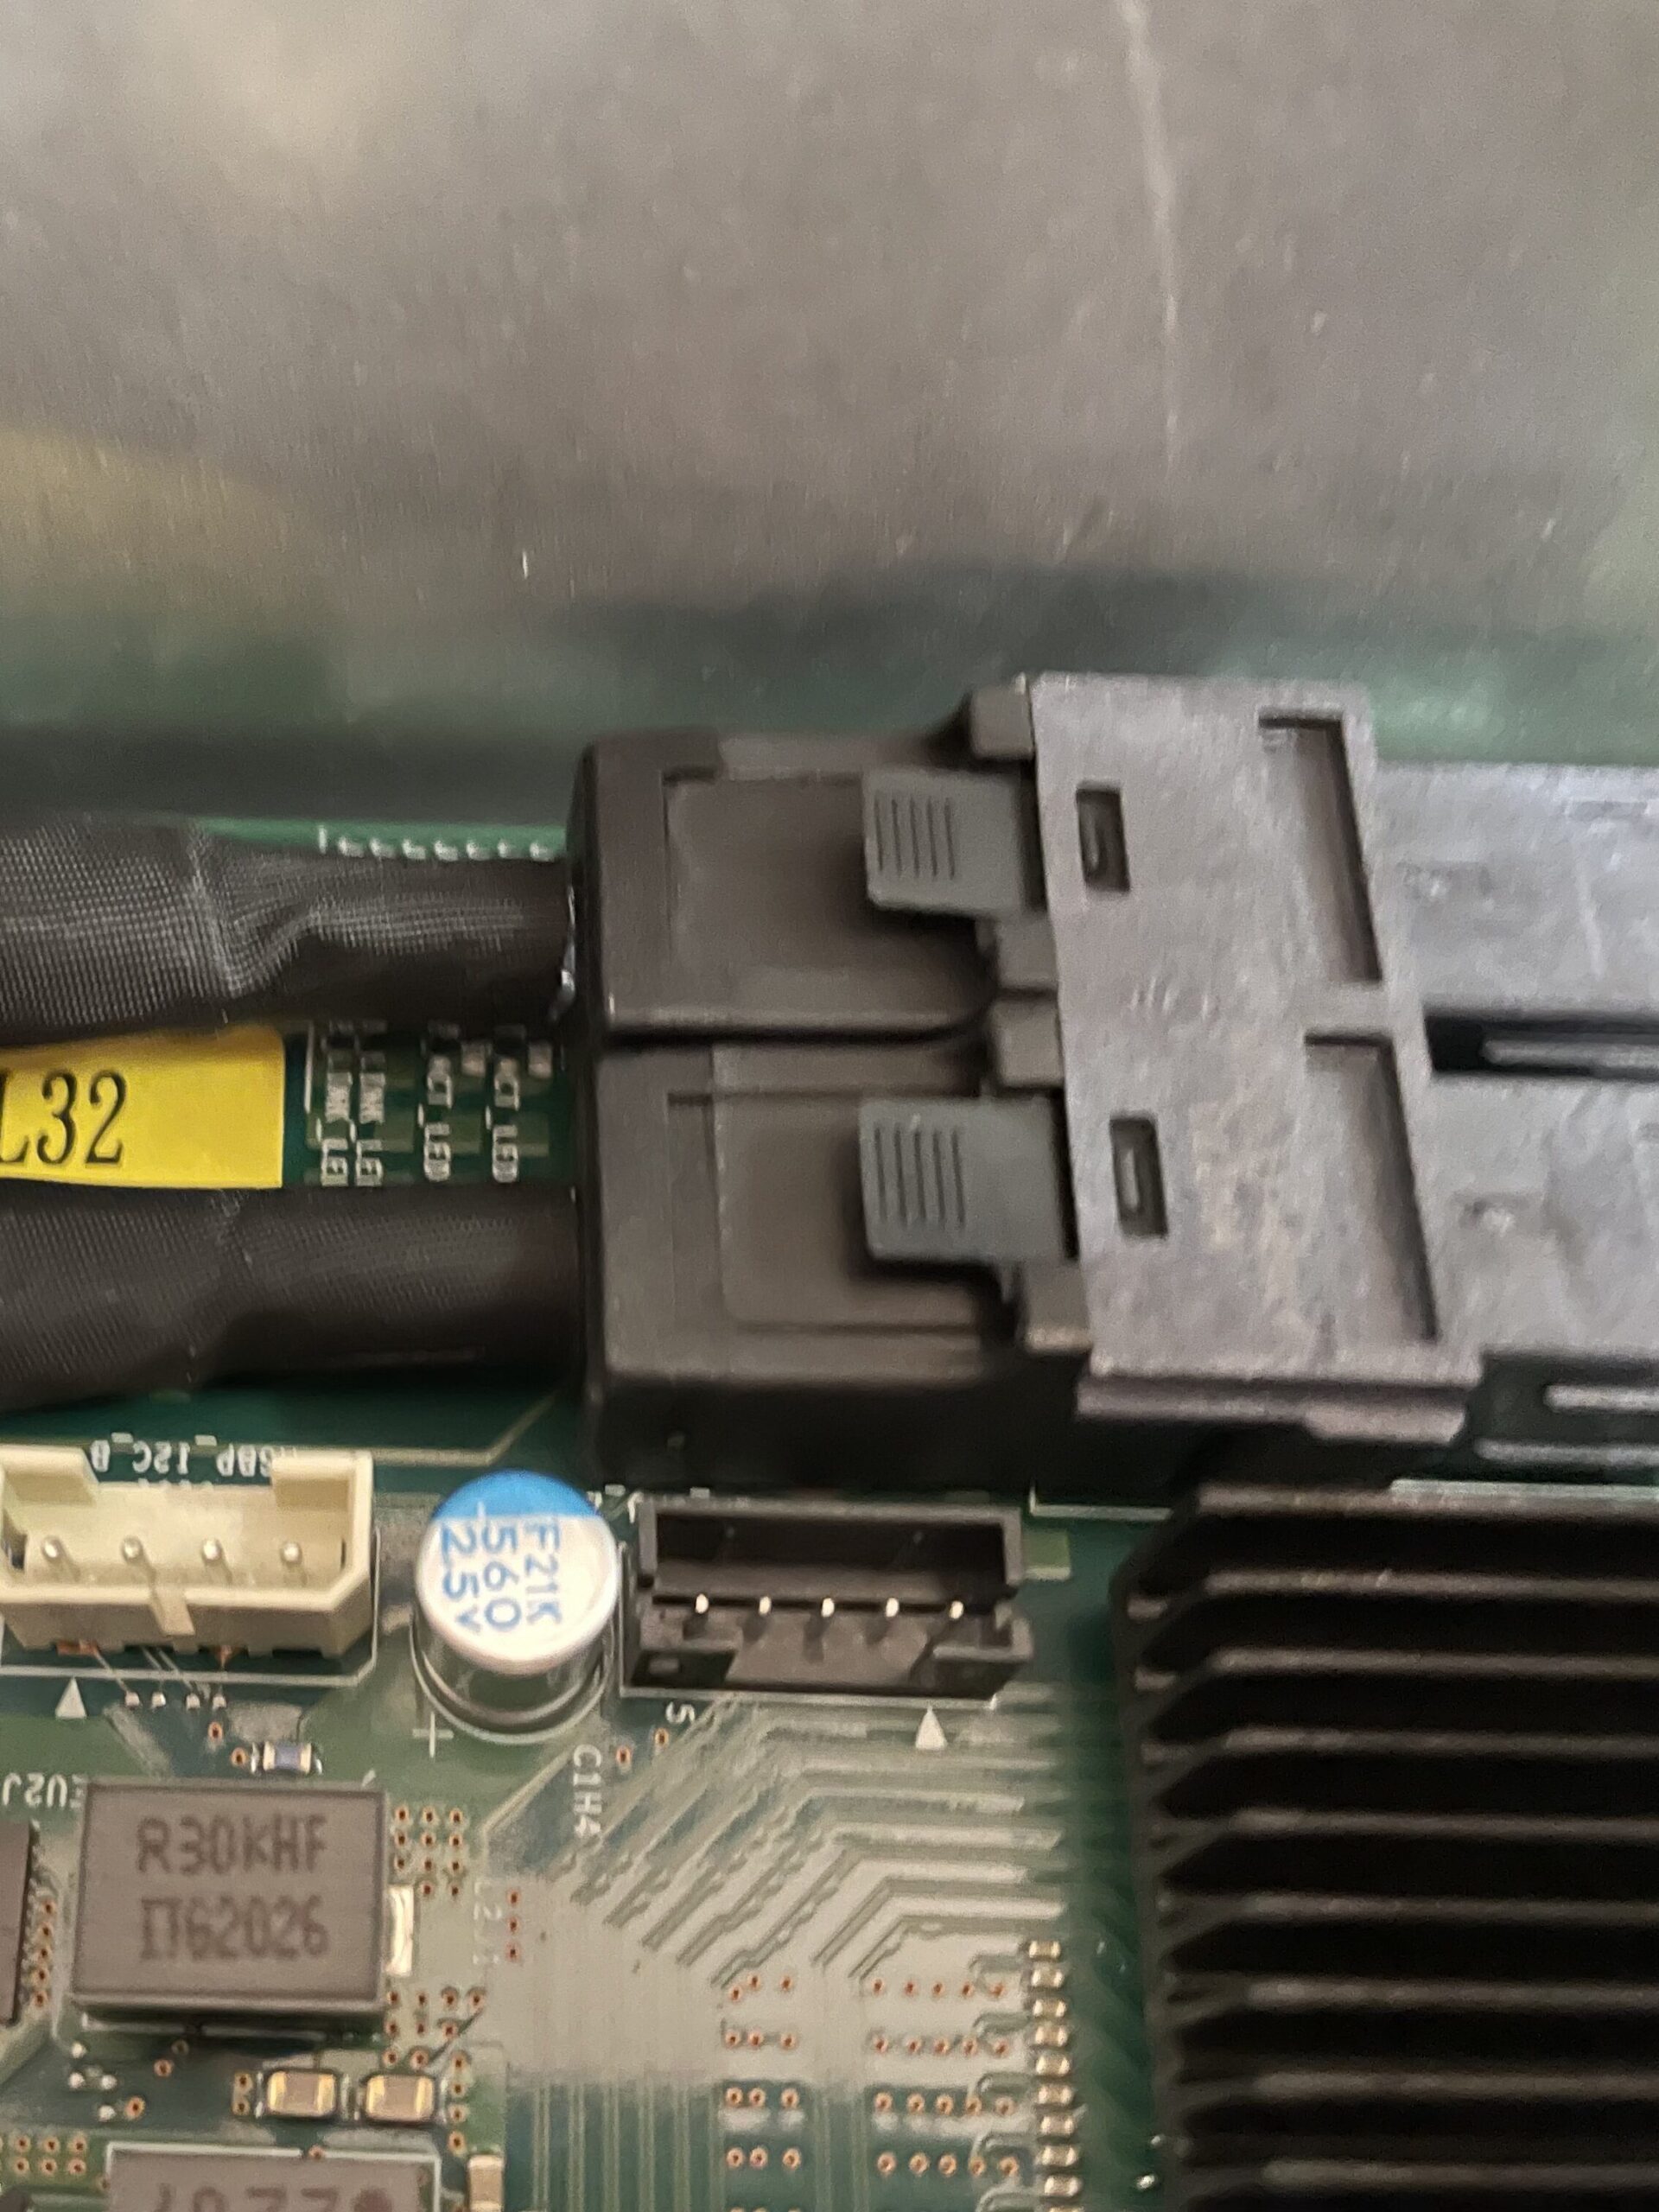
Install the second SATA cable in the same way to connect the second row of the disk drive backplane to the motherboard. Make sure none of both cables interfere with any of the fans.
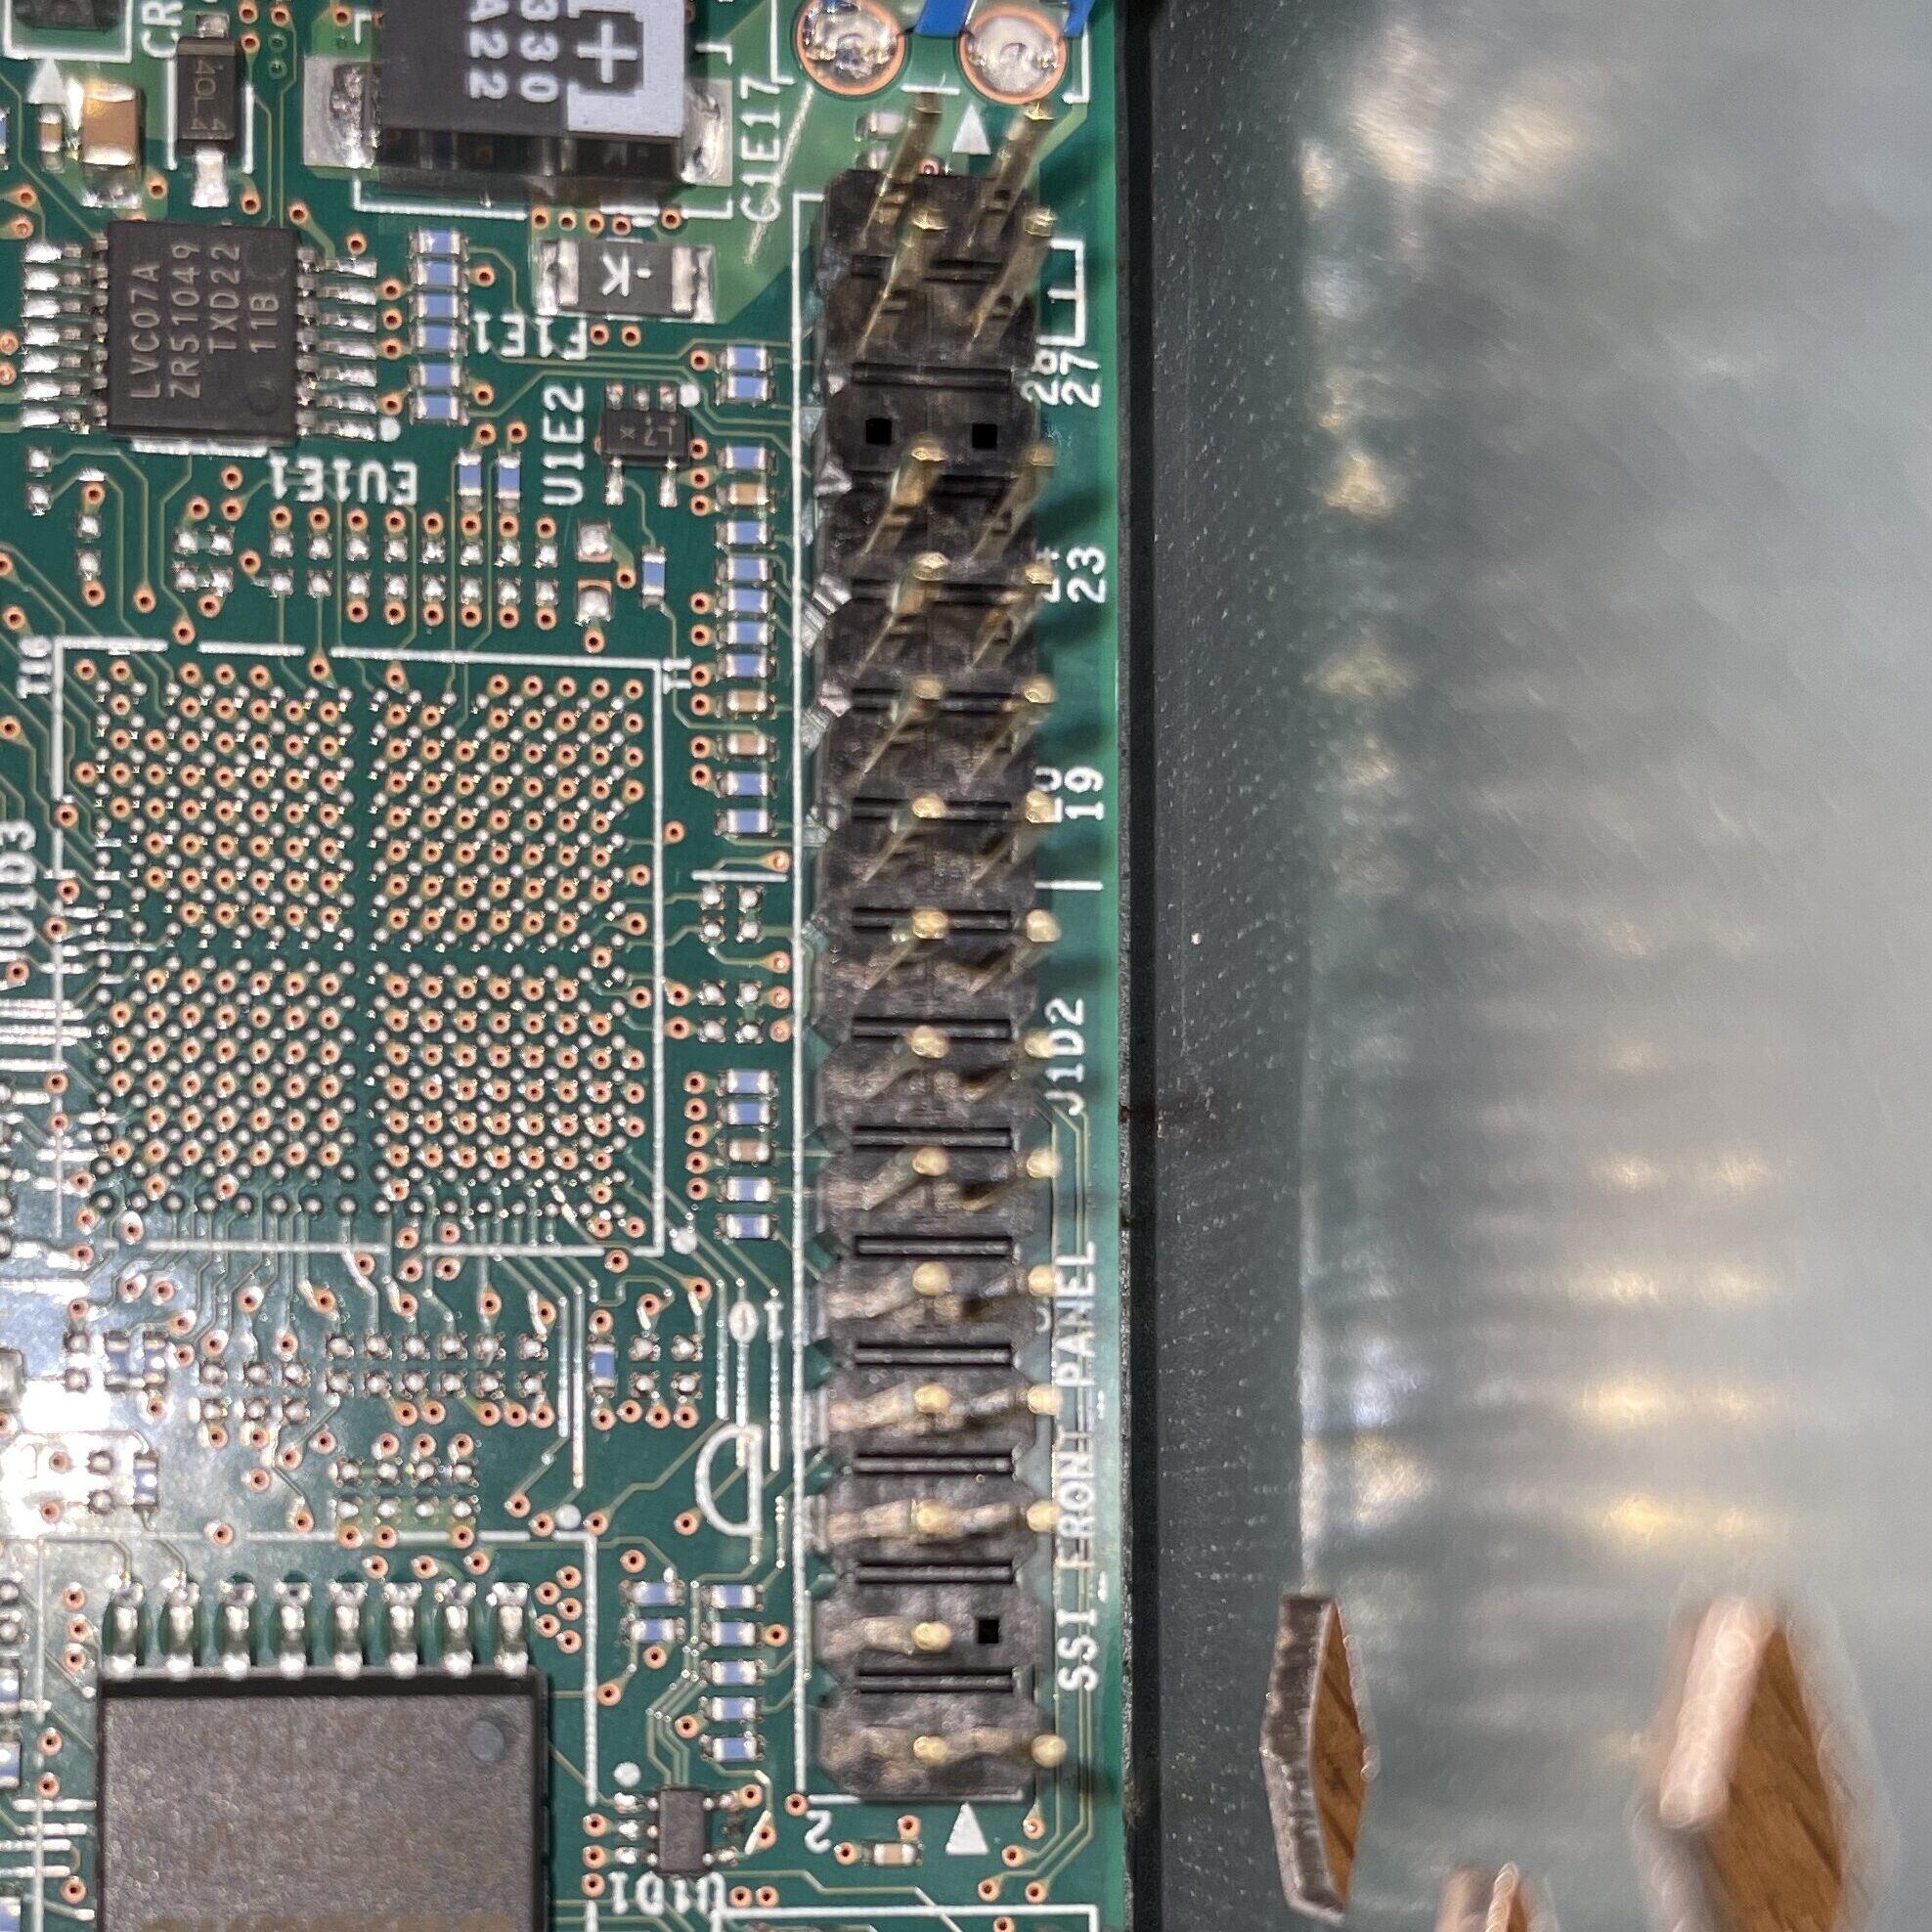
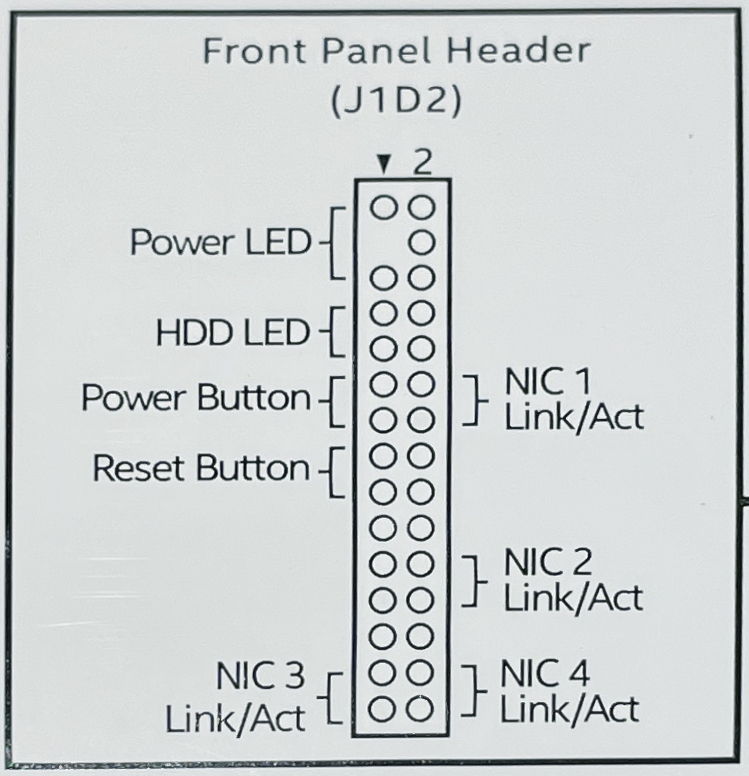
Find the front panel header pins (J1D2) to connect the cables of the front panels with the motherboard.
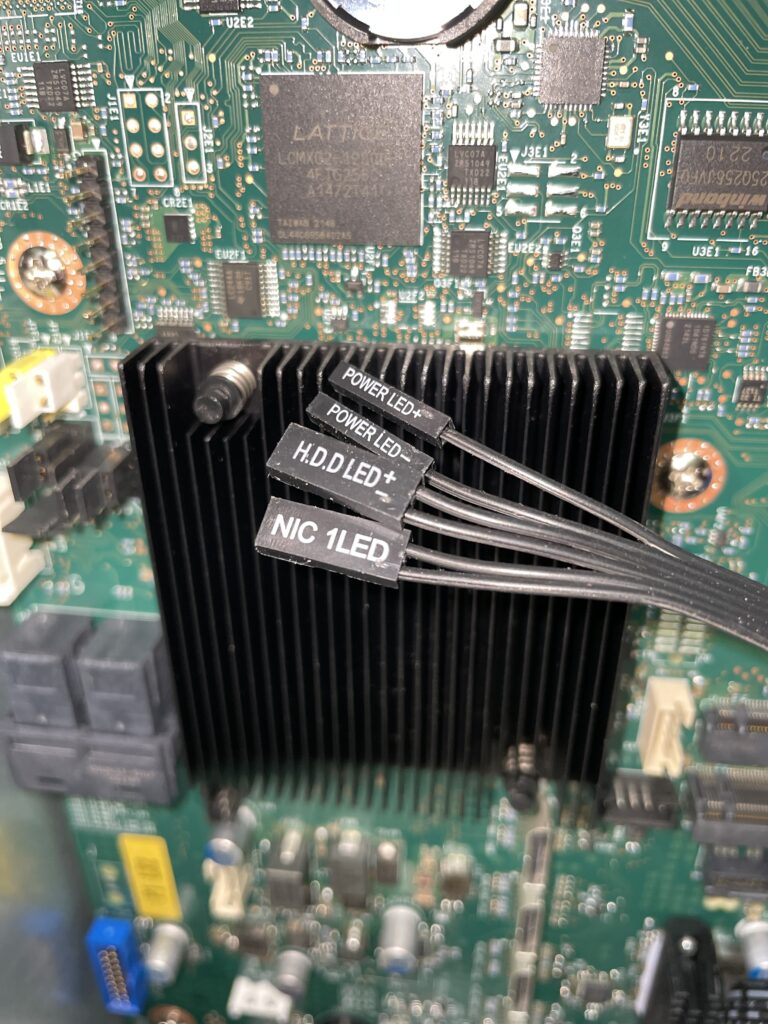
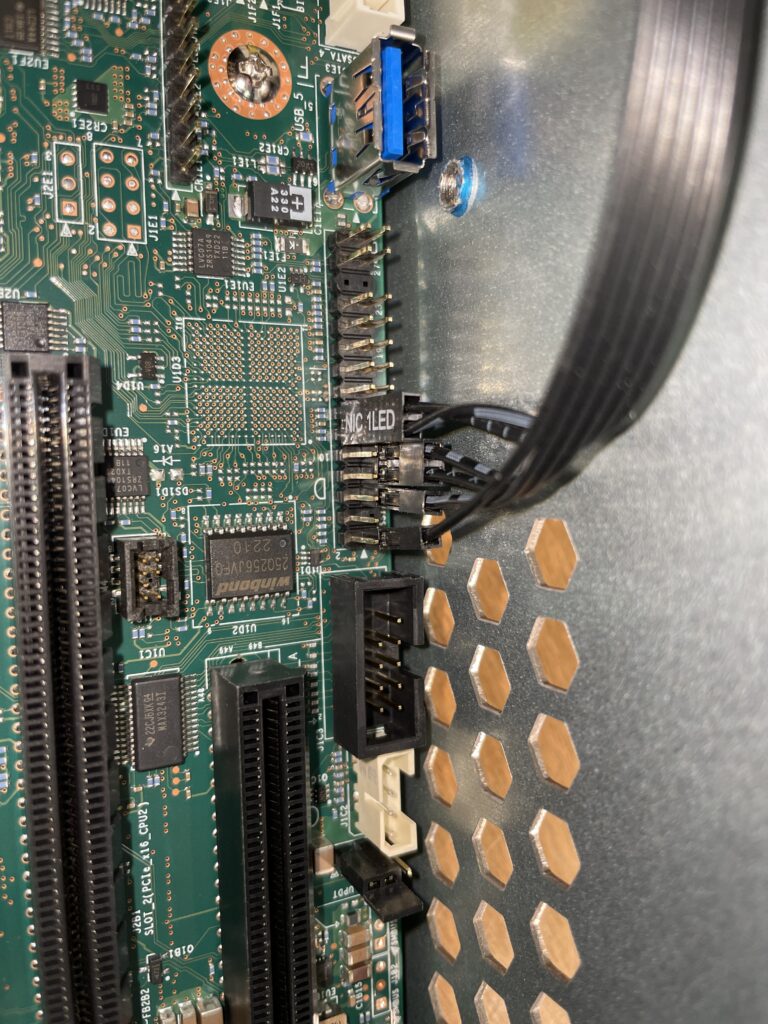
Plug the four connectors of the first cable onto the front panel header pins based on the drawing above.
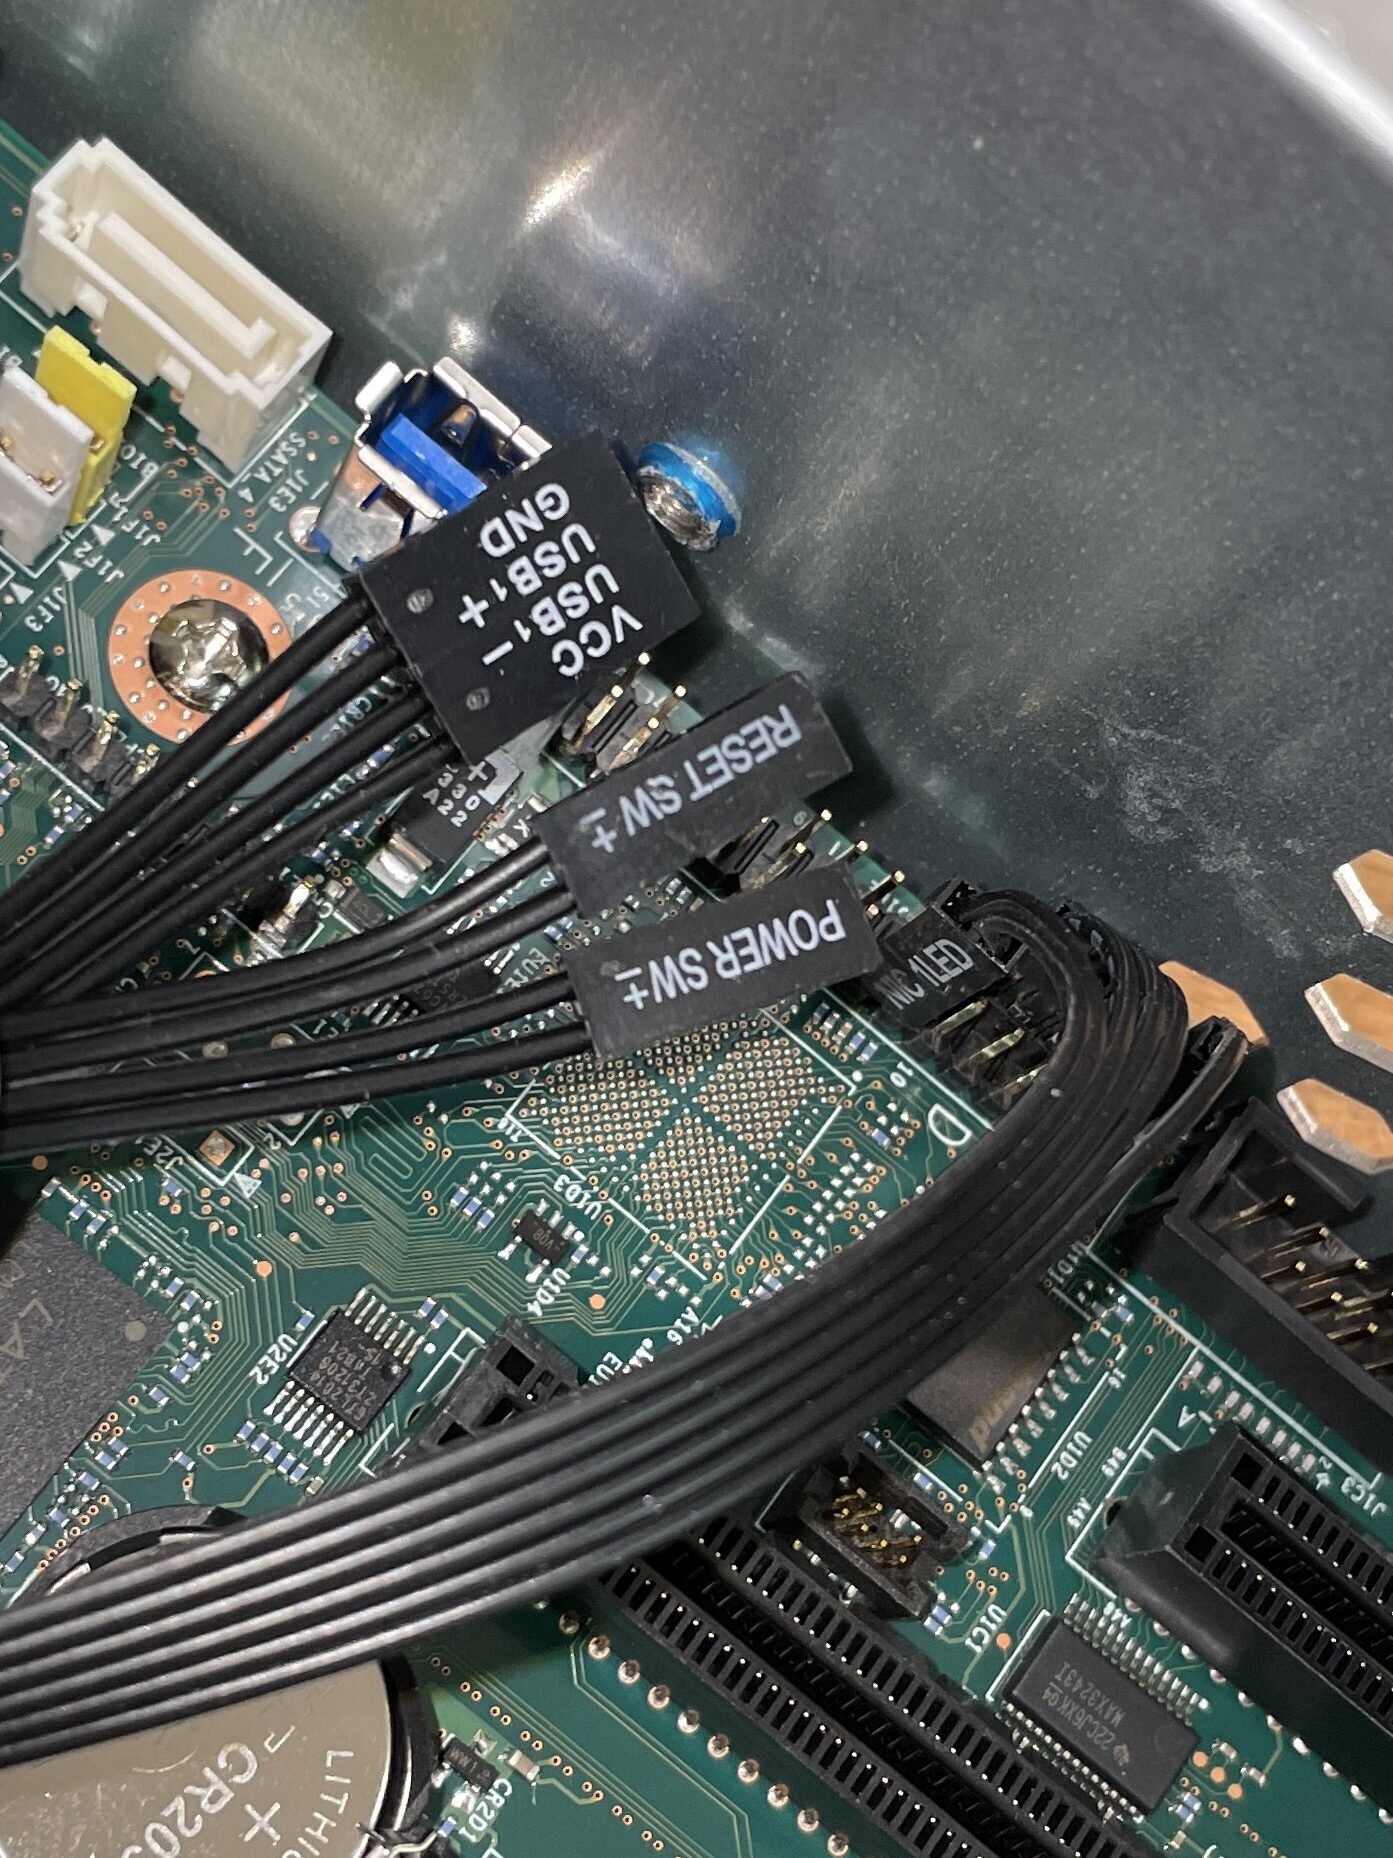
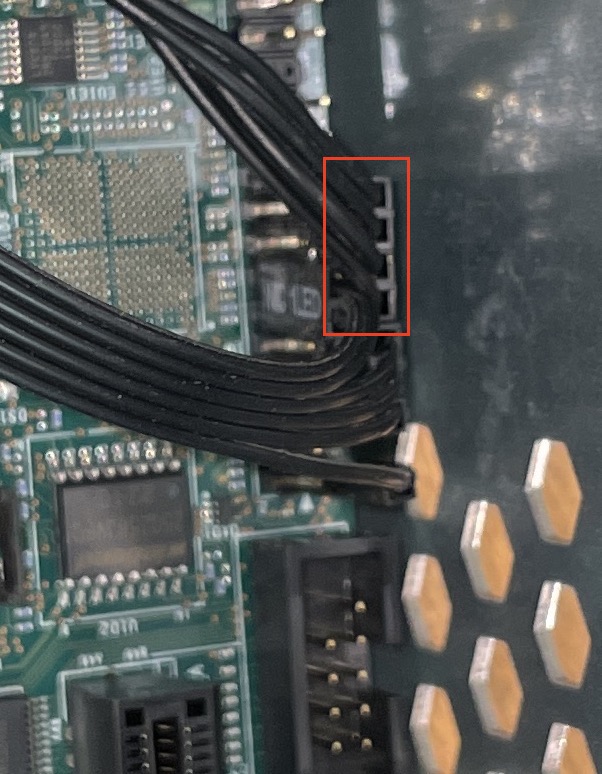
Plug in the two connectors for the power and the reset switch and attach them to the front panel header pins based on the drawing above.
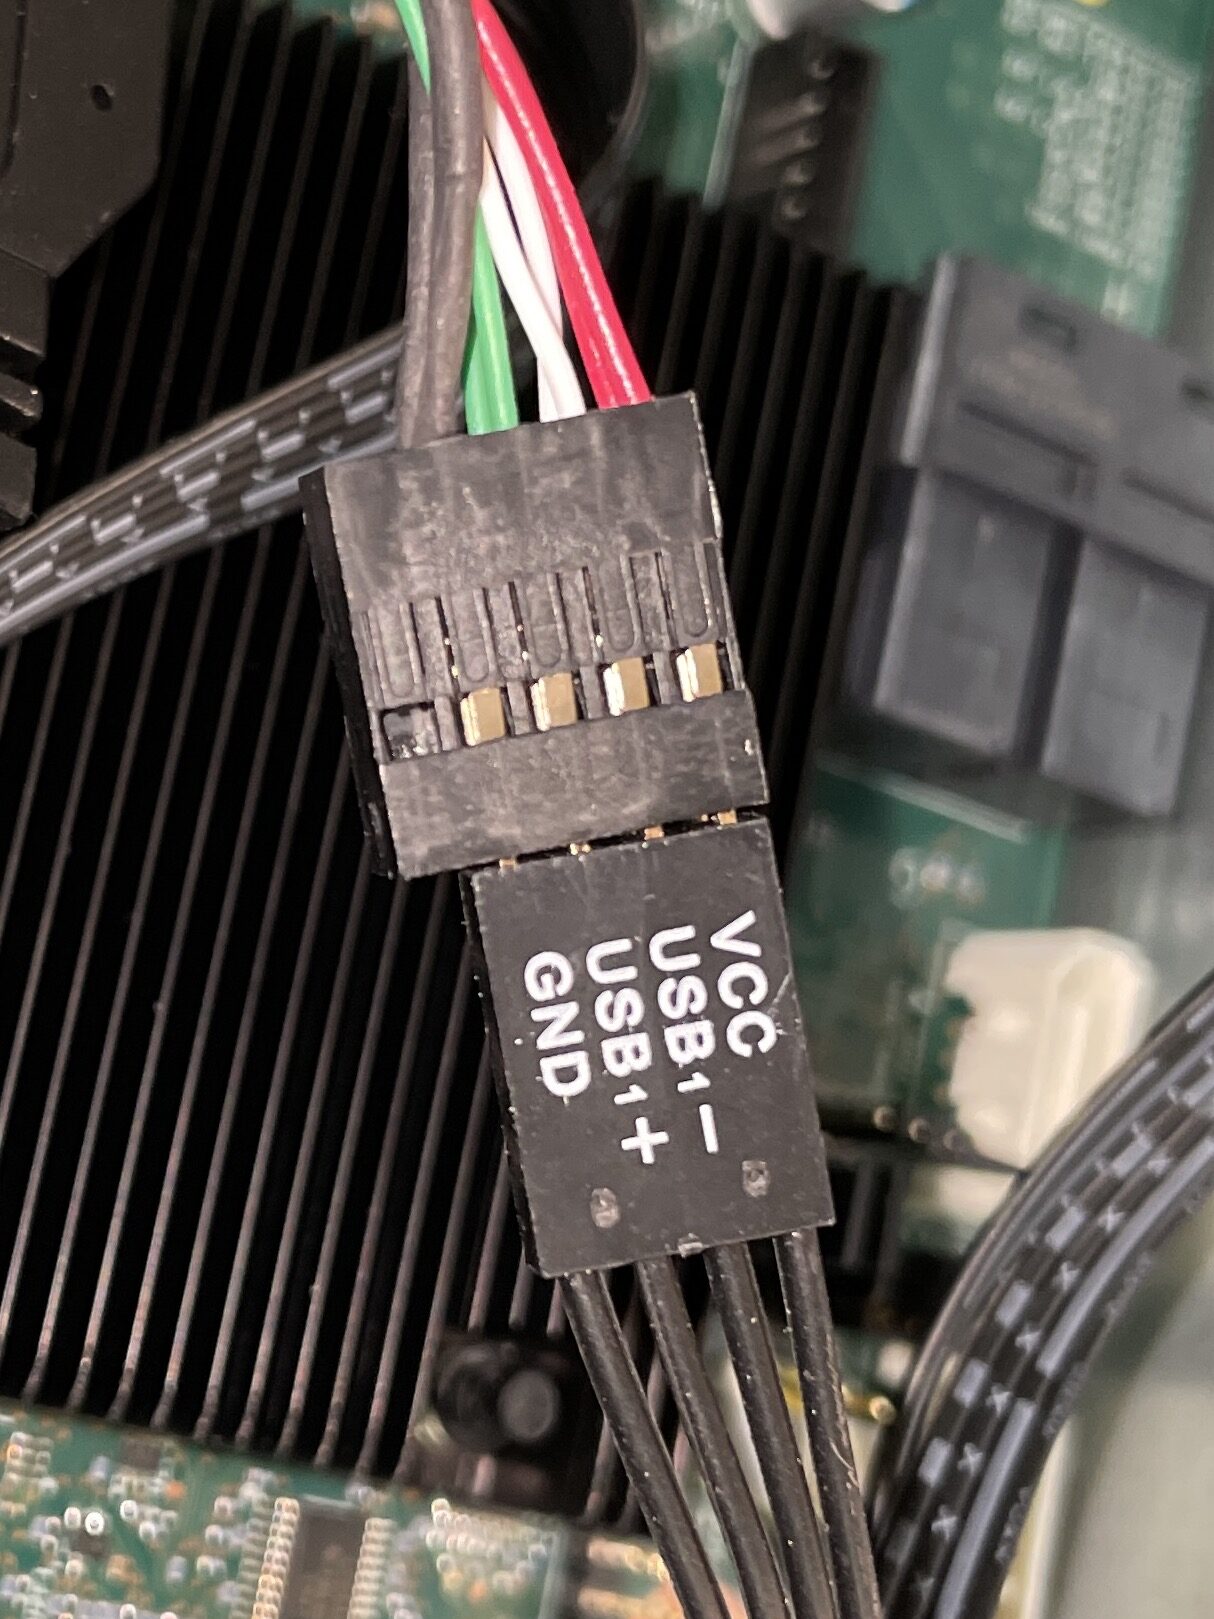
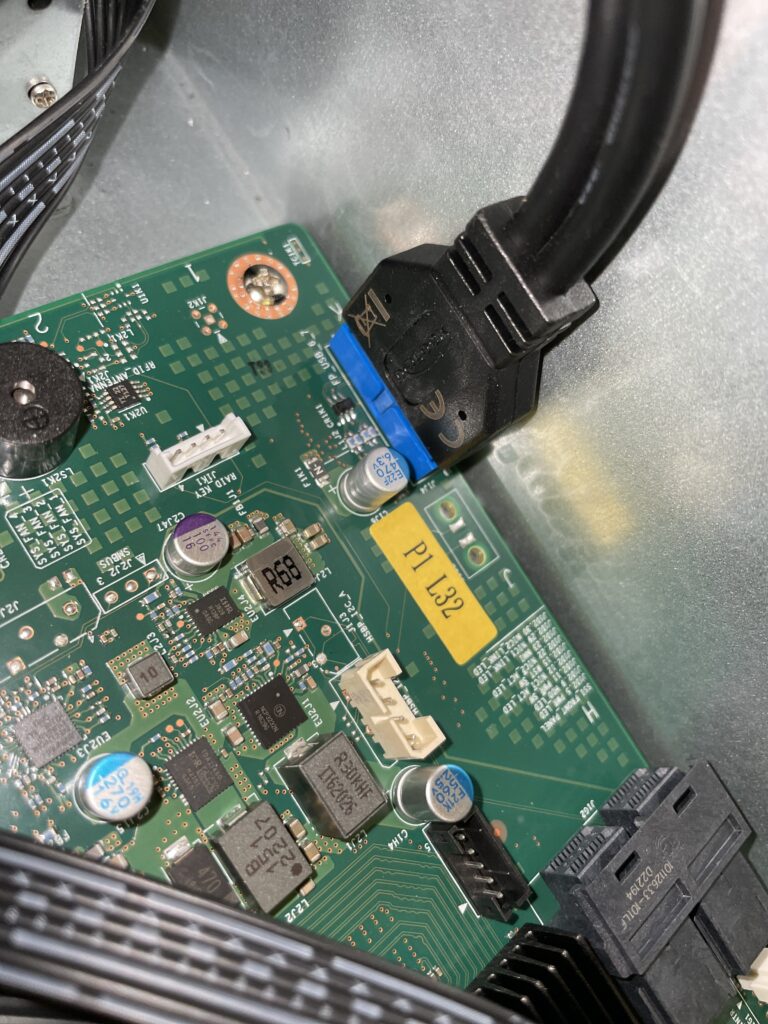
Connect the USB front connector to one of the rows of the adapter cable. Then connect the other end of the adapter cable to the blue USB front panel connector on the motherboard.
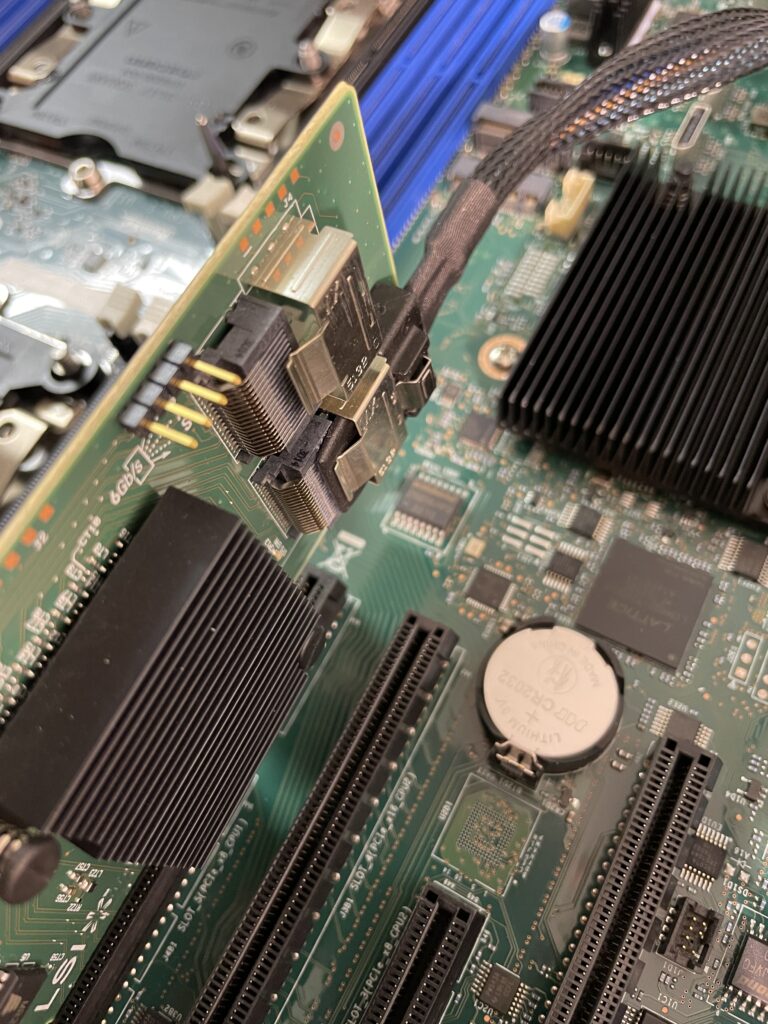
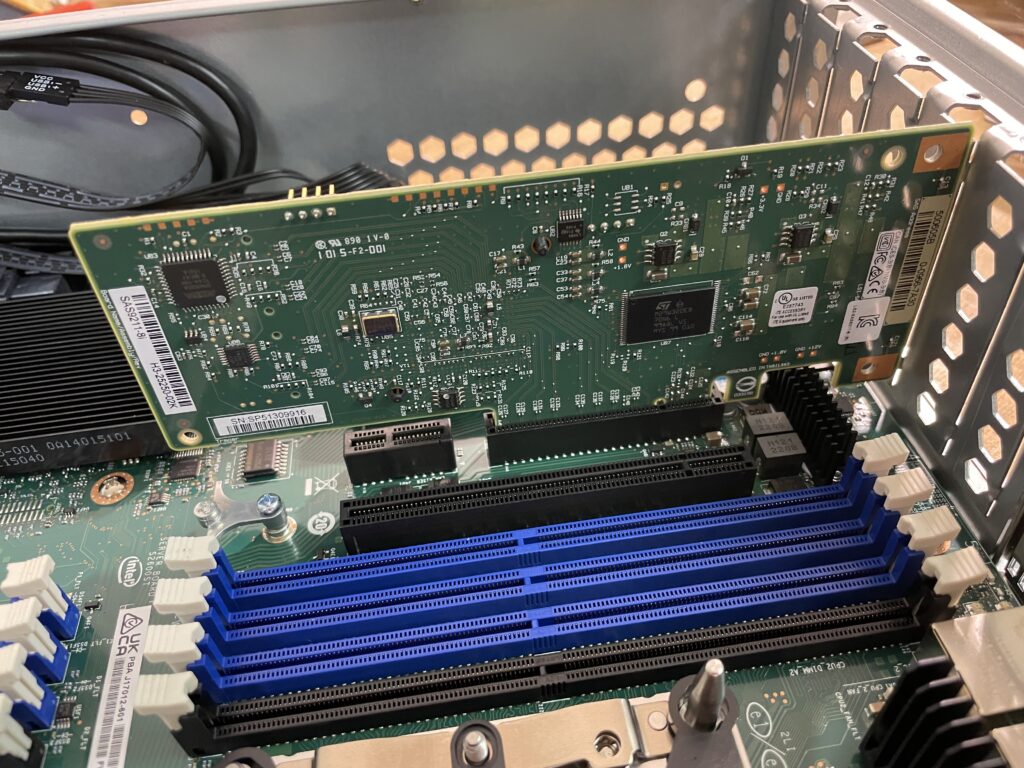
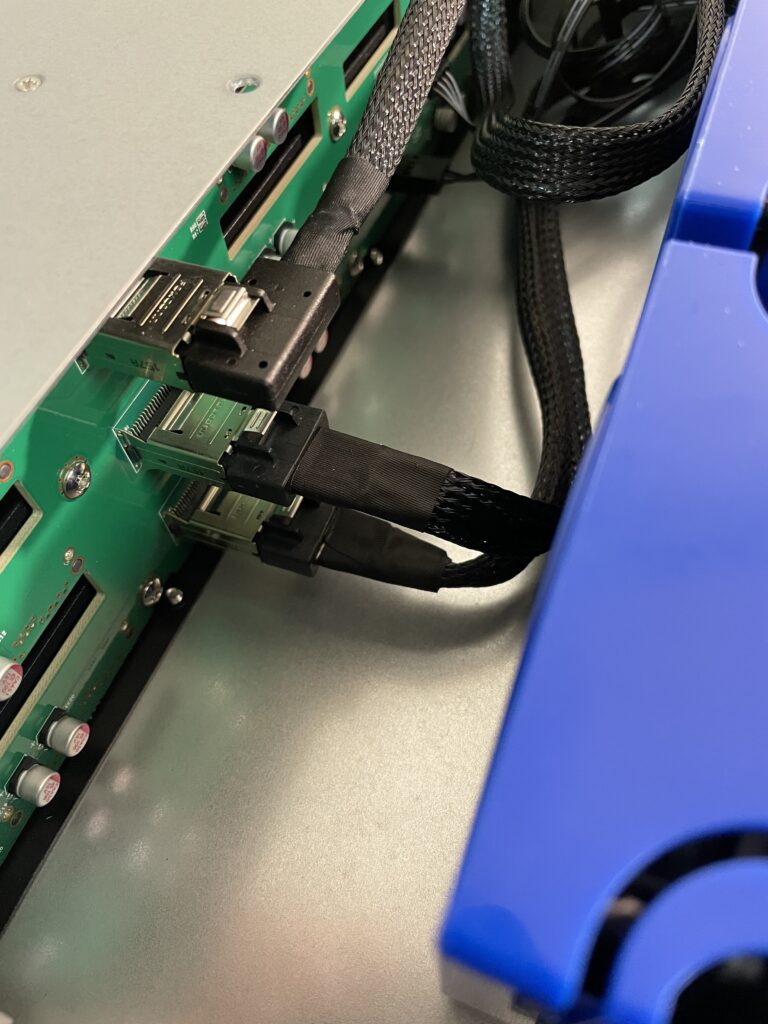
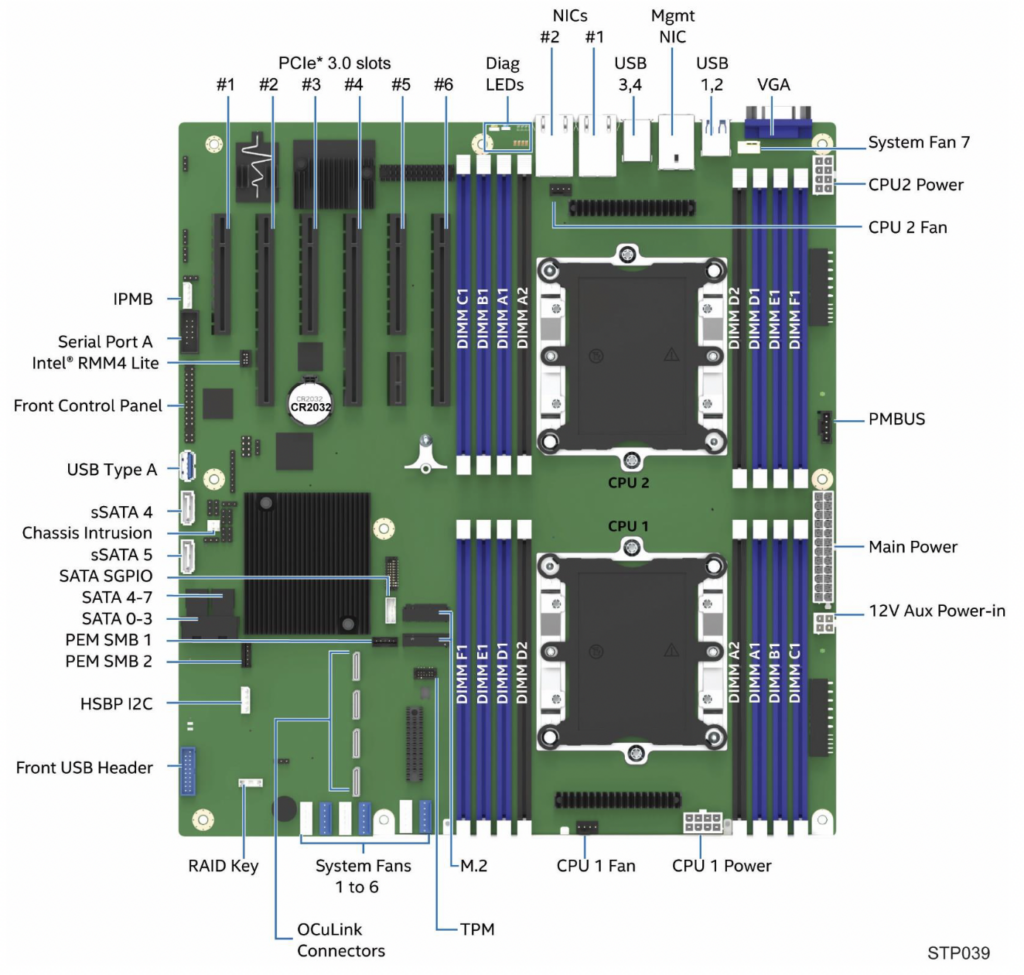
Install the SATA PCI connector card into PCI slot #3 and connect one of the connectors on the card to the top SATA connector of the backplane.
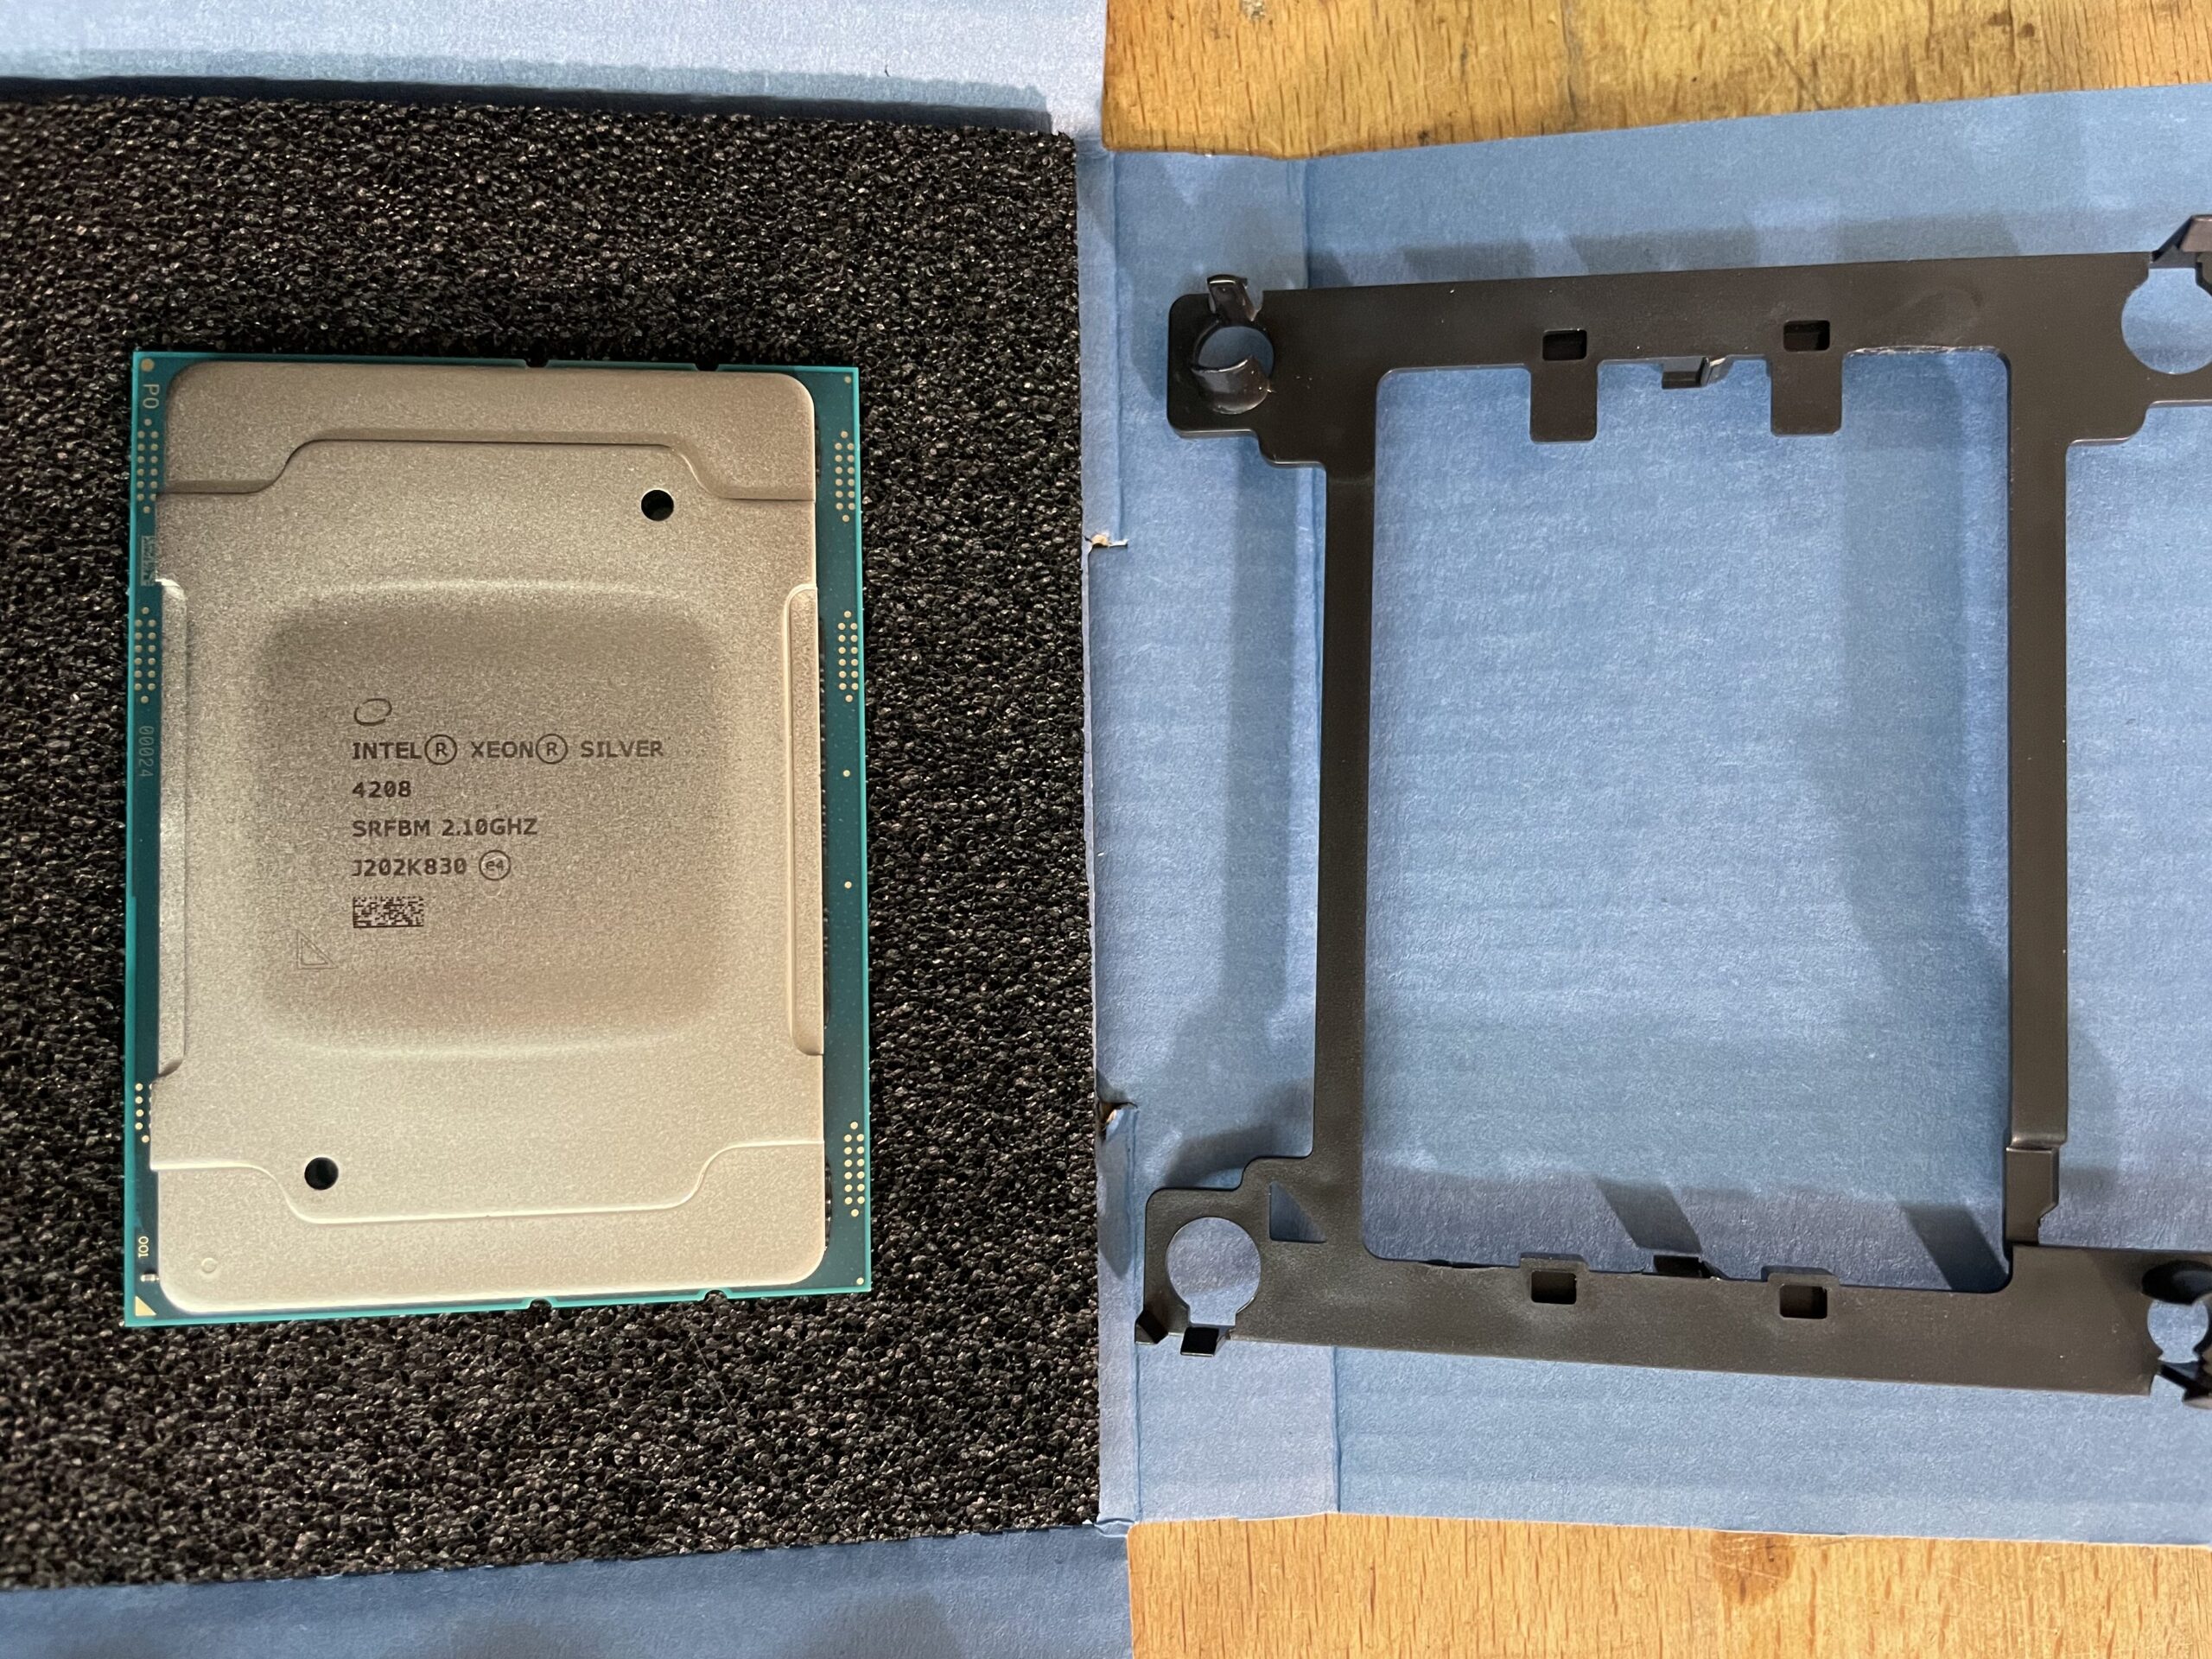
Open the CPU box and get the mounting bracket from the box of the CPU fan
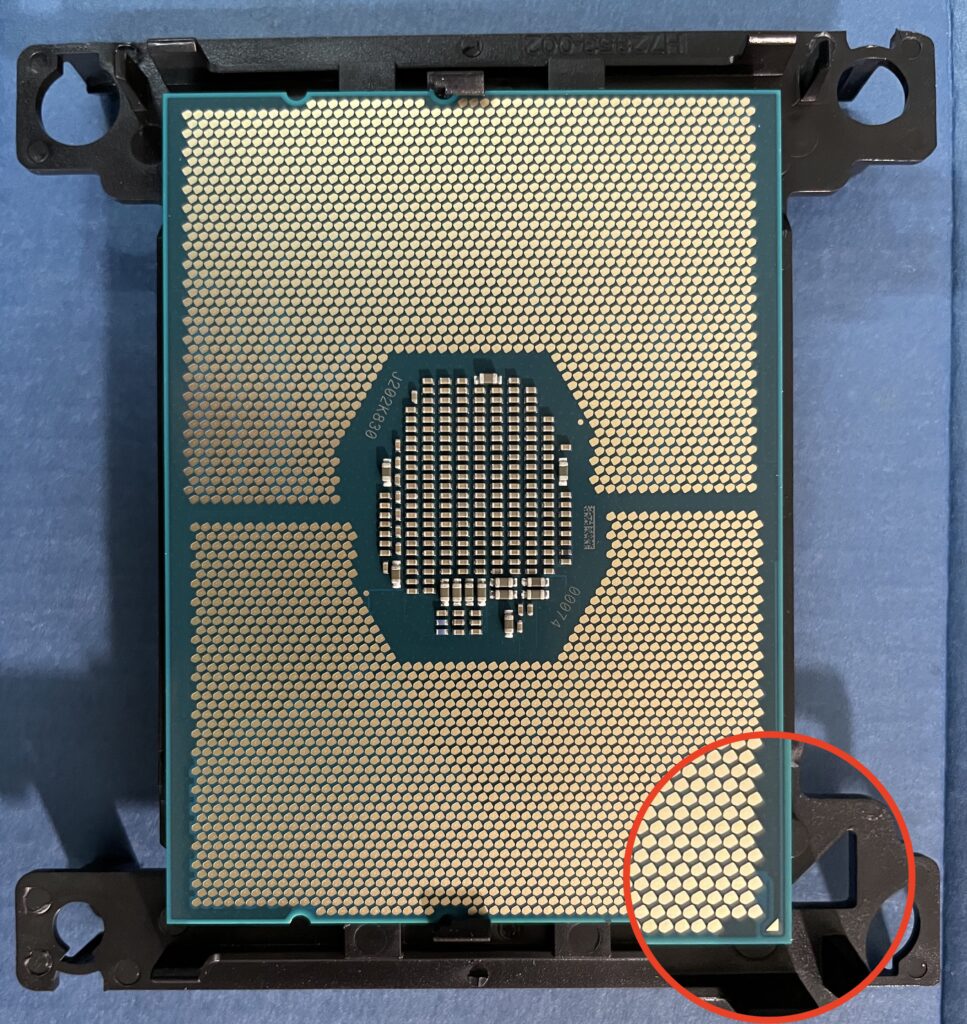
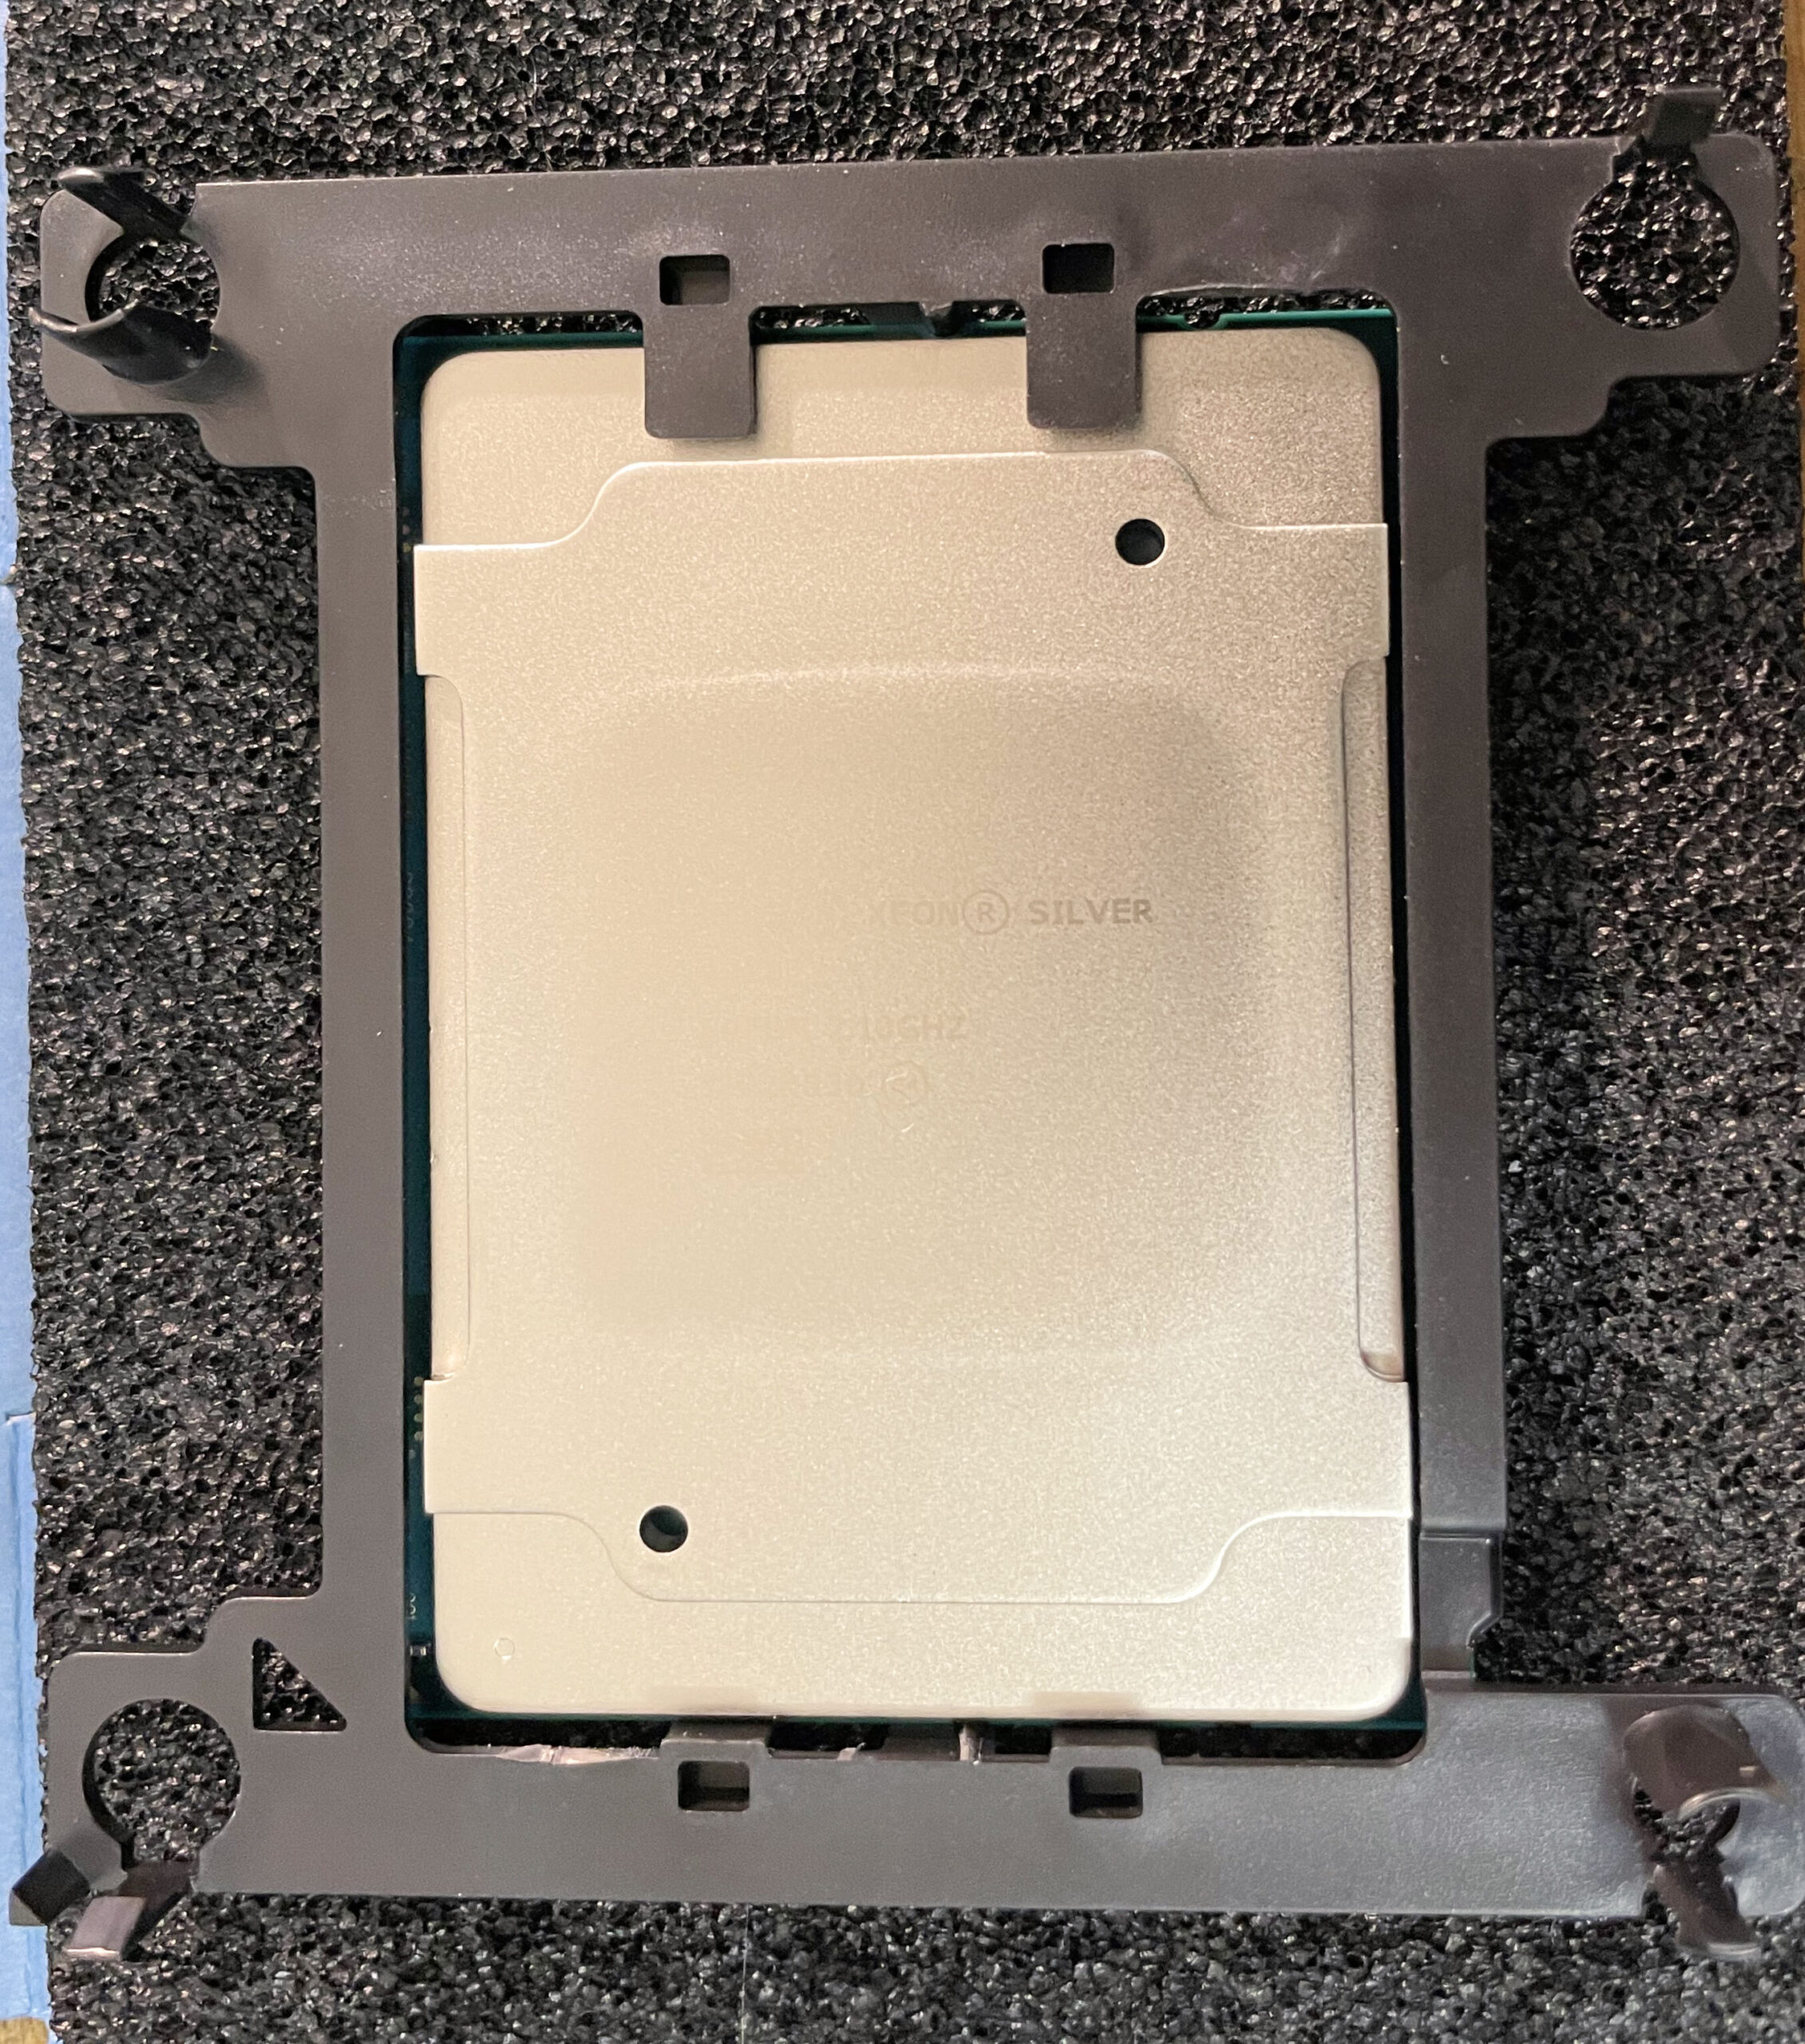
Click the CPU into the mounting bracket. Note the small triangle in one of the corners on both the CPU and the mounting bracket and make sure they correspond to each other
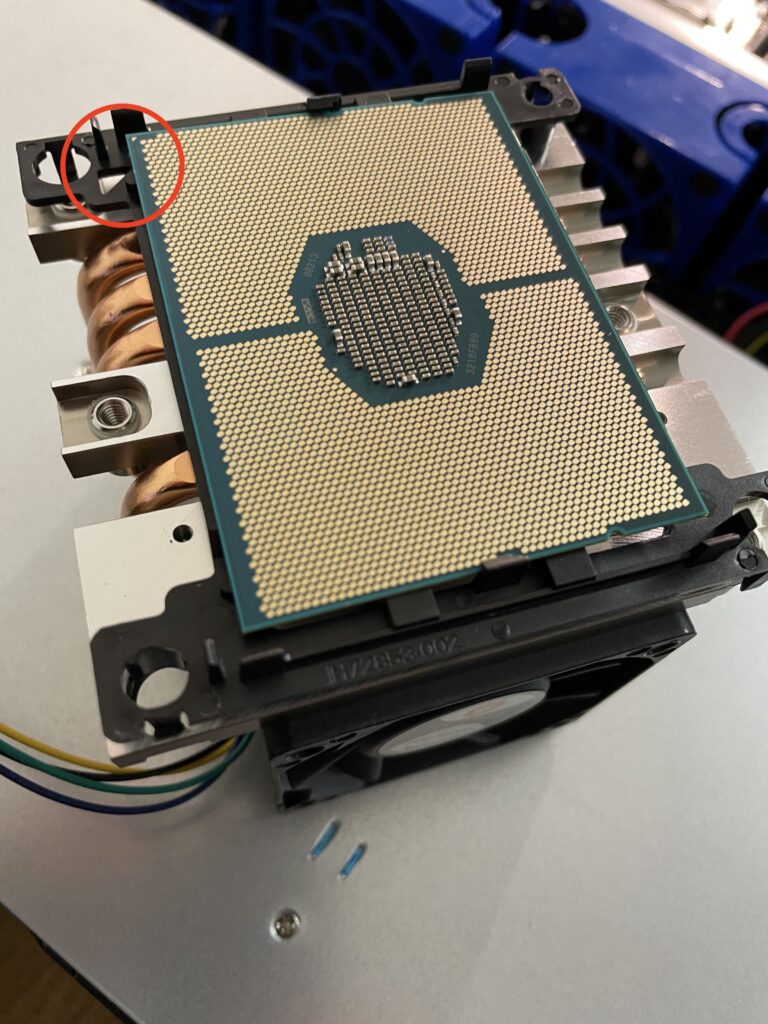
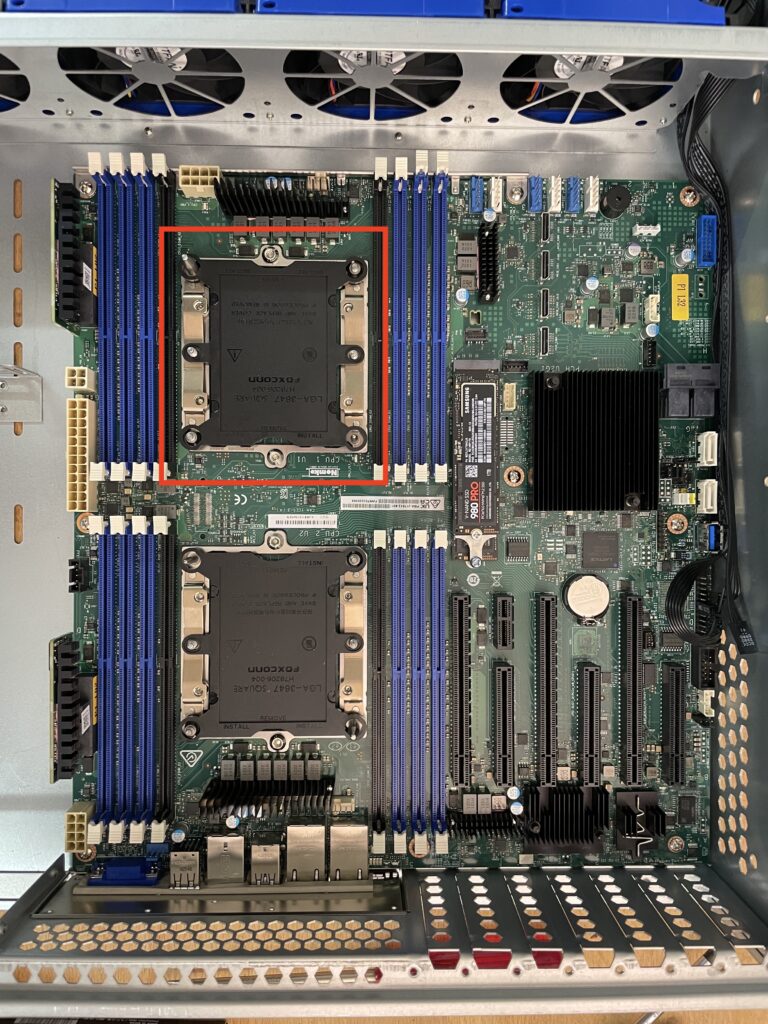
Clip and push down the bracket with the CPU to the bottom of the CPU fan. The triangles must be on the side opposite to the fan. Identify the socket for CPU 1.
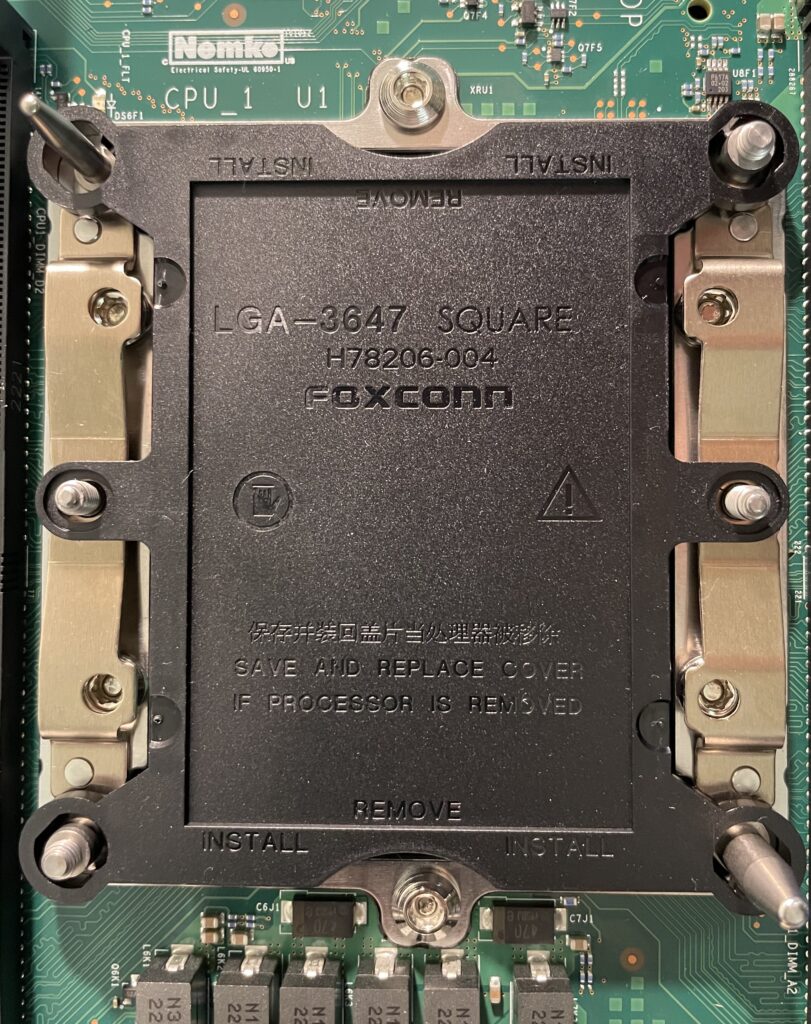
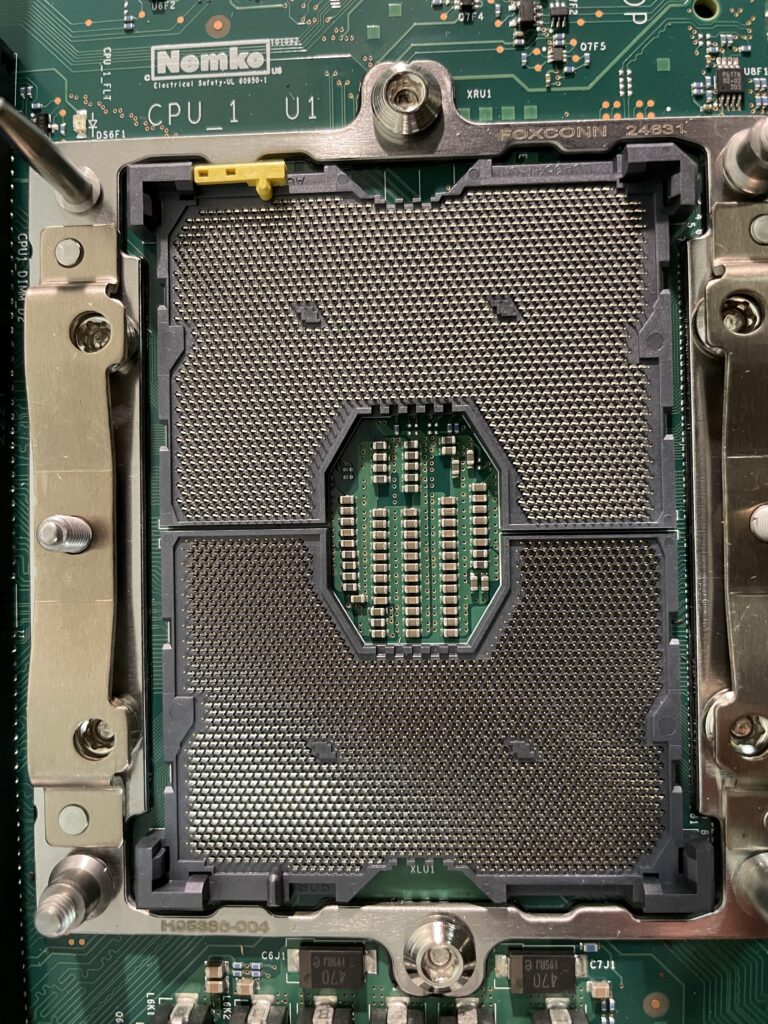
Carefully uncover the CPU socket of CPU 1
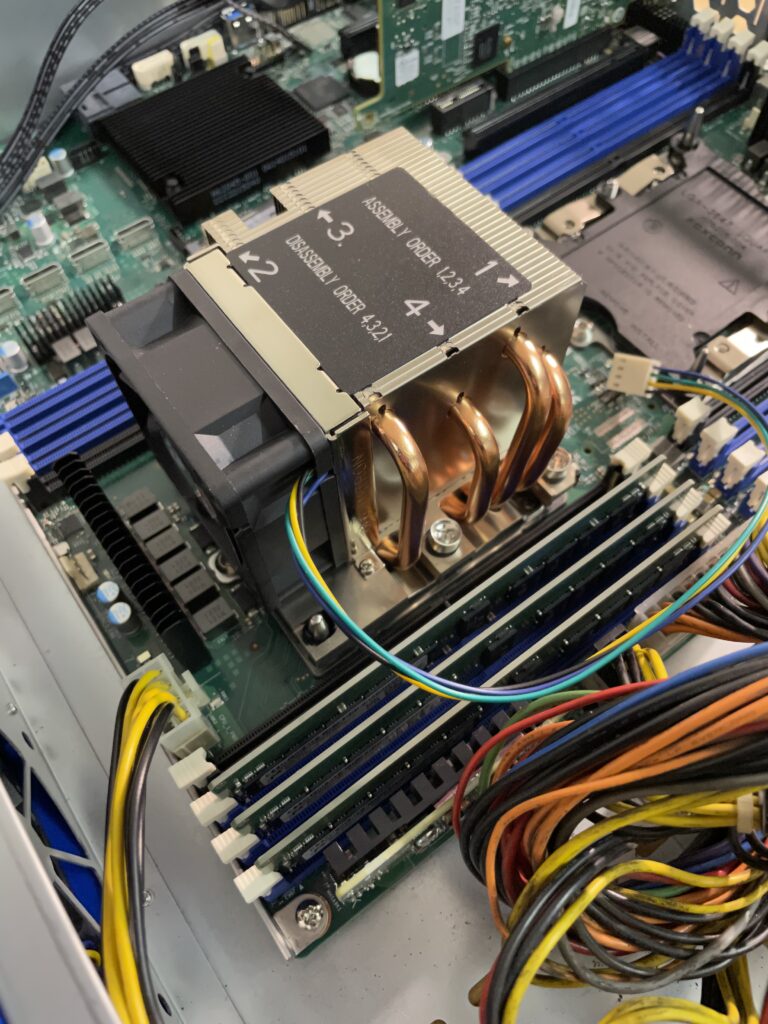
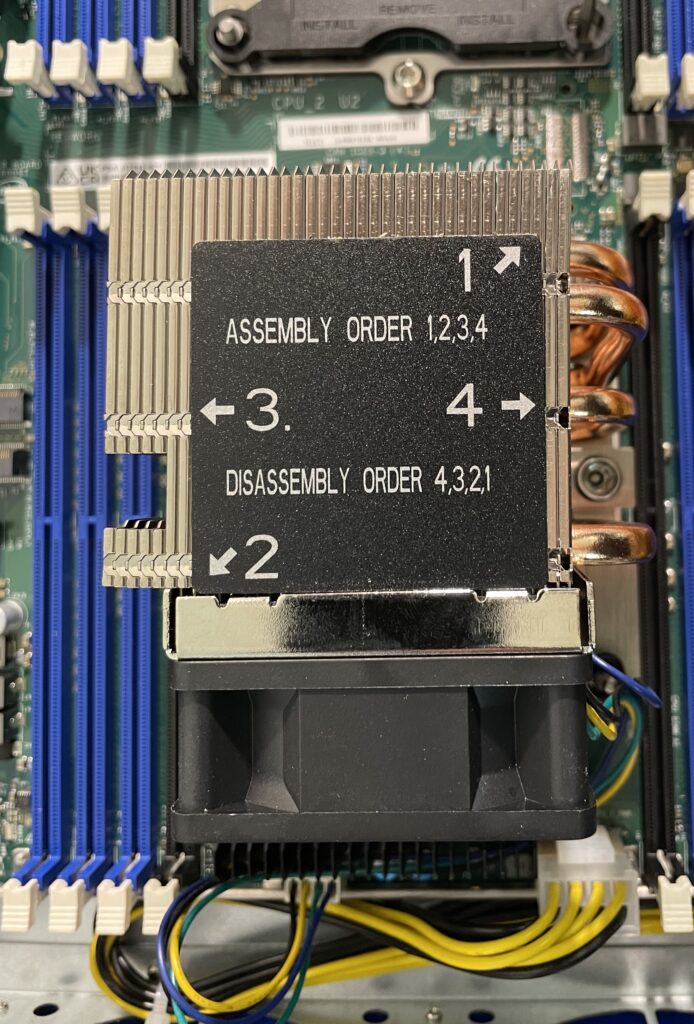
Carefully install the fan with the CPU attached to its bottom onto the CPU socket.
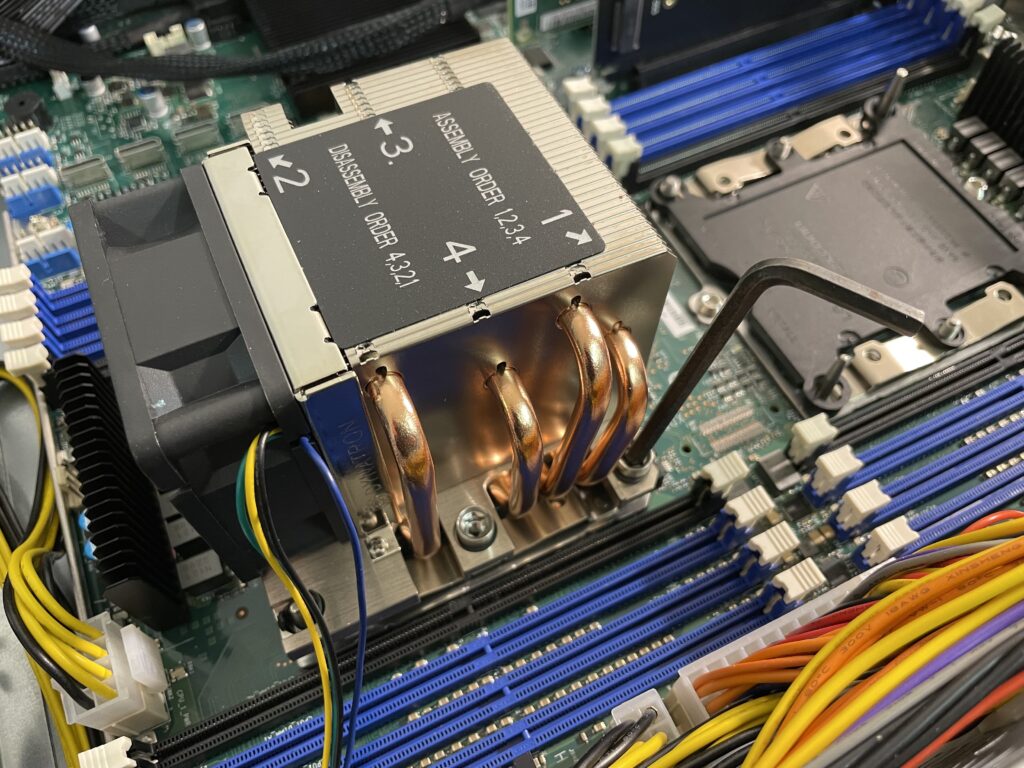
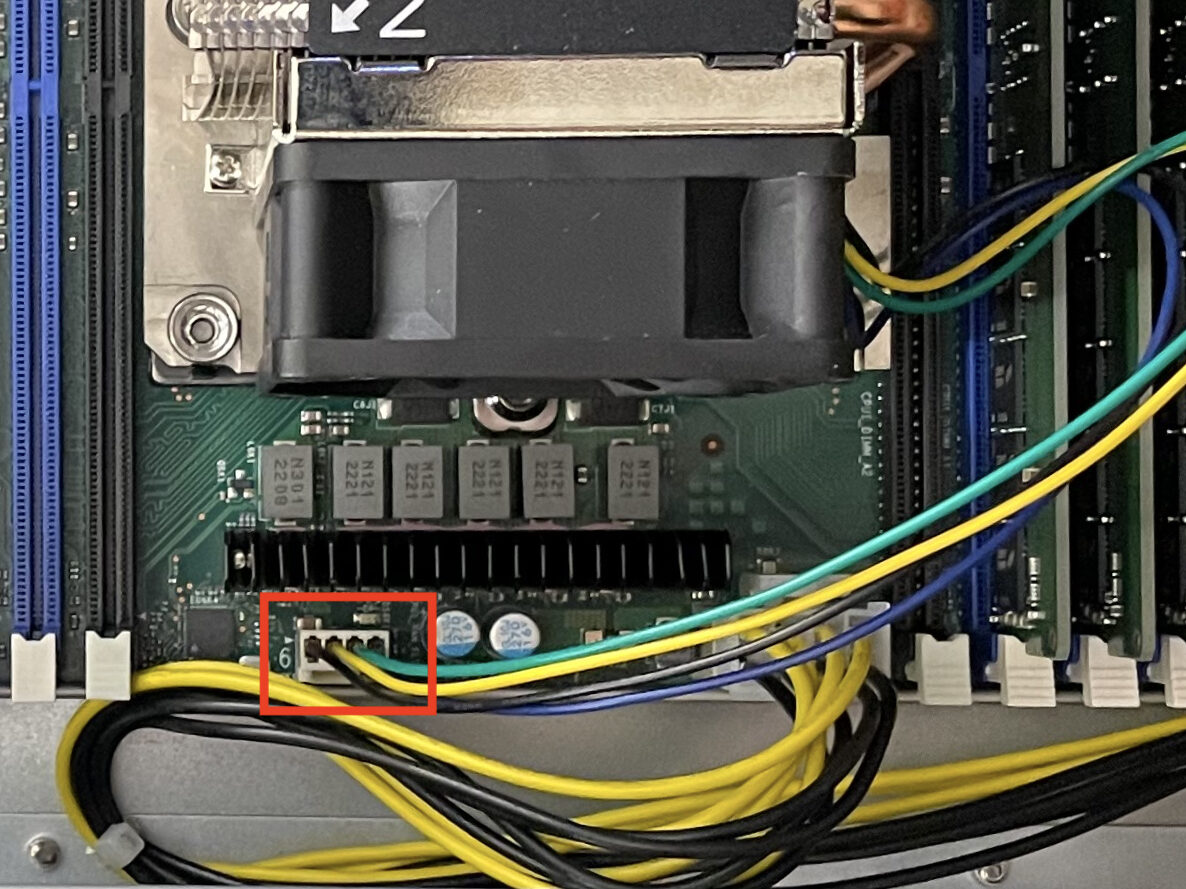
Then, following the numbers on the top of the fan, tighten the four screws one after the other, using a matching hex wrench. After that connect the CPU fan to the connector on the motherboard.
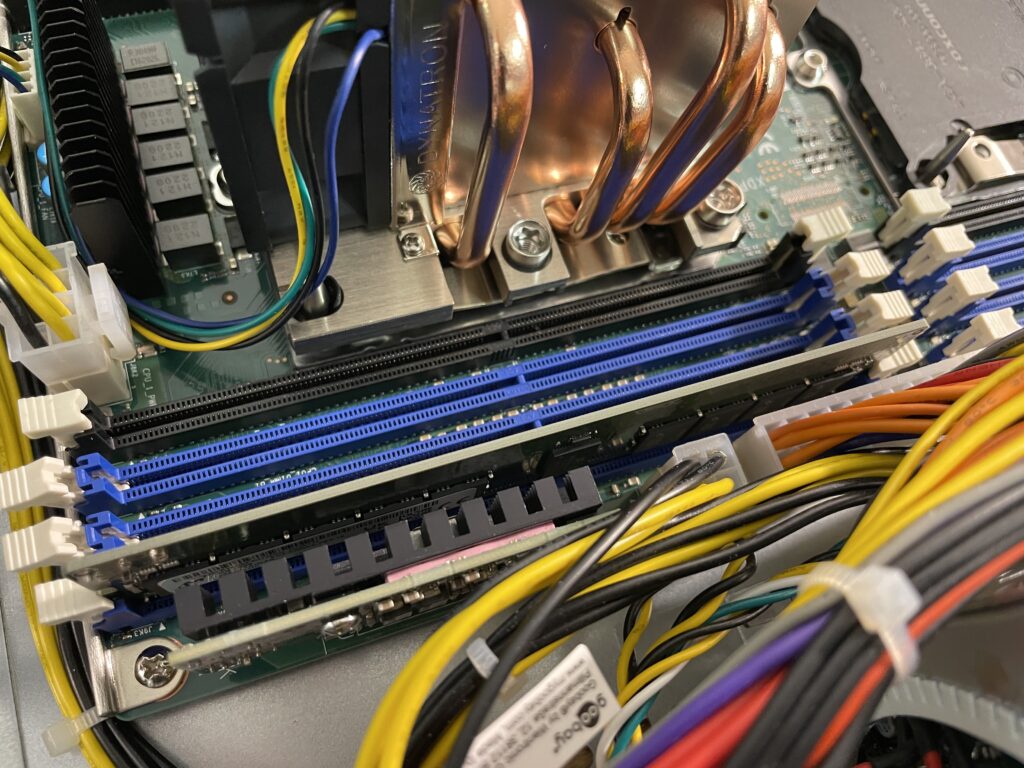
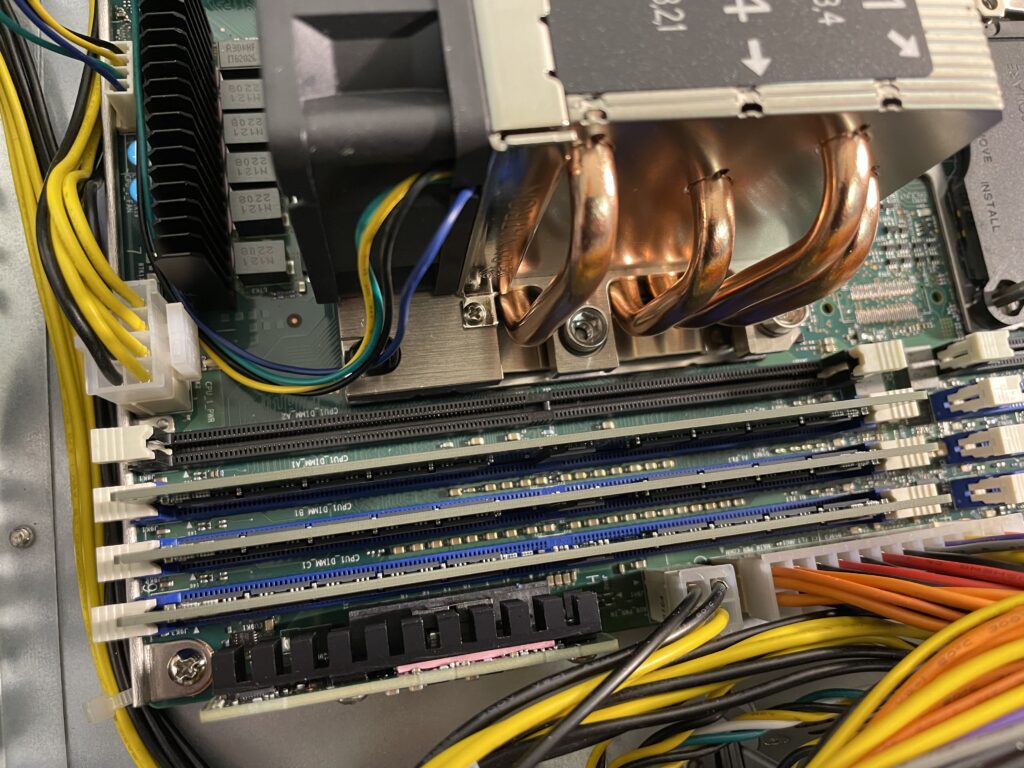
Now carefully install the memory bars and make sure they are entirely inserted into the sockets and the both holders of each bar are fully closed.
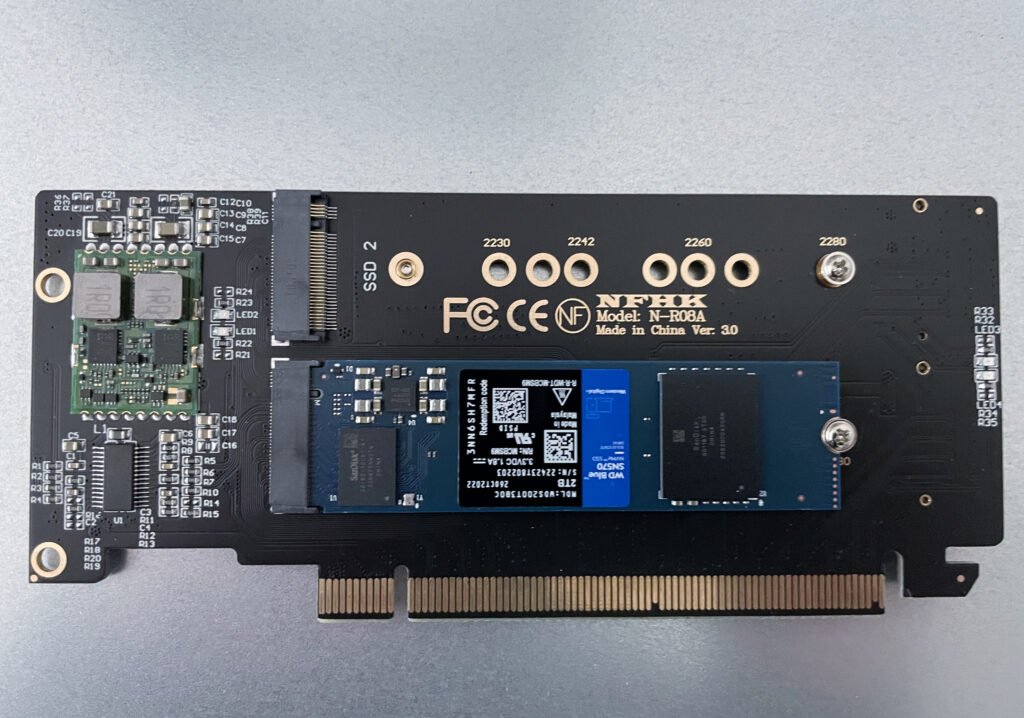
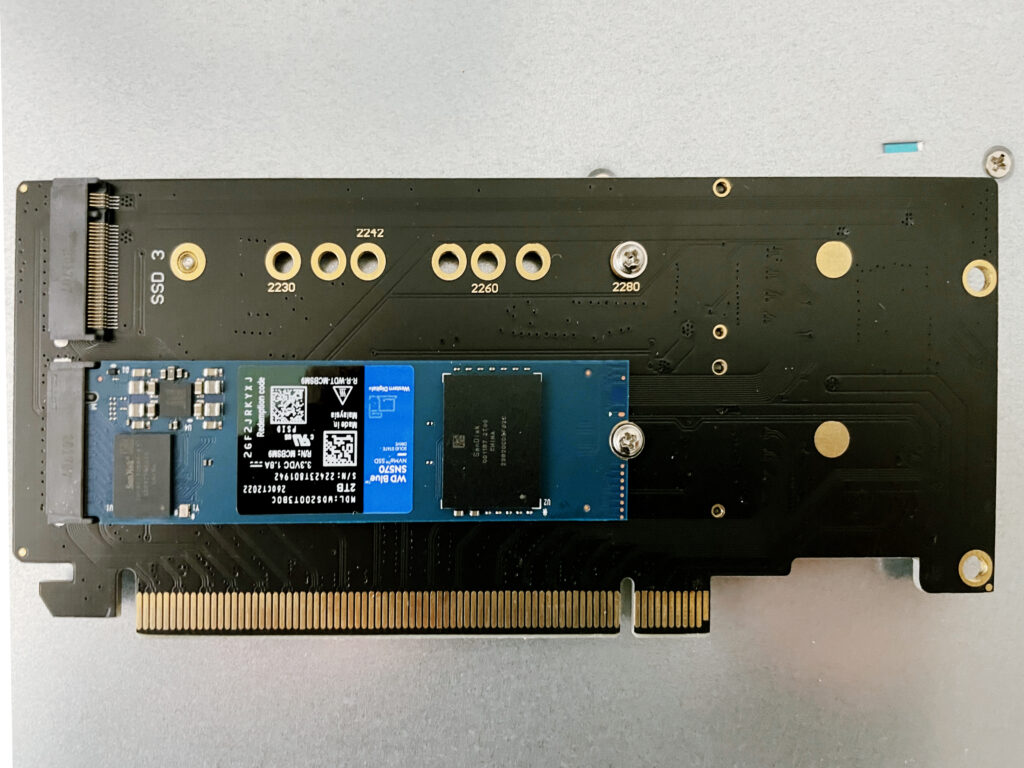
Install the two SSDs in slots 1 and 3 of the SSD to PCI adapter card.
Insert the SSD PCI adapter card into slot #4 of the motherboard
Attach two power cables, a screen and a keyboard, then push the power button on the front panel.